- Angle stop shutoff valves cost $6-$25 DIY for parts alone; hiring a plumber to replace one runs $75-$200 in labor, making this one of the best-value DIY plumbing projects.
- Compression valves are the most common type for copper supply lines and last 20-25 years when installed correctly with a single 1/2 turn past hand-tight.
- SharkBite push-fit valves cost $15-$25 and require zero tools beyond a pipe cutter, making them the fastest option for emergency replacements and tight spaces.
- Quarter-turn ball valves outlast older multi-turn gate valves: gate valves seize from mineral buildup, while ball valves open and close reliably even after years without use.
- Many older homes have no shutoff valves at individual fixtures at all. Installing one means you can fix a leaky faucet or replace a toilet fill valve without shutting off water to the whole house.
- The correct supply line size for most sinks and toilets is 3/8-inch OD compression. Some older toilets and washing machines require 1/2-inch OD.
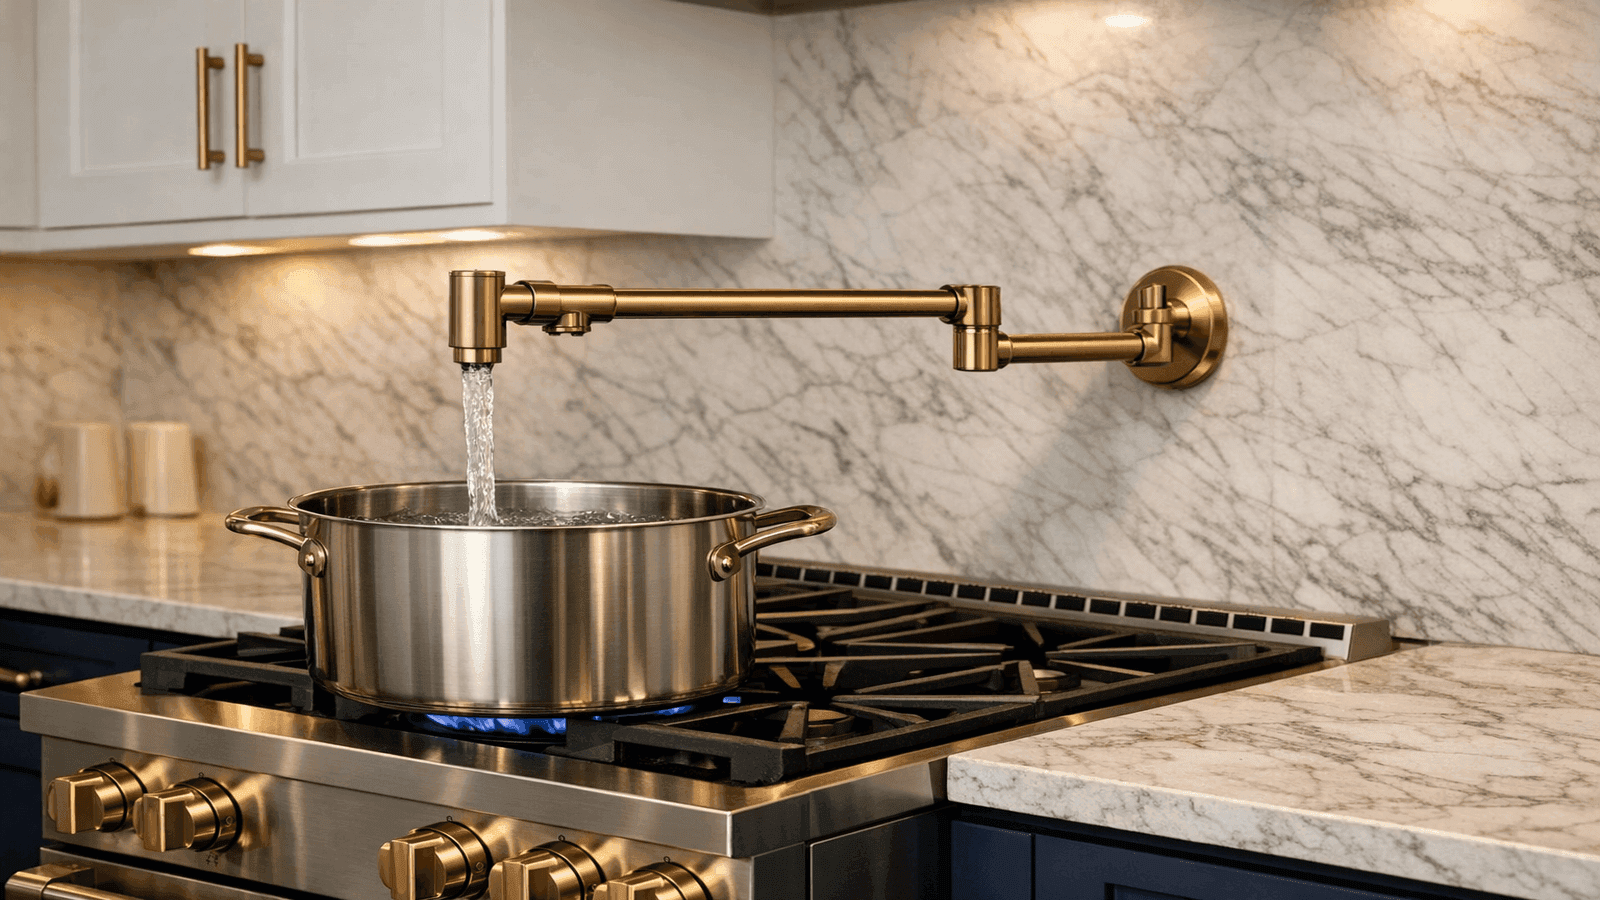
If you have ever needed to repair a leaky faucet or swap out a toilet fill valve and discovered there is no shutoff valve at the fixture, you already understand why this job matters. Angle stop valves, the small quarter-turn valves tucked under sinks and behind toilets, give you per-fixture control over your water supply. Without them, any repair turns into an emergency that forces you to shut off water to the entire house.
This guide covers the four main valve types and which is right for your pipe material, the tools needed for each installation method, full step-by-step instructions for compression valves (the most common type) and SharkBite push-fit valves (the easiest), and the situations where you should hand the job off to a professional.
This guide is part of the DIY Plumbing Guides series on NearbyHunt. Licensed plumbers in the NearbyHunt network confirm that compression shutoff valves, installed correctly at 1/2 turn past hand-tight, rarely fail, and that most valve leaks they are called to fix result from overtightening or a deformed ferrule.
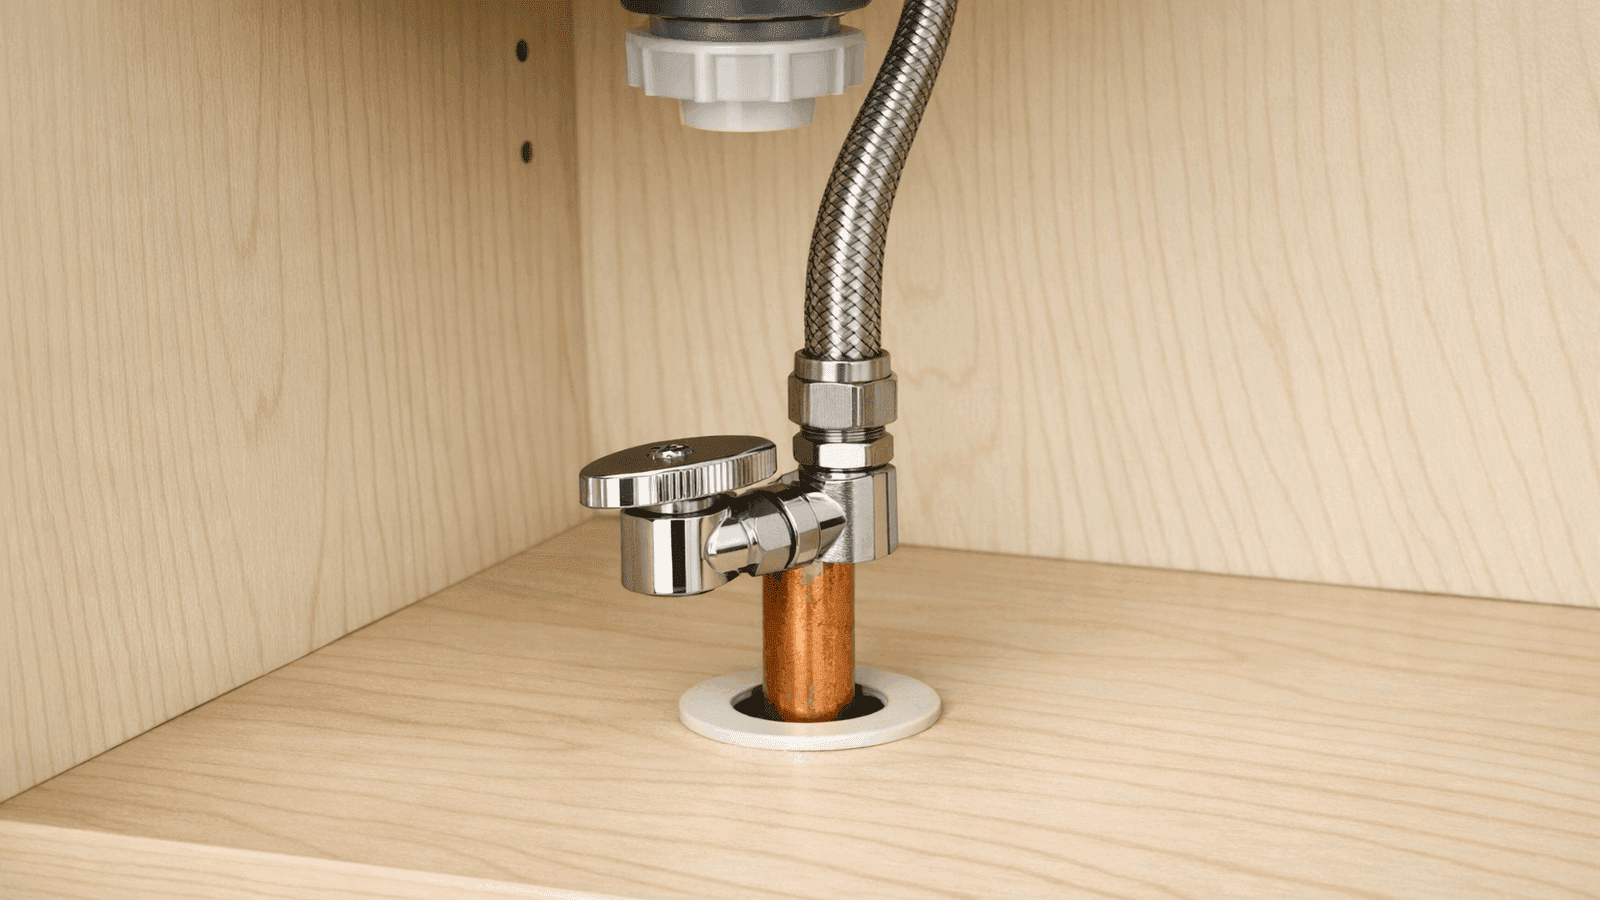
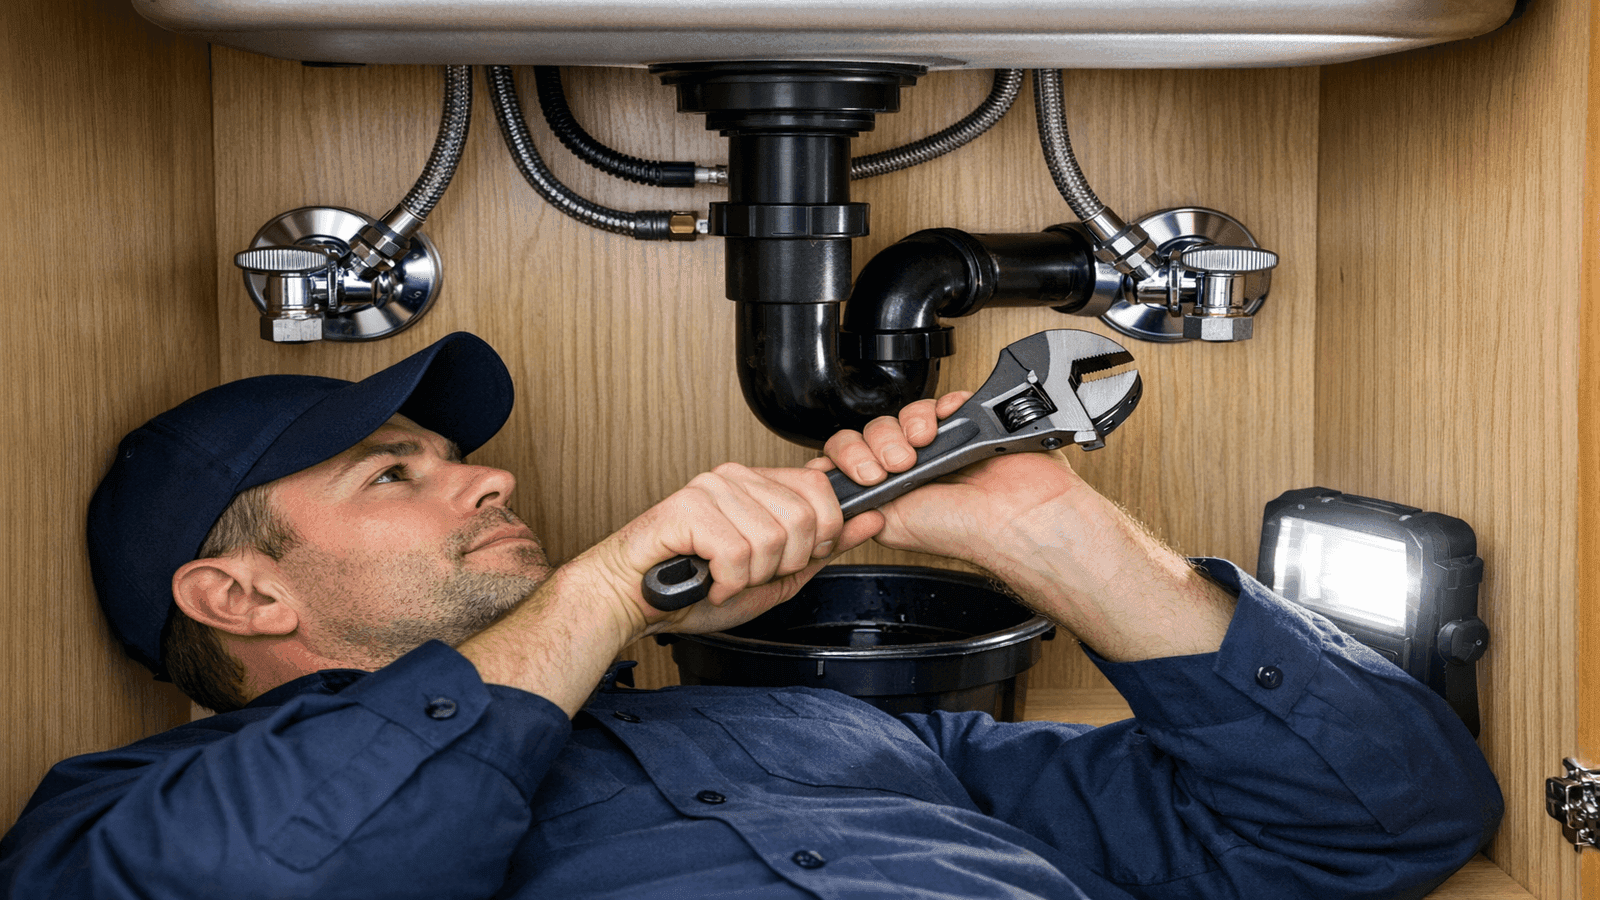
Photo: Under-sink cabinet showing copper stub-out pipe with new angle stop valve installed and braided supply line connected to faucet
Types of Shutoff Valves: Choose the Right One First
Buying the wrong valve means a second trip to the hardware store before you even start. Match your valve type to your pipe material before you open your wallet.
| Valve Type | Best Pipe | Tools Needed | Skill Level | Valve Cost |
| Compression (angle stop) | Copper | Tubing cutter, wrench | Beginner | $6-$15 |
| SharkBite push-fit | Copper, PEX, CPVC | Pipe cutter, deburring tool | Beginner (easiest) | $15-$25 |
| Sweat/solder | Copper | Torch, flux, solder, flux brush | Intermediate | $5-$10 valve |
| Threaded (iron pipe) | Galvanized iron | Pipe wrench, pipe threader | Advanced | $10-$20 |
Multi-turn globe and gate valves are an older style prone to seizing from mineral buildup. Avoid them when replacing existing hardware. Quarter-turn ball valves are the modern standard: faster emergency shutoff, longer service life, and reliable after years of sitting open.
Always buy brass or chrome-plated brass valves. All-plastic valves become brittle over time and are prone to cracking under water pressure. For supply line size, 3/8-inch OD handles most under-sink and toilet connections. Measure your stub-out before purchasing.
When I'm replacing a shutoff valve, I check the depth of the stub-out first. Too short and I'll need to extend it, which is a common surprise in tight cabinet installations. You want at least 1.5 inches of clean pipe beyond the wall or cabinet floor to seat a compression fitting properly. If that's not there, don't force it.

Tools and Materials Needed
Gather everything before you shut off the main supply. Working quickly matters once the water is off.
For compression valve installation:
- Tubing cutter (not a hacksaw; a clean cut is essential)
- Reaming tool or deburring attachment, which most tubing cutters include
- Adjustable wrench or basin wrench
- Teflon tape
- Bucket and towels
For SharkBite push-fit installation:
- Pipe cutter
- Deburring tool (the pipe must be smooth for the O-ring to seal)
- Depth gauge (most SharkBite valves include one in the package)
- Bucket and towels
Materials for either method:
- Replacement angle stop valve (quarter-turn ball type, correct size for your stub-out)
- Braided stainless steel supply line (replace it while you are already under the sink)
- Teflon tape for supply line thread connections
If you are replacing a soldered valve rather than a compression or push-fit type, read the full walkthrough in the Plumbing Soldering Guide before you pick up a torch.
Step-by-Step: Compression Shutoff Valve (Most Common)
Compression valves work on copper pipe and are the type found in the majority of homes built after 1950. The installation takes about 20 minutes once you have your tools ready.
- Shut off the main water supply at the house shutoff valve. If you are not sure where it is, see How to Shut Off Your Water Supply before starting.
- Open a faucet downstream of the work area to relieve line pressure and drain water from the pipe.
- Place a bucket and towels under the work area to catch residual water in the line.
- Use a tubing cutter to cut the copper stub-out cleanly. Rotate one turn at a time, tightening slightly with each rotation. Do not use a hacksaw; a ragged cut prevents the ferrule from sealing.
- Use the reaming blade to deburr the inside edge of the cut pipe. Burrs cause ferrule failure.
- Slide the compression nut onto the pipe with the threaded end pointing toward the valve (away from the wall).
- Slide the compression ring (ferrule) onto the pipe behind the nut.
- Push the valve body onto the pipe end so the pipe is fully seated inside the valve inlet.
- Thread the compression nut onto the valve body inlet by hand until snug.
- Using an adjustable wrench, tighten the nut exactly 1/2 turn past hand-tight. No more. Overtightening deforms the ferrule and causes leaks.
- Turn the main water supply back on slowly.
- Watch the compression nut for 60 seconds with dry hands for any drips.
- Connect the braided supply line to the valve outlet. Wrap the threads with Teflon tape, hand-tighten, then add 1/4 turn with pliers.
- Turn the new angle stop to the open position and check the fixture for normal operation.
I see more failed compression fittings from overtightening than from under-tightening. People assume tighter is better. With a compression fitting, past 1/2 turn you're deforming the ferrule. Once that brass ring is crushed out of round, it will never seal correctly. You'll be back under the sink by morning.
Get quotes from top-rated pros.
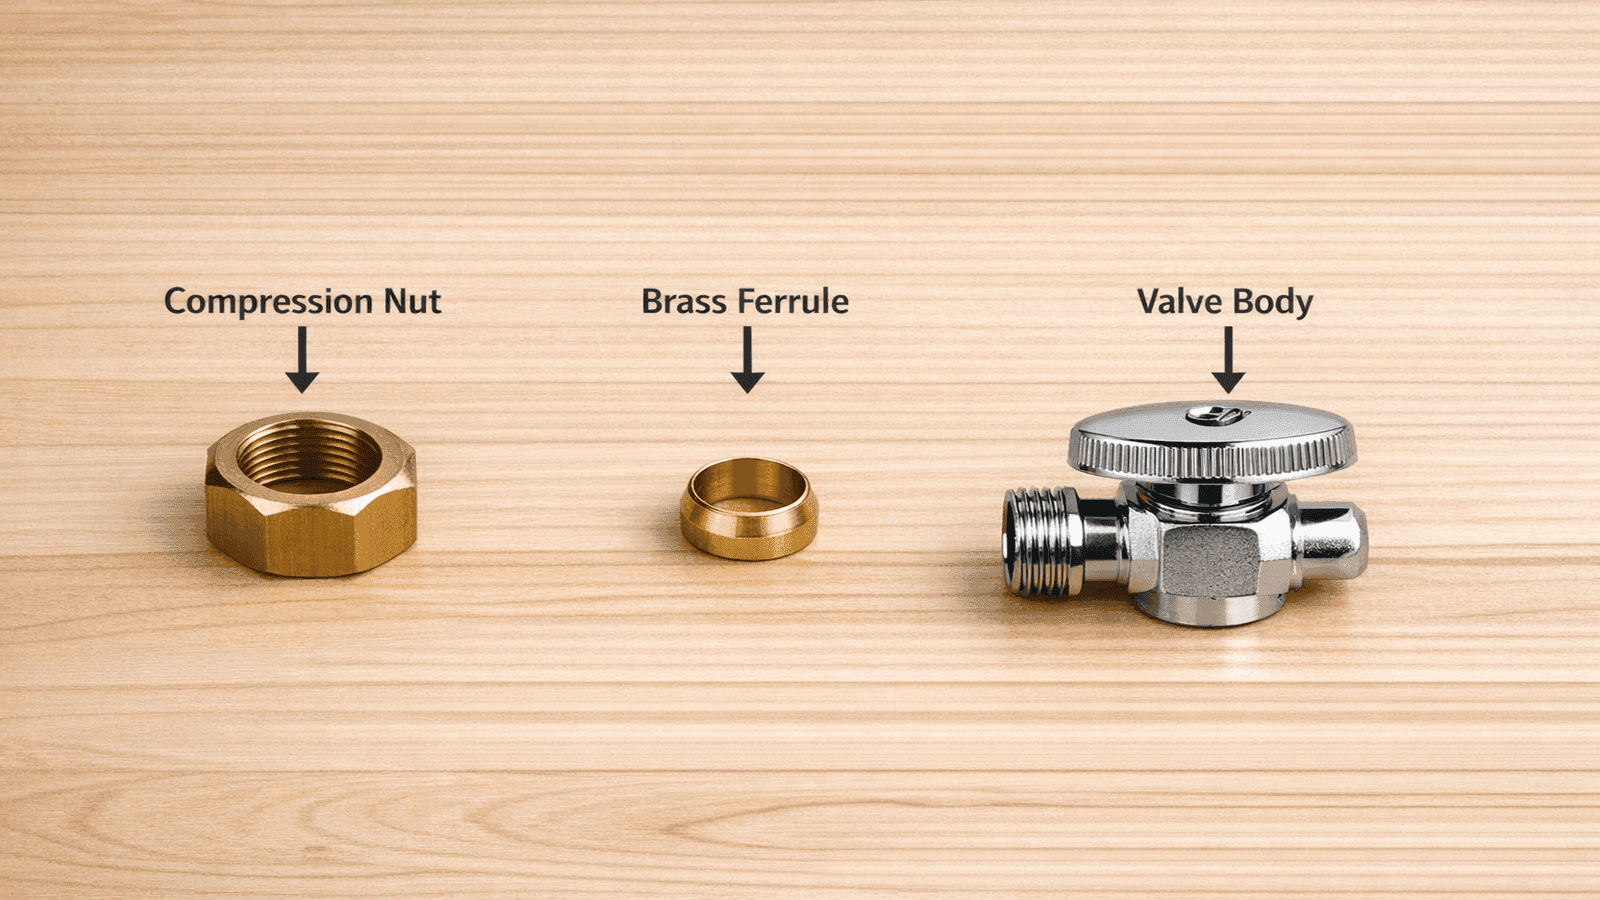
Photo: Close-up of compression nut, ferrule, and valve body laid out in left-to-right assembly order on a workbench with labeled callouts
Step-by-Step: SharkBite Push-Fit Valve (Easiest Method)
SharkBite valves use a grab ring and O-ring seal that grip the pipe when you push the fitting on. No wrench, no solder, no ferrule. The whole installation takes about 10 minutes.
- Shut off the main water supply.
- Open a downstream faucet to drain pressure from the line.
- Cut the copper, PEX, or CPVC stub-out cleanly with a pipe cutter.
- Deburr both the outside and inside edge of the pipe thoroughly. The SharkBite O-ring seats against the outer pipe surface, and any sharp edge will cut the seal.
- Use the depth gauge to mark the correct insertion depth on the pipe with a pencil.
- Push the SharkBite valve straight onto the pipe until you feel it click and the pencil mark disappears into the fitting.
- Turn the main water supply on slowly.
- Check for leaks around the fitting body for 60 seconds with dry hands.
- Connect the supply line and test the valve operation.
When SharkBite is appropriate:
- Emergency repairs where water is actively spraying
- Tight spaces where a wrench cannot reach
- Any pipe material: copper, PEX, or CPVC
When SharkBite is not appropriate:
- Behind a wall or inside a floor where the fitting will be inaccessible
- Permanent hot water line connections where solder is preferred for long-term reliability
- Locations where local code prohibits push-fit connections (check with your local building department)
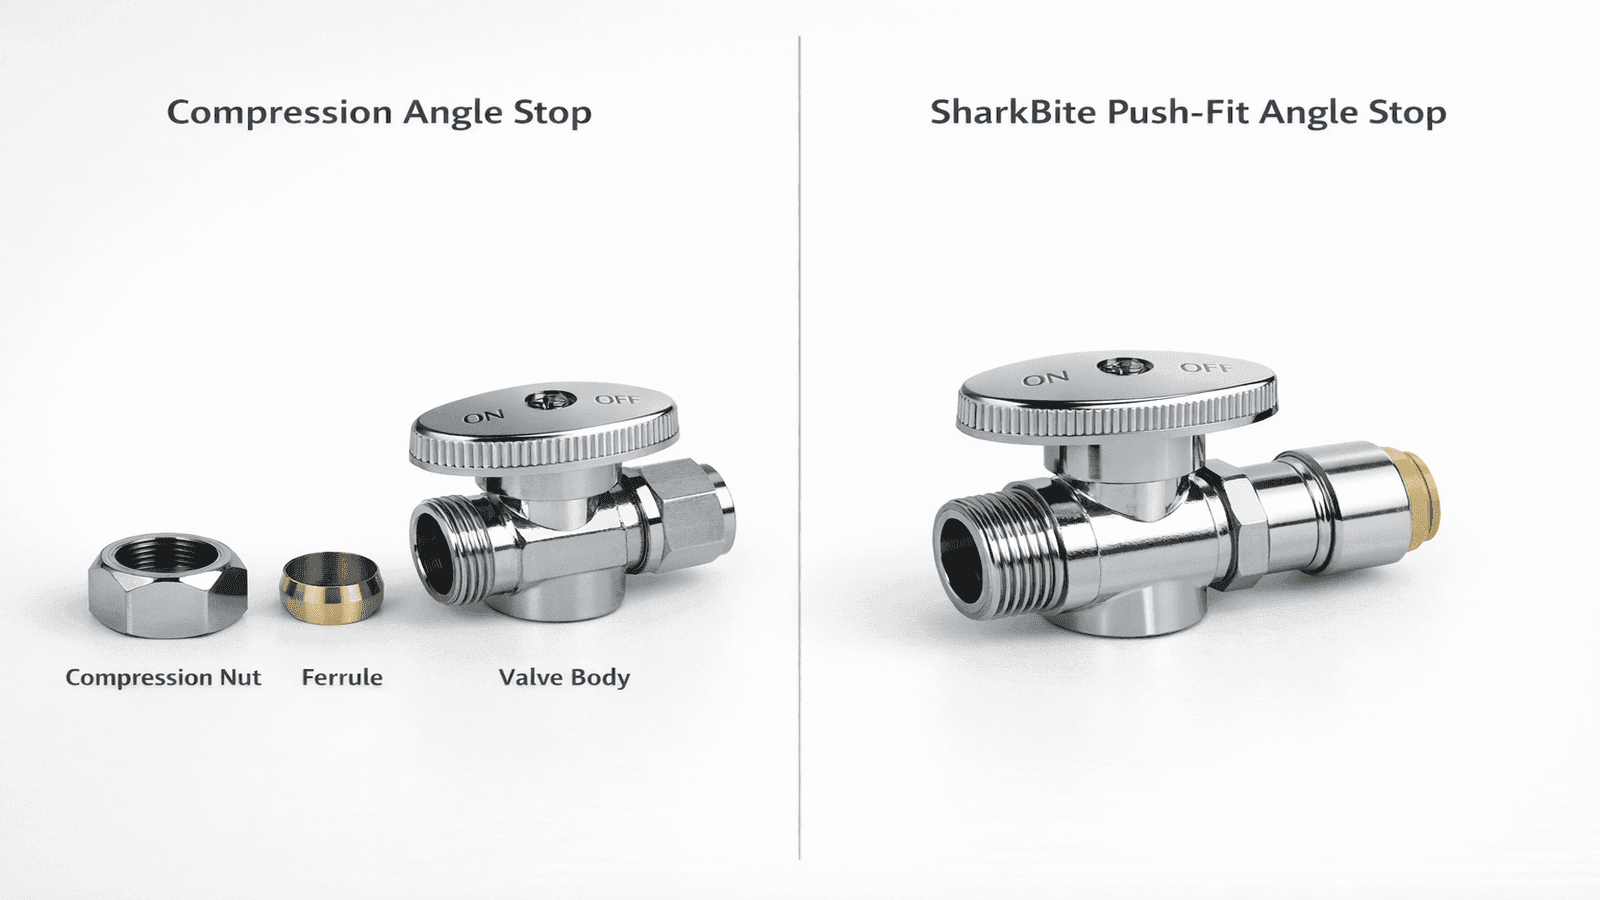
Photo: Side-by-side comparison of compression valve assembly with nut, ferrule, and valve body versus SharkBite single push-fit valve body showing the simplicity difference
Testing and Finishing Up
Do not assume the job is done the moment water flows. A slow weep can take a few minutes to appear.
Let water run through the fixture for 2 full minutes before declaring success. Dry the compression nut and pipe completely, then hold a dry paper towel against the fitting. Even a slow weep will show within 30 seconds on dry paper.
Check the supply line connections at both ends: the valve outlet and the faucet or fill valve inlet. Exercise the new valve by turning it off and back on twice to verify full travel and confirm it stops water completely.
If a compression fitting weeps slightly, try 1/8 turn more on the compression nut. If it still leaks after that, the ferrule is damaged. Shut off the main, cut the fitting off entirely, and start with a new ferrule. Do not try to salvage a deformed brass ring.
SharkBite valves are excellent for emergencies and tricky spots. That said, I've been plumbing for 18 years and I still prefer solder for anything on a hot water line that isn't going to be touched again. Push-fit fittings are rated for it, but in my experience the solder joint has never once failed on me when done correctly. For cold lines and toilets, SharkBite is completely fine.
When to Call a Plumber
Some situations fall outside the scope of a DIY shutoff valve replacement. Recognizing them before you start saves you from a bigger problem.
Call a licensed plumber if:
- The copper stub-out is corroded, pitted, or covered in green oxidation. Cutting into compromised copper often reveals the pipe is thinner than it looks.
- The supply pipe is galvanized iron (gray, threaded connections). This requires threading tools and experience to do safely.
- The valve is located inside a wall, under a slab, or in any inaccessible location.
- You cut the stub-out and it is now too short to seat any fitting (less than 1 inch of pipe exposed).
For solder valve installation on accessible copper pipe, the full step-by-step is in the Plumbing Soldering Guide.
Cost reality: Professional angle stop replacement runs $75-$200 in most markets for labor, with valve parts adding $6-$25. Galvanized pipe replacement runs $200-$500 depending on run length. Once you have successfully installed one compression valve yourself, the DIY case for every future fixture replacement is obvious.
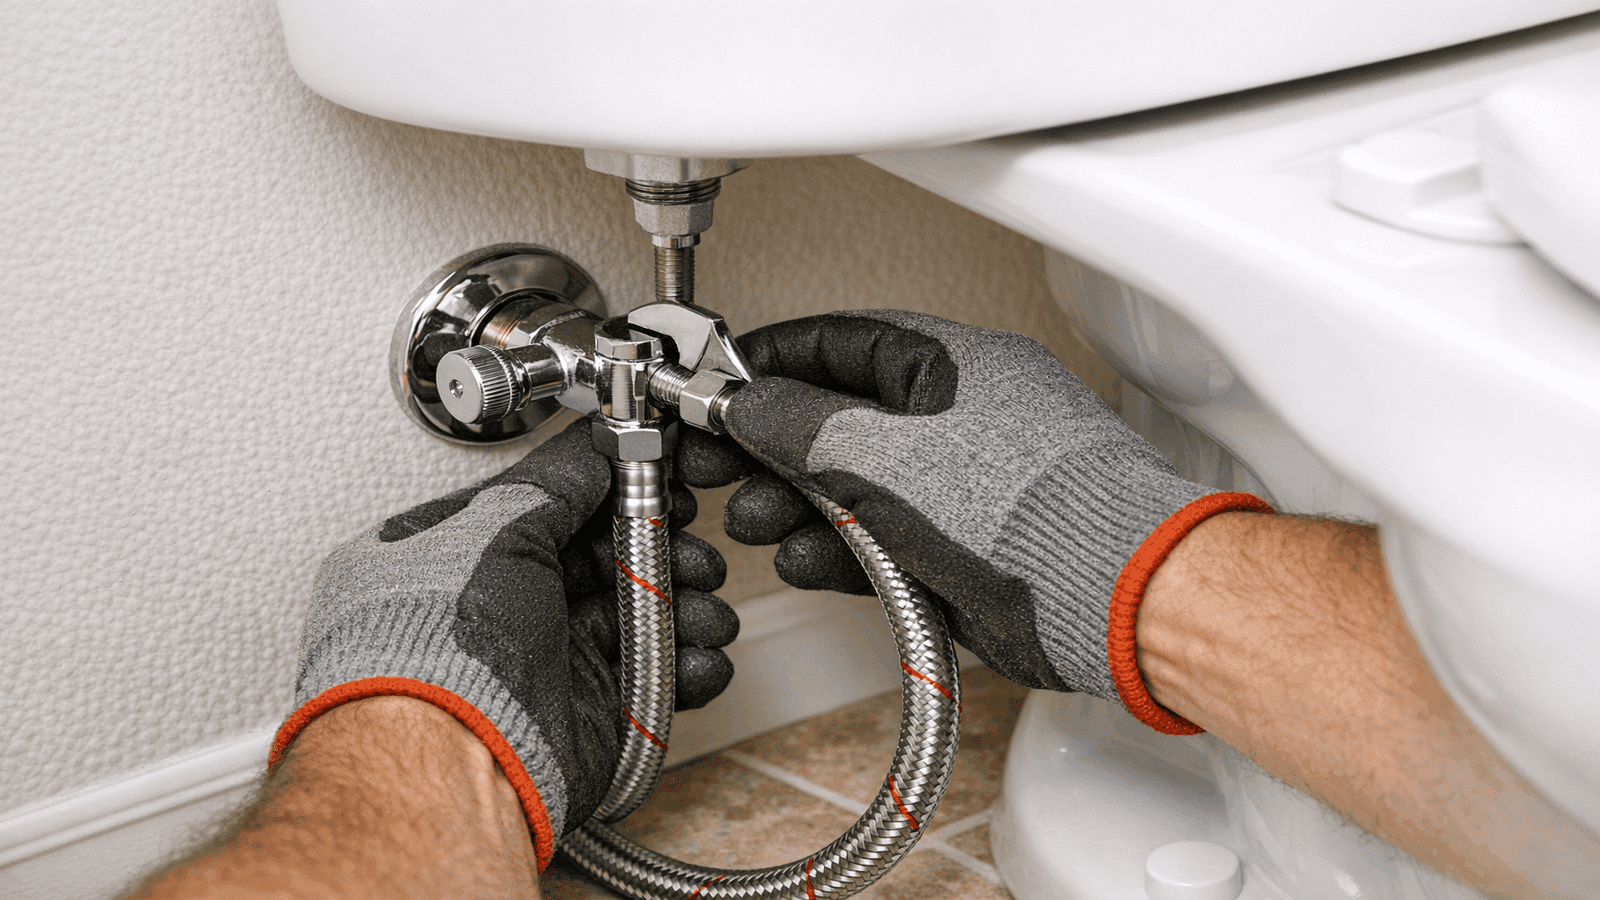
Photo: Plumber's hands under toilet tank connecting a new chrome angle stop valve with a braided stainless steel supply line
Conclusion
Installing a shutoff valve under a sink or behind a toilet is one of the most practical plumbing projects a homeowner can tackle. Compression valves cost $6-$15 and last 20-25 years with correct installation. SharkBite valves at $15-$25 get the job done in 10 minutes without any special tools. Both methods are within reach for a beginner who follows the steps carefully. The key rule for compression fittings is 1/2 turn past hand-tight and no more. The key rule for SharkBite is a clean, deburred pipe and full insertion to the depth mark. Get those two things right and you will not have a leak.
Disclaimer: Cost ranges listed in this guide are national averages based on 2025-2026 industry data. Actual costs vary by location, severity, and contractor. Always get multiple quotes for plumbing work. Prices in major metro areas may run 20-40% higher than national averages. This guide is for educational purposes; consult a licensed plumber for issues beyond basic DIY repairs.

Michael Jennings is a licensed master plumber & water systems specialist with over 18 years of hands-on experience in residential and commercial plumbing, serving clients across California and Texas. At NearbyHunt, he shares practical advice on pipe installations, water heater maintenance, and home plumbing upgrades. Michael has helped thousands of homeowners prevent costly water damage and improve water efficiency through modern plumbing solutions.

Robert is a licensed master plumber with over 20 years of experience serving both residential and commercial clients across the Midwest. Specialising in advanced plumbing systems and sustainable water technologies, Rob brings deep technical insight and hands-on expertise to every project. As a reviewer for NearbyHunt, he ensures all plumbing content reflects the highest standards of safety, compliance, and practicality.