- Water damage is the most costly home emergency: insurance companies pay an average of $13,954 per water-related claim, and severe incidents can reach $40,000 or more in structural damage.
- A burst pipe can release 100 or more gallons per hour: homeowners who shut off water within 10 minutes of a pipe failure avoid the majority of structural damage.
- Three valve types control your water: the main house shutoff (ball or gate valve), fixture shutoffs (angle stops), and the street-level curb stop at the meter box.
- Ball valves close in one quarter turn: turn the lever handle perpendicular to the pipe and water stops immediately. Gate valves require multiple clockwise rotations.
- 14,000 homes are affected by water damage every single day in the United States, making shutoff knowledge one of the highest-value emergency skills any homeowner can have.
- Knowing where your main shutoff is before an emergency can mean the difference between a $500 plumber call and a $15,000 restoration bill.
Find & Use Every Shutoff Valve Before an Emergency
Every second a burst pipe or failed supply line runs unchecked adds roughly one to two gallons of water to your floors, walls, and subfloor. Insurance data shows the average water damage claim runs $13,954, and incidents involving extended flow times routinely exceed $25,000. The single most effective action any homeowner can take is knowing exactly where their water shutoff is and how to operate it before an emergency happens.
This guide covers everything you need:
- The three valve types found in every home and how each one works
- How to locate your main shutoff based on your home's foundation type
- How to shut off water to individual fixtures without cutting the whole house
- What to do when a valve is seized and won't turn
- The next steps after the water is off
This guide is part of the DIY Plumbing Guides series on NearbyHunt.
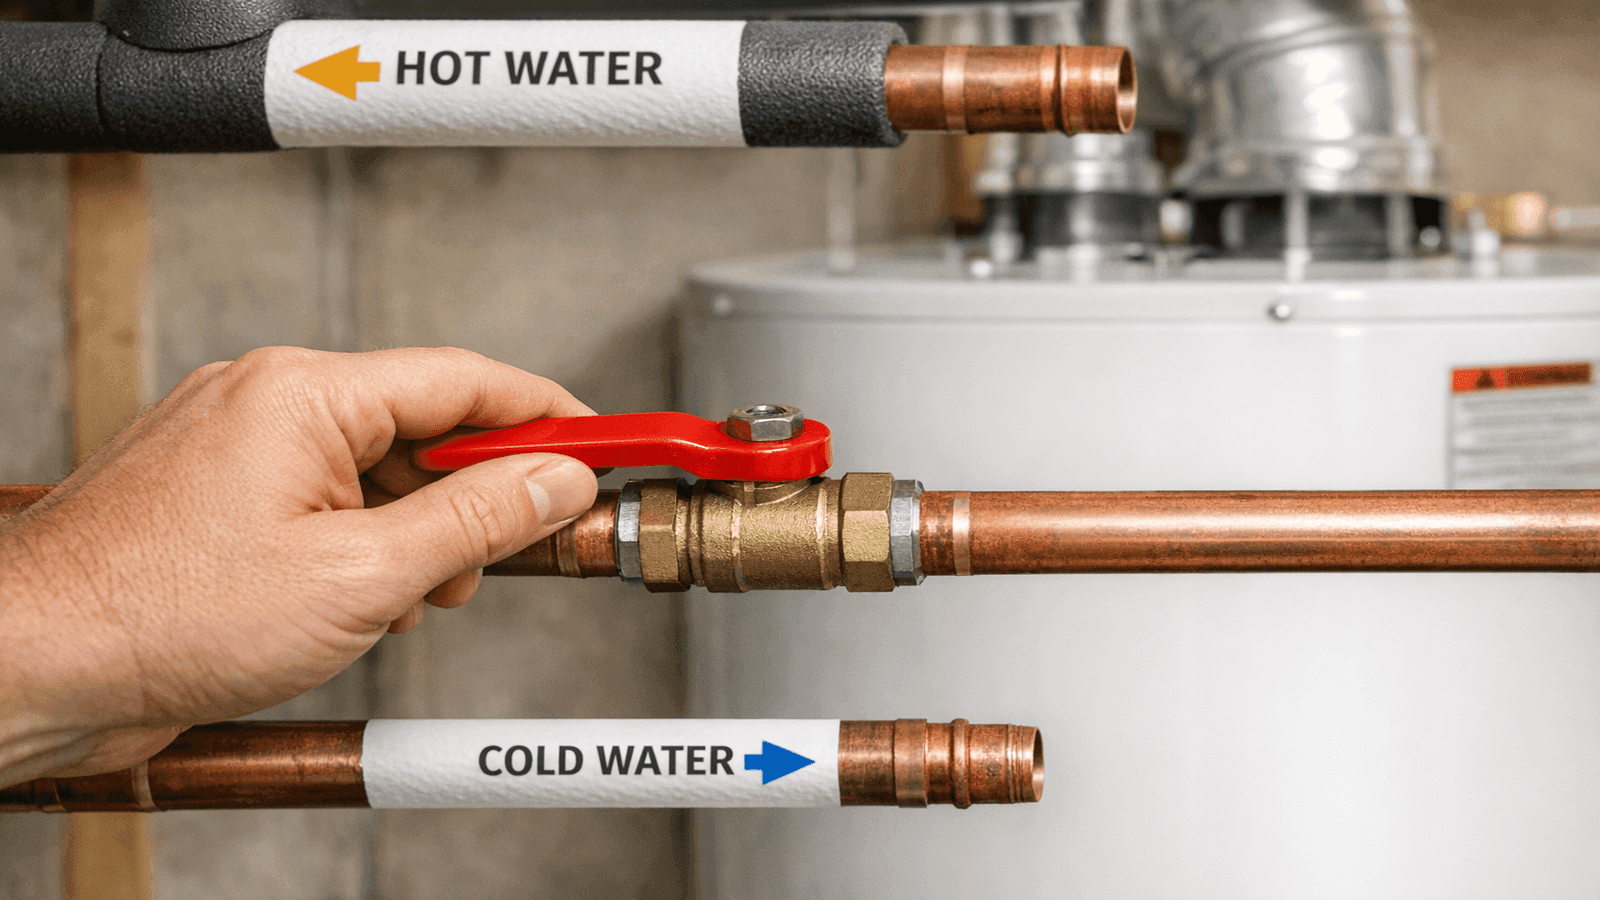
Photo: Homeowner turning a red-handled ball valve shutoff in a basement utility area
3 Types of Shutoff Valves
Your home has multiple layers of water control, and knowing which valve to reach for in a specific situation saves critical time. The three main types are the main house shutoff, fixture shutoffs (angle stops), and the street-level curb stop.
| Valve Type | Location | What It Controls | How to Operate |
| Main house shutoff (ball valve) | Basement, utility closet, garage | All water into the home | Turn lever handle 1/4 turn until perpendicular to pipe |
| Main house shutoff (gate valve) | Older homes, near water meter entry | All water into the home | Turn wheel clockwise until it stops (multiple full turns) |
| Fixture shutoff (angle stop) | Under sinks, behind toilet, behind washing machine | One fixture or appliance | Turn oval handle clockwise until snug |
| Street curb stop (meter box) | Underground box near property line or sidewalk | All water to the property | Requires a meter key tool; turn slot clockwise |
Ball valves are the modern standard. The lever runs parallel to the pipe when open and perpendicular when closed. Gate valves use a round wheel handle and require many turns to close fully. If your home was built before 1990, it likely has gate valves throughout.
The distinction matters in an emergency. A ball valve stops water in under two seconds. A gate valve on a main line can take 10 or more full turns to fully seat, which adds up when gallons are flowing onto your floor.
I respond to burst pipe emergencies every winter in Dallas, and when I ask homeowners where their shutoff is, at least half of them have no idea. Some have never touched it in 10 or 15 years of ownership. The ones who couldn't find it in the first five minutes are the ones writing checks to restoration companies afterward. I've seen $15,000 to $40,000 in damage that was entirely preventable if someone had known where to look. Walk through your house this week. Find it. Turn it. Make sure it actually works.

How to Find Your Main Shutoff Valve
Location depends almost entirely on your home's foundation type. Use the section below that matches your situation.
Basement homes: The main shutoff is almost always on the wall facing the street, within three to five feet of where the water main enters the foundation. Look for a pipe coming through the concrete floor or wall with a valve within arm's reach of the entry point.
Crawl space homes: The shutoff is typically inside the crawl space itself, near where the main line enters. It may also have been relocated to a more accessible spot near the water heater or under the kitchen sink. Check both locations.
Slab foundation homes: The shutoff is typically near the water heater, inside a utility closet, or in the garage. In warm-climate states, some slab homes have the shutoff just inside the garage wall or in a small exterior utility box.
Apartments: Individual units typically have a shutoff near the water heater or inside a utility closet. If no unit-level shutoff exists or it will not turn, contact the building superintendent immediately. Building master shutoffs are in mechanical rooms accessible only to building staff.
Condos: Most condos have a unit-level shutoff (same locations as apartments) plus a building master. Know both before you need either.
If you cannot find the main shutoff, use the street curb stop:
- Look for a metal or plastic cover at ground level near the sidewalk, curb, or property line
- A standard meter key (available at hardware stores for $10-$20) fits the slot inside
- Turn the slot 90 degrees clockwise to close
- Use this only as a last resort; it cuts water to the entire property and should be restored by the utility or a licensed plumber
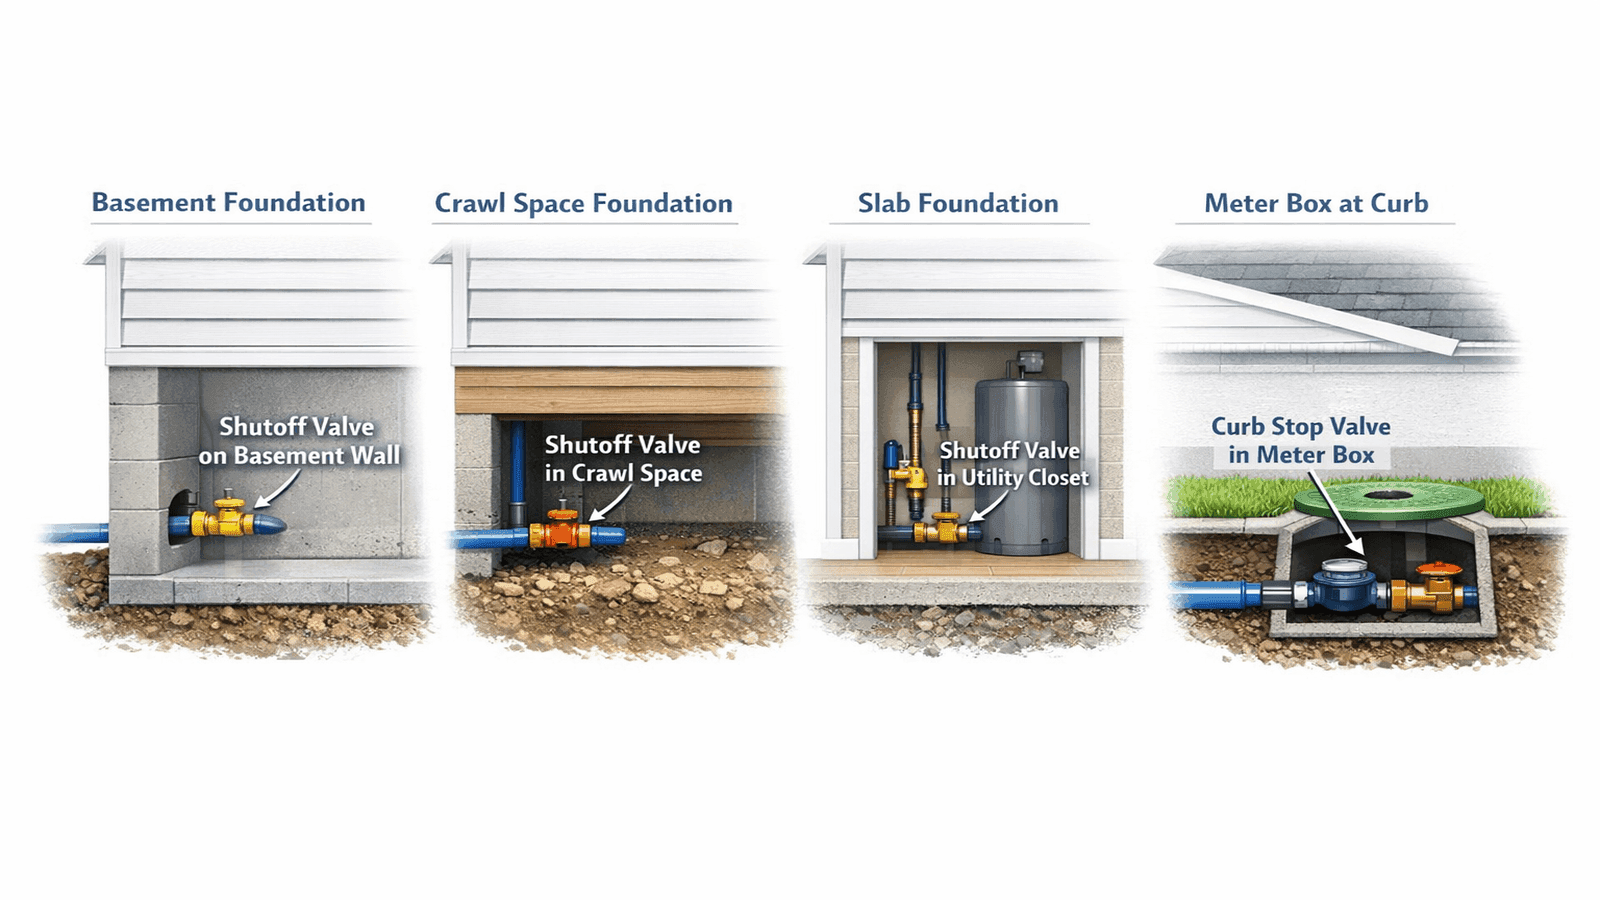
Photo: Diagram showing four common main shutoff locations by home type: basement wall, crawl space entry, utility closet near water heater, garage exterior wall
How to Shut Off Water to Individual Fixtures
Fixture shutoffs let you isolate a single toilet, sink, washing machine, or water heater without affecting the rest of the house. This is the right move for leaking supply lines, faucet replacements, and toilet repairs. You keep water running everywhere else while you work.
Toilet: The supply valve is on the wall behind the toilet base, below the tank. It has an oval handle. Turn clockwise until snug to stop water flow. Do not overtighten.
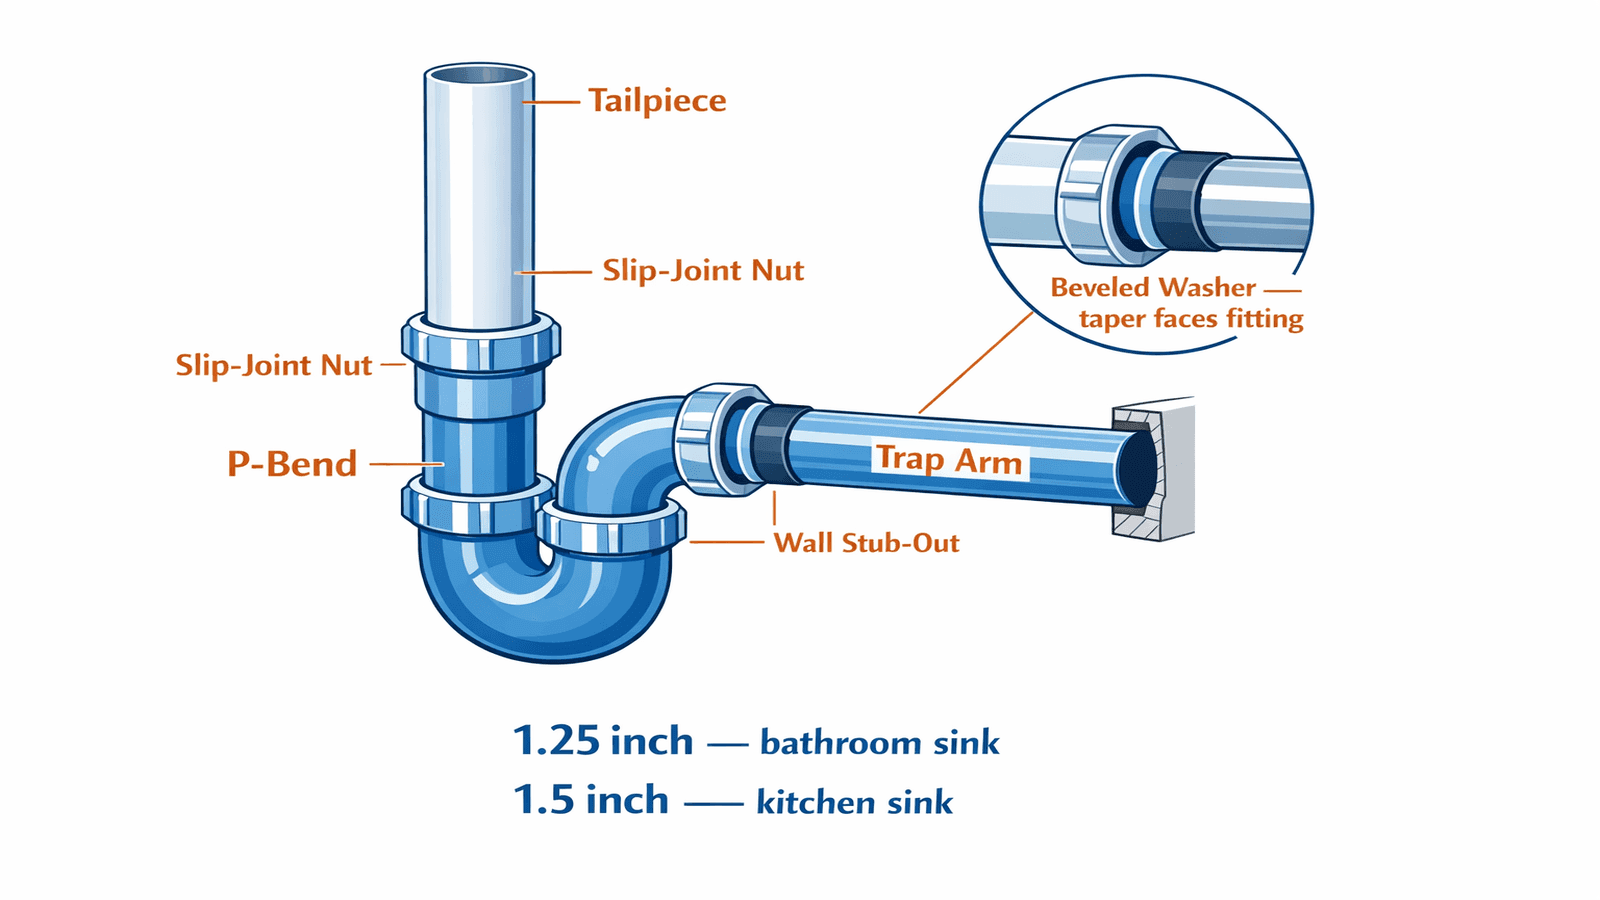
Bathroom or kitchen sink: Open the cabinet under the sink. Two angle stops (hot and cold) sit on the supply lines running up to the faucet. Turn both clockwise before any faucet work. See Fix a Leaky Faucet for full repair steps, or Replace a P-Trap for drain work that also requires cutting the supply.
Washing machine: Two hose bibb valves are on the wall behind the machine (hot and cold). Turn both handles clockwise. If the machine is in a closet with limited access, you may need to pull the unit out slightly to reach them.
Water heater: The cold-water supply valve is on top of or directly above the unit. Turn clockwise. Always shut off the water heater power or gas before cutting the water supply to avoid dry-firing the heating element.
General rule: All residential fixture shutoffs close clockwise. "Righty tighty, lefty loosey" applies to every angle stop and gate valve in your home.
Get quotes from top-rated pros.
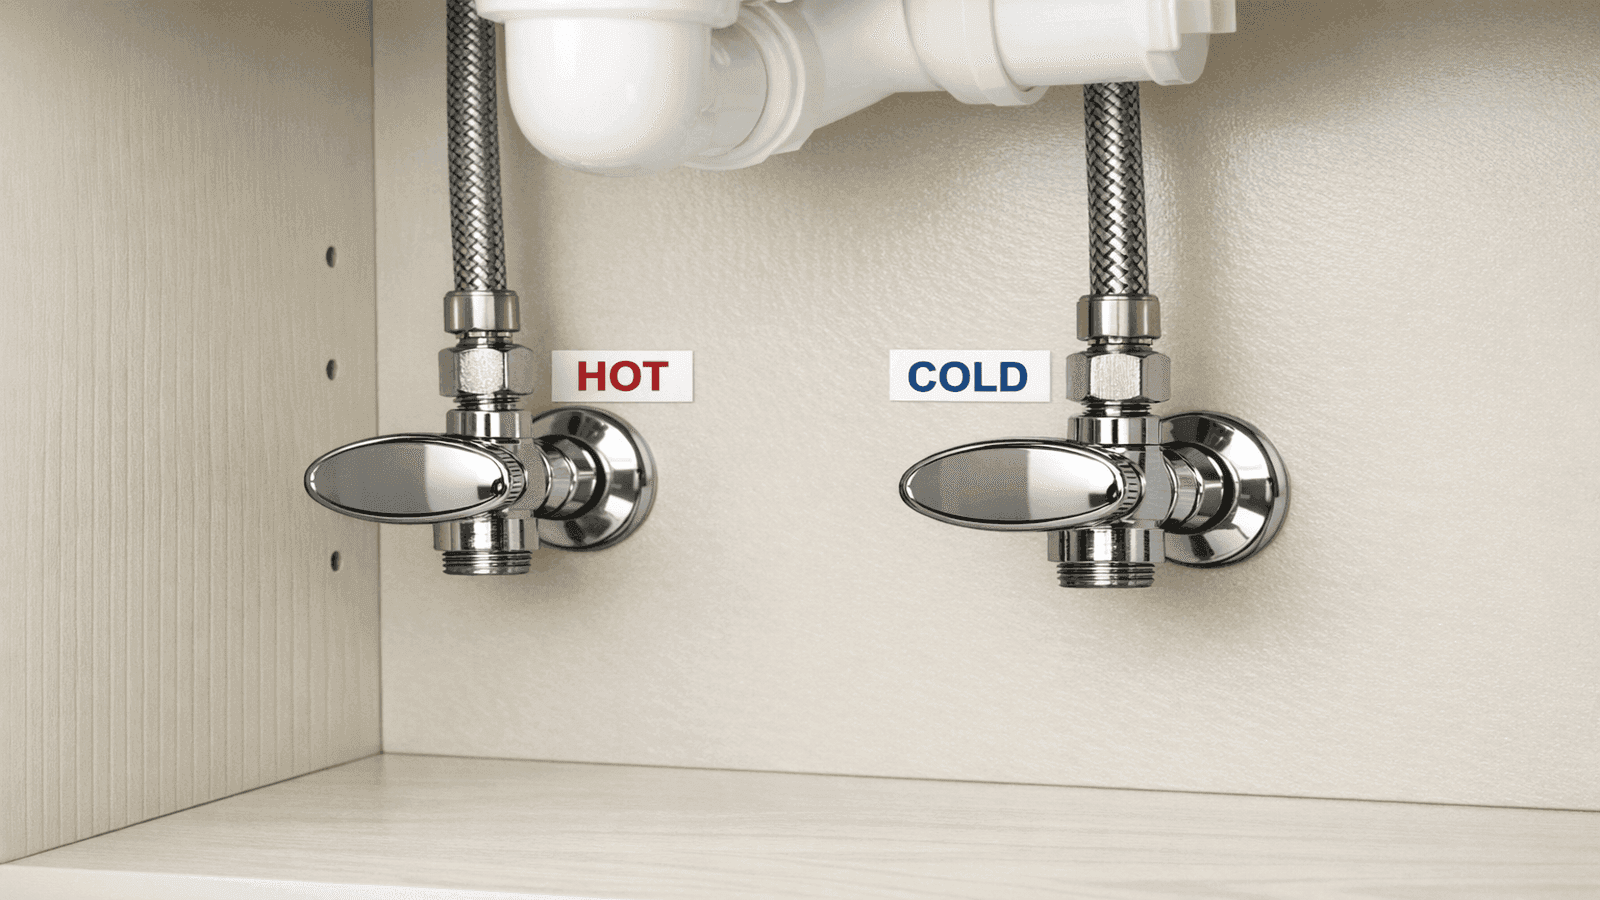
Photo: Under-sink angle stop valve with supply lines connected, oval handle visible, cabinet door open
I tell every homeowner to test their fixture shutoffs once a year. Angle stops that sit untouched for years develop mineral buildup and will not turn when you need them. If you try to shut off the toilet valve in an emergency and it won't move, you've just lost your only option short of cutting the main. Turn them once a year, every year. It takes two minutes per valve and could save you thousands.
When the Valve Won't Turn (Stuck or Seized Valve)
A gate valve that has not moved in years is the most common seized-valve scenario. Mineral scale and corrosion bond the stem in place. Do not panic, but do not force it blindly either.
For a stuck gate valve:
- Apply penetrating oil (WD-40 or similar) around the stem where the handle meets the valve body
- Wait five minutes
- Apply firm, steady pressure clockwise. Do not use a pipe wrench for extra torque on residential shutoffs
- If it moves even slightly, alternate between a quarter turn clockwise and counterclockwise to work the scale loose
- Stop immediately if you feel or hear cracking or grinding: forcing a seized gate valve can snap the stem and turn a stuck valve into a gusher
For a stuck ball valve: Ball valves rarely seize if they have been operated occasionally. If one is frozen in position, the same penetrating oil approach applies, but the 90-degree movement required gives you more mechanical advantage than a gate valve.
When NOT to force it: If the valve body feels brittle, shows visible corrosion pitting, or the handle shears under moderate pressure, stop immediately and go to the street curb stop. A snapped valve stem requires immediate professional repair.
If the valve is beyond saving: A stuck or corroded shutoff is a replacement job. See Install a Shutoff Valve for step-by-step replacement guidance. A quality quarter-turn ball valve costs $10-$30 and takes under an hour to install with basic tools.
After Shutting Off: What to Do Next
Stopping the water is step one. What happens in the next 30 minutes determines how much the incident costs.
Immediate steps (within 30 minutes):
- Open the lowest faucet in the house (usually a basement or ground-floor tap) to drain residual water from the pipes and reduce pressure on any damaged area
- Photograph all visible damage immediately, before any cleanup: walls, floors, ceilings, standing water depth. This is your insurance documentation
- Remove standing water with towels, a wet/dry vacuum, or a mop. Do not wait for the plumber to arrive before starting
- Move furniture, rugs, and electronics out of affected areas
- Set up fans to begin drying immediately. Mold begins developing within 24 to 48 hours in wet materials
Emergency plumber versus next-day call:
- Call immediately (emergency rate): active leak source unknown, pipe burst inside a wall, sewage involved, water near an electrical panel
- Next-day call is appropriate: supply line replaced, fixture shutoff turned off successfully, no structural water penetration visible
Insurance: Call your homeowners insurance the same day, even if the damage looks minor. Most policies cover sudden and accidental water damage from internal plumbing. The average claim payout runs $13,954 according to 2025 insurance industry data.
The biggest mistake I see after a burst pipe is homeowners waiting for the plumber before doing anything. Call us, then start moving. Pull up wet rugs. Get a fan running. The plumber fixes the pipe; the restoration company fixes the damage. Restoration costs are almost entirely driven by how wet the building materials got and for how long. Fifteen minutes of cleanup work while waiting for me to arrive can cut your restoration bill in half.
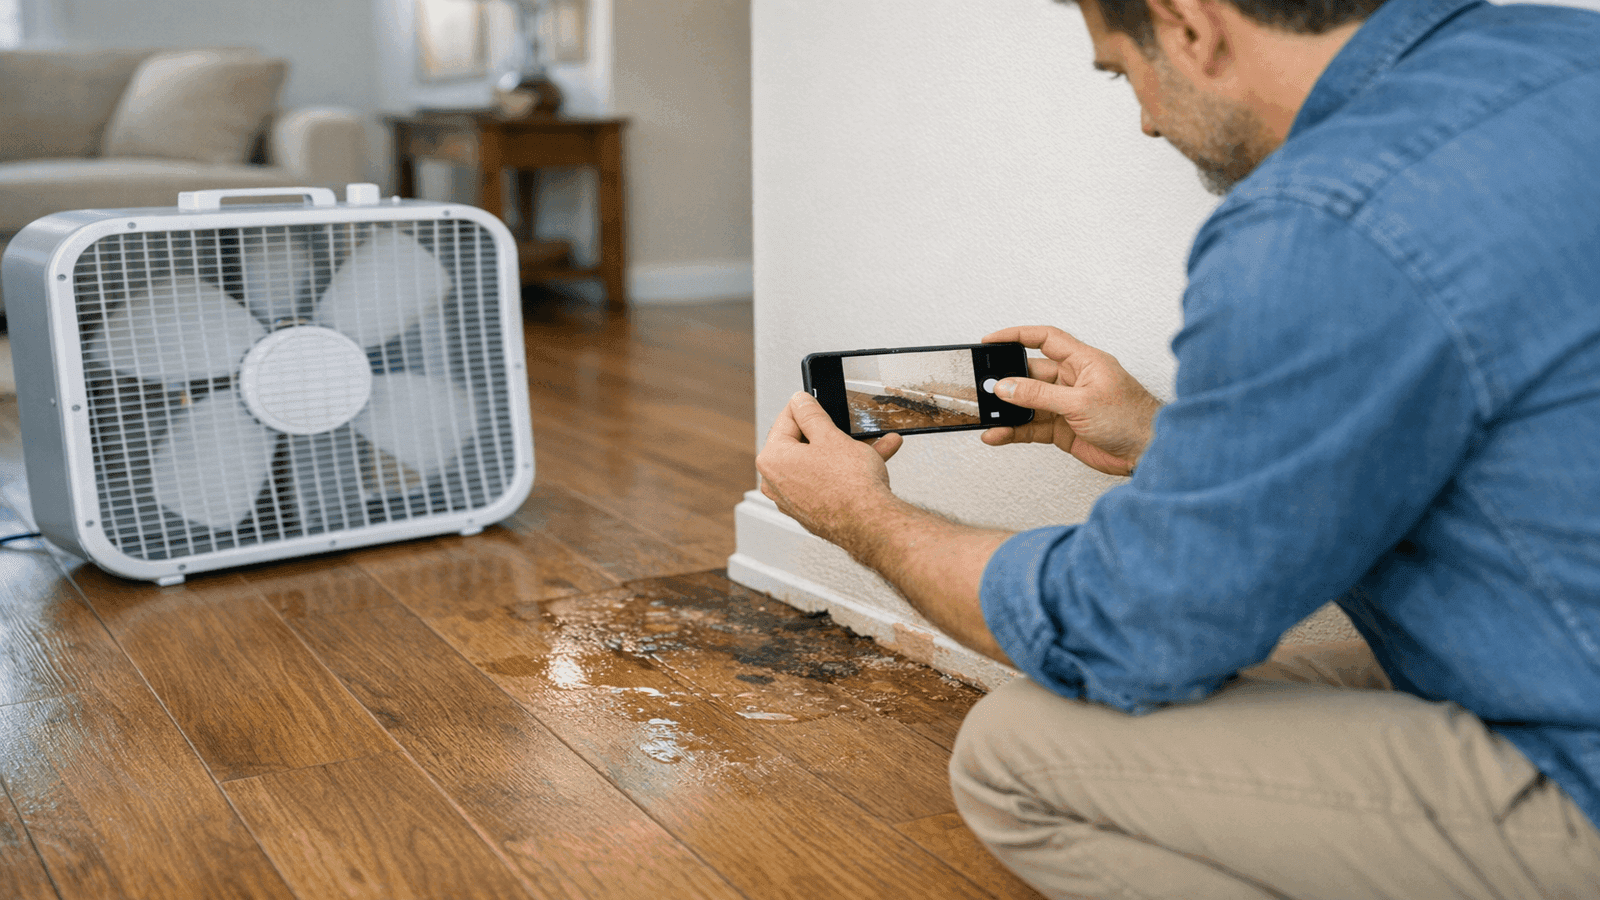
Photo: Homeowner photographing water damage on flooring with a phone while a fan runs nearby
Conclusion
Knowing how to shut off your water supply is one of the most practical skills a homeowner can have in 2026. The difference between acting in the first five minutes and fumbling for 30 is often the difference between a simple repair call and a five-figure restoration project. Walk through your home this week, locate the main shutoff, and test every fixture valve. If any valve is seized or corroded, replace it now, while it is not an emergency.
For a broader look at DIY plumbing repairs, visit the full DIY Plumbing Guides resource on NearbyHunt.
Disclaimer: Cost ranges listed in this guide are national averages based on 2025-2026 industry data. Actual costs vary by location, severity, and contractor. Always get multiple quotes for plumbing work. Prices in major metro areas may be 20-40% higher than the national average. This guide is for educational purposes; consult a licensed plumber for issues beyond basic DIY repairs.

Michael Jennings is a licensed master plumber & water systems specialist with over 18 years of hands-on experience in residential and commercial plumbing, serving clients across California and Texas. At NearbyHunt, he shares practical advice on pipe installations, water heater maintenance, and home plumbing upgrades. Michael has helped thousands of homeowners prevent costly water damage and improve water efficiency through modern plumbing solutions.

Robert is a licensed master plumber with over 20 years of experience serving both residential and commercial clients across the Midwest. Specialising in advanced plumbing systems and sustainable water technologies, Rob brings deep technical insight and hands-on expertise to every project. As a reviewer for NearbyHunt, he ensures all plumbing content reflects the highest standards of safety, compliance, and practicality.