- HVAC capacitors store dangerous electrical charges of 200-400 volts even when the system is powered off, making proper discharge the most critical safety step before any testing [1].
- A digital multimeter with capacitance mode can confirm capacitor failure in under five minutes, potentially saving $150-$400 on a diagnostic service call [2].
- Capacitors reading more than 6% below their rated microfarad value are failing and need replacement, even if the system still runs intermittently [3].
- Dual run capacitors are the most common type in residential AC units and contain two separate capacitor sections in one housing, one for the compressor and one for the fan motor [4].
- Professional capacitor replacement costs $150-$400 including labor, while the part itself typically costs $10-$50, making this one of the most affordable HVAC repairs [5].
A capacitor that tests bad is one of the most common and least expensive reasons an air conditioner stops working. The part costs $10-$50. The service call to diagnose and replace it runs $150-$400. If you own a digital multimeter and understand electrical safety, you can test the capacitor yourself and confirm whether replacement is needed before calling a technician.
This is not a beginner task. HVAC capacitors store enough voltage to cause serious injury or death even after the system is shut off. Daniel Torres, a Certified HVAC Technician with EPA 608 Universal and NATE certifications and 14 years of field experience in Minneapolis, MN, walks through every step of the testing process with the safety protocols he follows on every service call.
This guide was reviewed by Christine Walters, an expert reviewer with EPA 608, NATE, and OSHA 10-Hour certifications and 17 years of HVAC experience in Kansas City, MO.

Get quotes from top-rated pros.
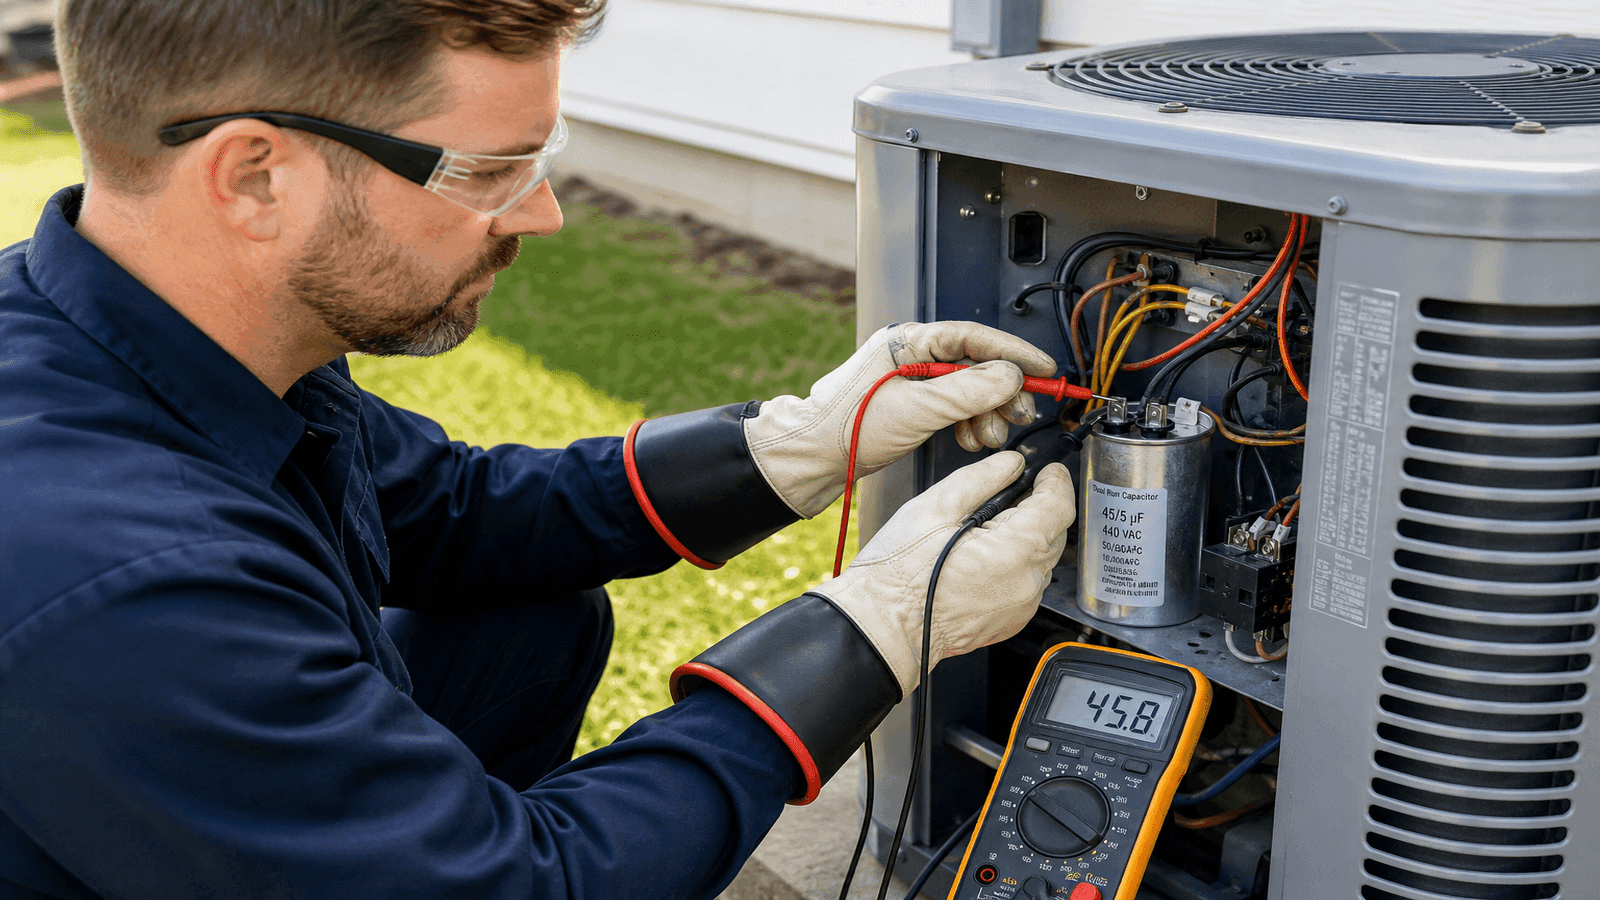
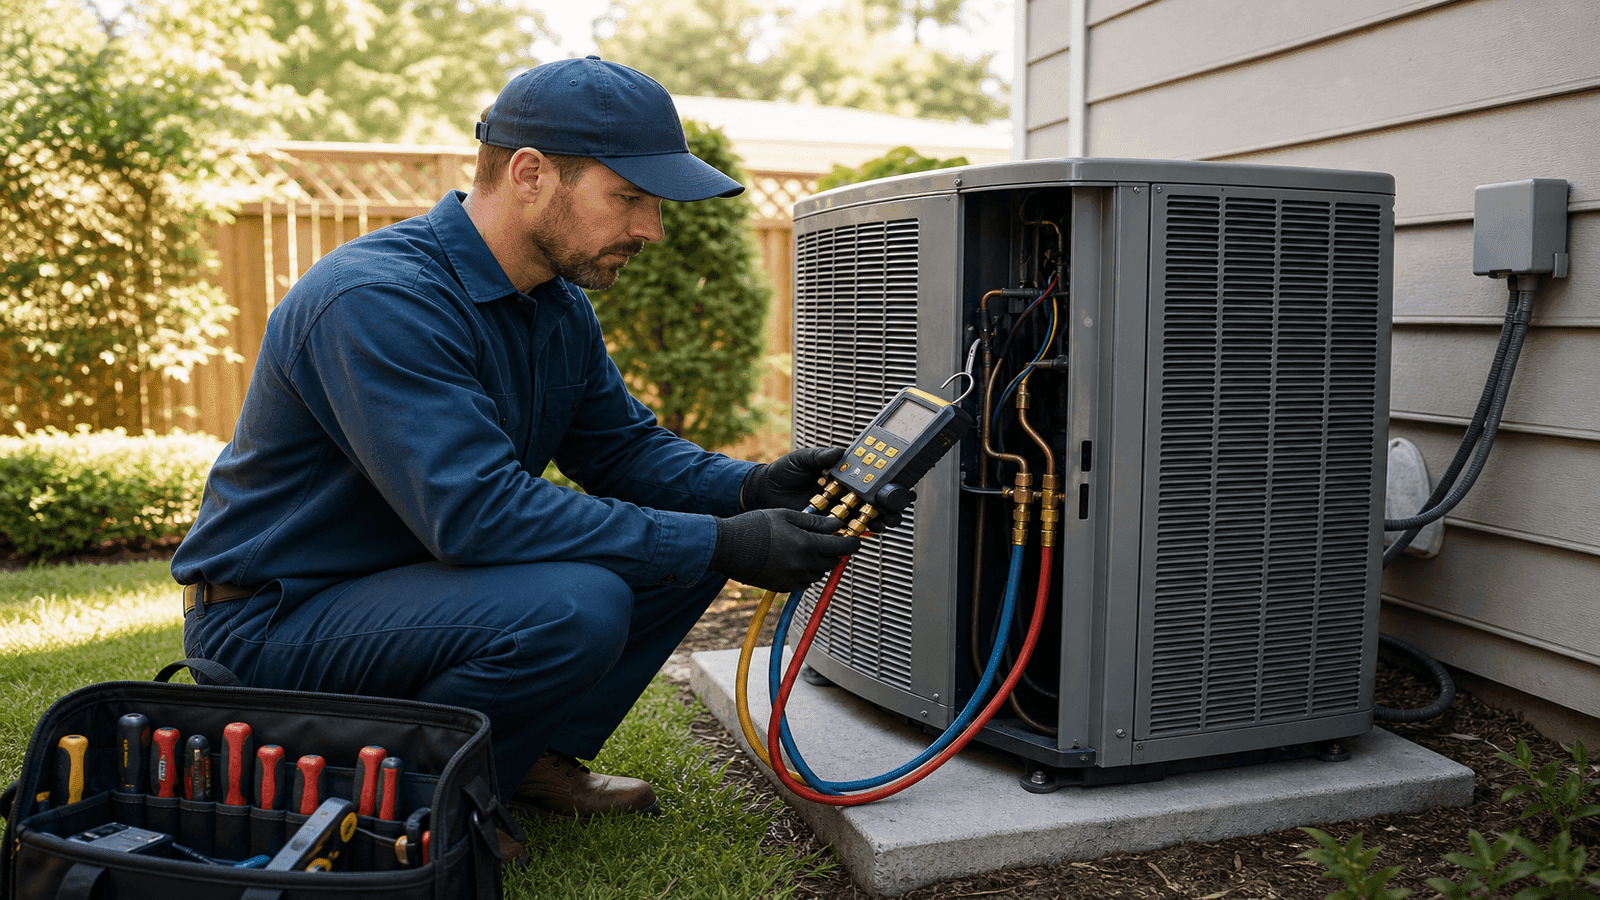
Photo: Technician using a digital multimeter to test an HVAC capacitor inside an outdoor AC condenser unit with safety gloves and insulated tools
Safety Warnings
Capacitors can kill you. That is not an exaggeration. HVAC capacitors operate at 200-400 volts and retain their full charge after the system is powered off [1]. Touching the terminals without discharging first can cause severe electrical burns, cardiac arrest, or death.
Before you touch anything inside your AC unit, you need the following protective equipment and tools:
Required Safety Gear:
- Insulated electrical gloves rated for at least 500 volts
- Safety glasses or goggles
- Insulated screwdriver with rubber or plastic handle
- Rubber-soled shoes (never work barefoot or in wet conditions)
- Digital multimeter with capacitance (uF) mode
Required Safety Steps (Non-Negotiable):
- Turn off the AC system at the thermostat
- Turn off the circuit breaker for the outdoor unit
- Turn off the disconnect switch near the outdoor unit
- Wait at least 5 minutes before opening the access panel
- Discharge the capacitor before touching any wires (instructions below)
- Verify zero voltage with your multimeter before handling
If any of these steps are unclear or you are unsure about working with high-voltage electrical components, stop and call a licensed HVAC technician. There is no shame in hiring a professional for a $150-$300 repair rather than risking electrocution.
I have seen capacitors hold a charge for hours after the system was shut off. I discharge every single one before I touch it, every single time, no exceptions. The one time you skip that step could be the last time.
What HVAC Capacitors Do
A capacitor is a small cylindrical or oval component inside your outdoor condenser unit that stores and releases electrical energy. It serves two purposes: providing the initial surge of power to start the compressor and fan motors, and maintaining steady voltage while those motors run [4].
Without a functioning capacitor, the compressor cannot start. The fan motor cannot spin. Your AC system either will not turn on at all or will shut off within seconds of starting.
Types of HVAC Capacitors
There are three types of capacitors found in residential HVAC systems:
| Type | Purpose | Terminals | Common Ratings |
| Run capacitor | Keeps motor running at steady voltage | 2 terminals | 5-80 uF, 370-440V |
| Start capacitor | Provides startup power surge | 2 terminals | 88-1000 uF, 110-330V |
| Dual run capacitor | Runs both compressor and fan motor | 3 terminals (HERM, FAN, C) | 30/5-60/5 uF, 370-440V |
Most modern residential AC systems use a dual run capacitor. This single component handles both the compressor (HERM terminal) and the condenser fan motor (FAN terminal), with a shared common terminal (C) [4]. When this one part fails, both the compressor and fan can stop working simultaneously.
The capacitor rating is printed on its side label. A rating like "45/5 uF 440V" means the compressor side is rated at 45 microfarads, the fan side at 5 microfarads, and the maximum voltage is 440 volts.
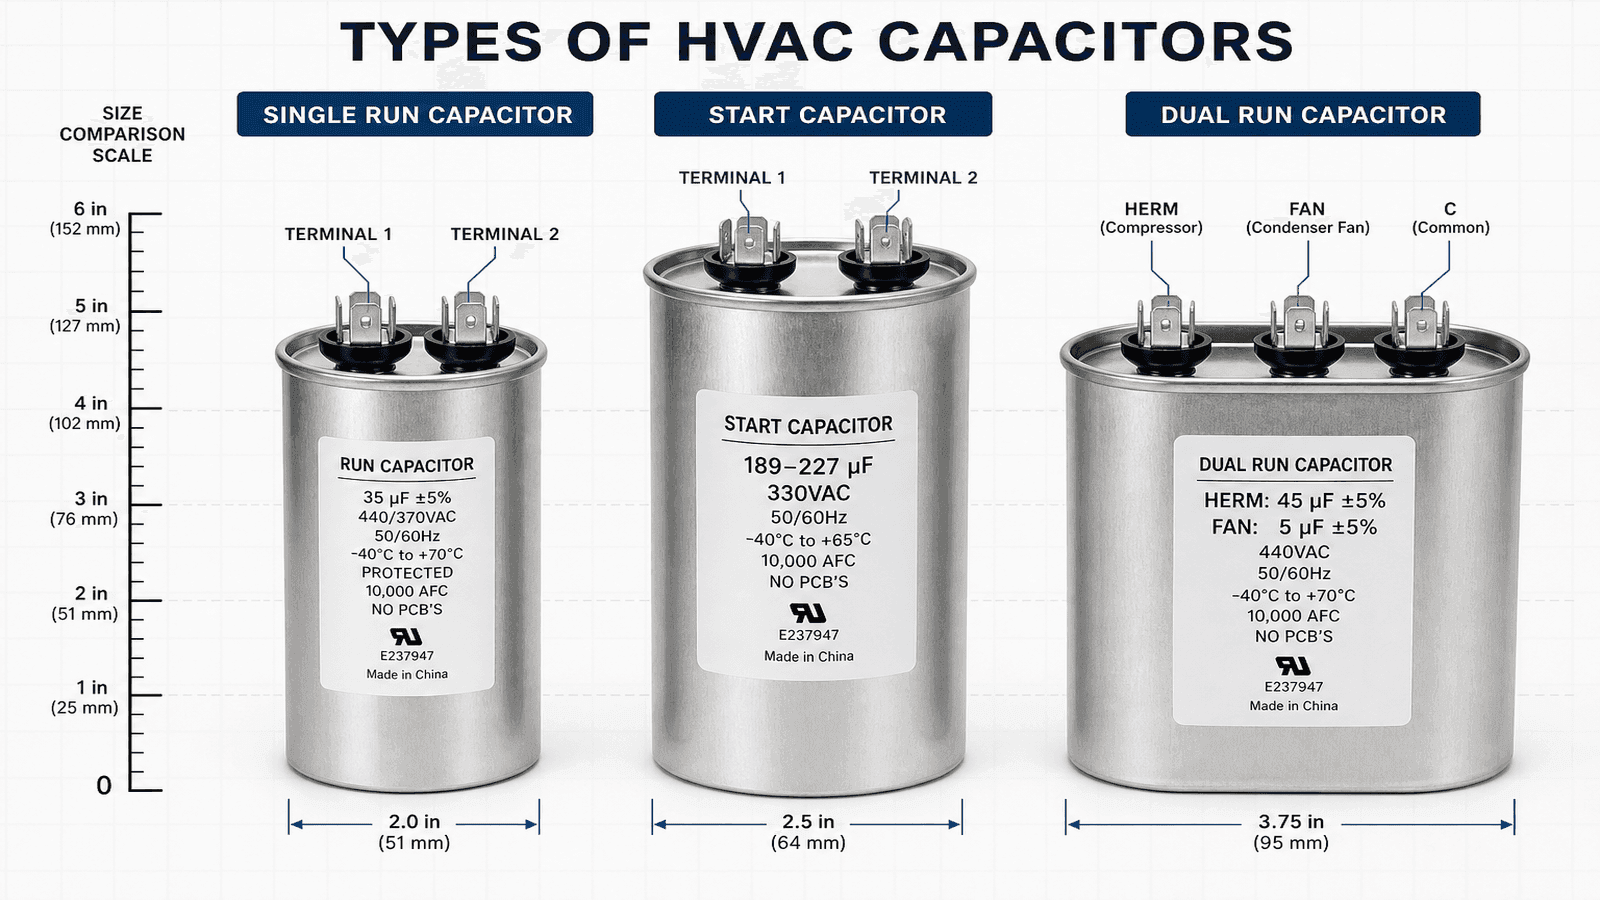
Photo: Diagram showing the three types of HVAC capacitors side by side with labeled terminals including a dual run capacitor with HERM FAN and C terminals
Signs of a Bad Capacitor
Before pulling out your multimeter, check whether your system shows these common symptoms of capacitor failure. HVAC professionals in the NearbyHunt network report that capacitor issues account for roughly 1 in 5 AC repair calls during summer months.
Symptoms that point to a bad capacitor:
- AC unit hums but does not start
- Fan motor spins slowly or not at all
- System starts then shuts off within a few seconds (short cycling)
- AC blows warm air despite running
- Clicking sound from the outdoor unit at startup
- Circuit breaker trips repeatedly when AC tries to start
- Energy bills spike without increased usage
Visual signs of a failed capacitor:
- Bulging or swollen top (healthy capacitors are flat)
- Cracks in the casing
- Leaking oil or fluid
- Burn marks or discoloration
- Melted plastic around the terminals
If you see any visual damage, the capacitor is bad. No testing needed. Shut off power, do not touch the damaged capacitor, and call a professional.
Get quotes from top-rated pros.
The number one symptom I hear from homeowners is 'my AC is humming but nothing happens.' Nine times out of ten, that is a bad capacitor. The motor tries to start, cannot get the power it needs, and just sits there vibrating.
How to Discharge a Capacitor
This is the most critical safety step. Skip it and you risk a shock of 200-400 volts.
What you need:
- Insulated screwdriver with rubber handle, OR
- A 20,000-ohm (20K), 5-watt resistor with insulated leads (safer method)
Screwdriver Method (Quick)
This method works for capacitors under 50 volts but is also commonly used by technicians on higher-voltage HVAC capacitors. The risk of sparking is higher with this method [6].
- Put on insulated gloves and safety glasses
- Hold the insulated screwdriver by the rubber handle only
- Touch the metal shaft across both terminals of the capacitor simultaneously
- You may hear a pop or see a small spark. This is normal
- For a dual run capacitor, discharge between HERM and C, then between FAN and C
Resistor Method (Recommended)
The resistor method is safer because it dissipates the stored energy gradually instead of all at once [6].
- Put on insulated gloves and safety glasses
- Connect the resistor leads across the capacitor terminals
- Hold in place for 30-60 seconds
- For a dual run capacitor, repeat between each terminal pair
- Verify discharge by setting your multimeter to AC voltage mode and testing across the terminals. Reading should be 0V or near 0V
After discharging, always verify with your multimeter set to AC voltage mode. Place one probe on each terminal. If the reading is above 1 volt, discharge again.
Step-by-Step Testing
Once the capacitor is safely discharged, you can test it using your digital multimeter. The entire test takes 3-5 minutes.
What You Need
- Digital multimeter with capacitance mode (uF symbol)
- Insulated pliers or nut driver (for wire removal)
- Phone camera (to photograph wire positions before disconnecting)
- Notepad to record the rated value printed on the capacitor
Test Procedure
Step 1: Photograph the wiring. Before disconnecting any wires, take a clear photo of how each wire connects to the capacitor terminals. Reconnecting wires incorrectly can damage the compressor or fan motor.
Step 2: Disconnect the wires. Using insulated pliers, carefully pull each wire connector off the capacitor terminals. Pull straight off the terminal, not at an angle. Do not yank the wires.
Step 3: Note the rated value. Read the microfarad rating printed on the capacitor label. For a dual run capacitor, you will see two values such as "45/5 uF." The larger number (45) is the compressor side (HERM). The smaller number (5) is the fan side (FAN).
Step 4: Set the multimeter. Turn the dial to capacitance mode, marked with the uF symbol. If your multimeter does not have a dedicated capacitance mode, you cannot perform this test accurately.
Step 5: Test the capacitor.
- For a single run capacitor: Place one probe on each terminal. Read the value
- For a dual run capacitor: Test the compressor side by placing probes on HERM and C terminals. Then test the fan side by placing probes on FAN and C terminals
Step 6: Compare the readings. The reading on your multimeter should be within 6% of the rated value printed on the capacitor [3]. Use this table to evaluate your results:
| Multimeter Reading vs. Rated Value | Diagnosis | Action |
| Within 6% of rated value | Good | Reinstall, problem is elsewhere |
| 6-10% below rated value | Weakening | Replace soon, may cause intermittent issues |
| More than 10% below rated value | Failed | Replace immediately |
| 0 uF or no reading | Dead | Replace immediately |
| OL (overload) reading | Shorted | Replace immediately, inspect wiring |
Example: A capacitor rated at 45 uF should read between 42.3 and 47.7 uF. A reading of 38 uF means the capacitor has lost over 15% of its capacity and is the likely cause of your AC problem.
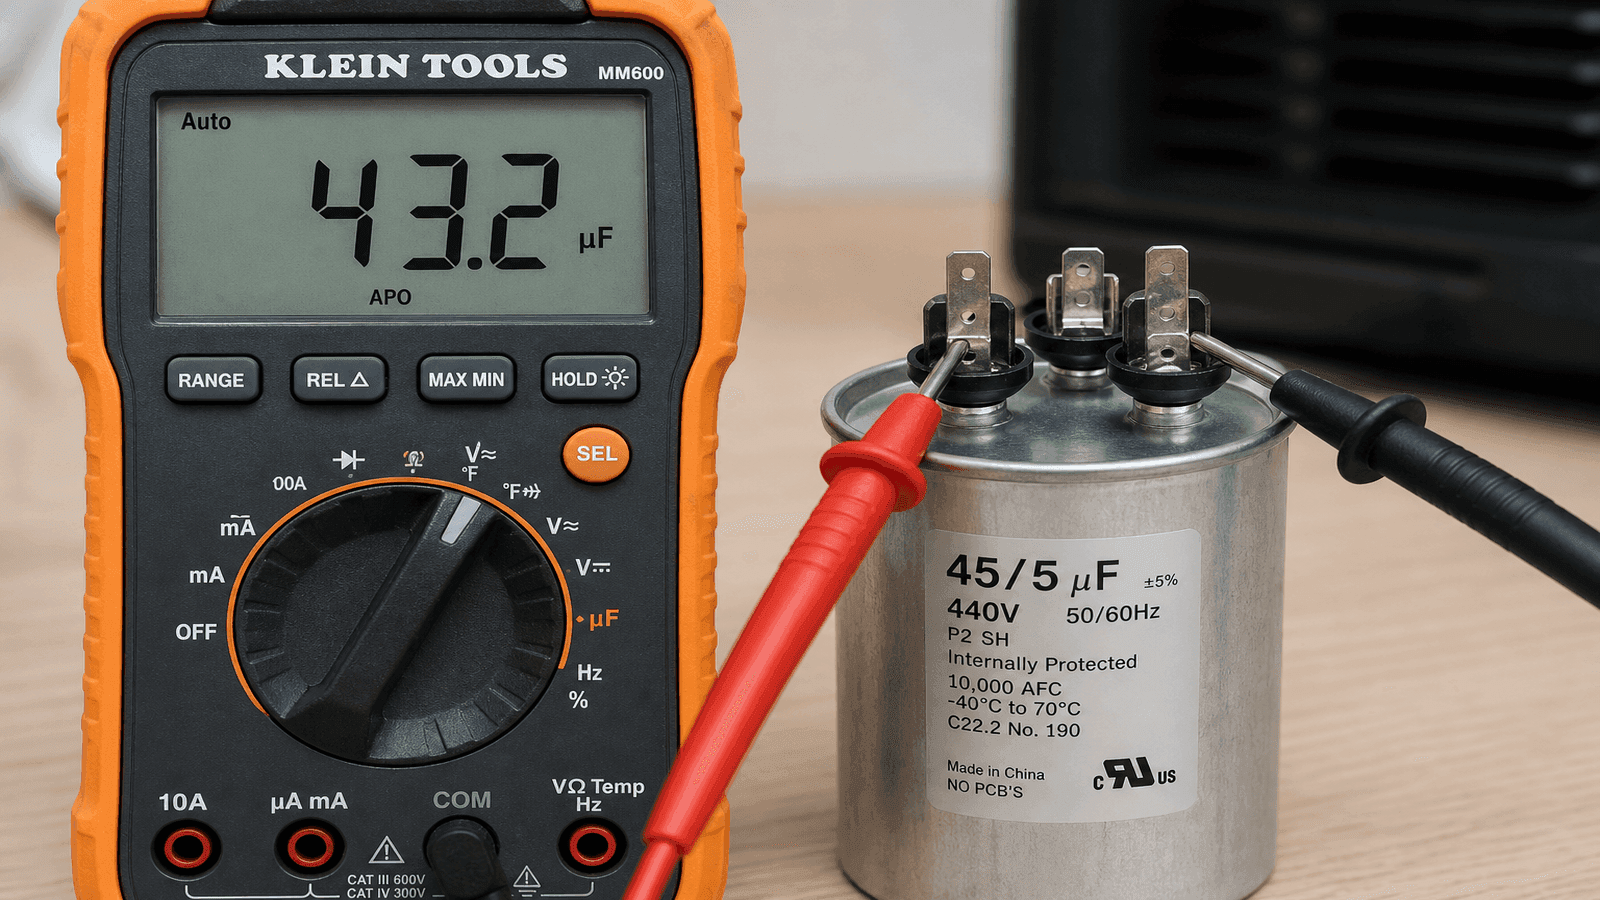
Photo: Close-up of a digital multimeter display showing a capacitance reading in microfarads while connected to a dual run capacitor with labeled HERM FAN and C terminals
A capacitor does not fail all at once. It degrades over time. I have tested capacitors that read 35 uF on a 45 uF rating, and the homeowner says the AC has been struggling for weeks. By the time it reads zero, the system has already been straining and wasting electricity.
Get quotes from top-rated pros.
Case Study: Marcus in Dallas
Marcus Thompson, a homeowner in Dallas, TX, noticed his AC unit humming loudly but not blowing cold air during a July heat wave. A local HVAC company quoted $375 for a diagnostic visit and repair. Marcus decided to test the capacitor himself first.
Using a $30 digital multimeter from a hardware store, he followed the discharge and testing steps above. His dual run capacitor was rated at 40/5 uF 440V. The compressor side read 28 uF, more than 30% below the rated value. The fan side read 4.8 uF, within tolerance.
Marcus purchased a matching 40/5 uF 440V replacement capacitor online for $18 and installed it himself. The total cost was $48 including the multimeter he now owns permanently. His AC started immediately and has run without issue since.
This outcome is typical. Data from HVAC professionals in the NearbyHunt network shows that capacitor failure accounts for roughly 15-20% of "AC not cooling" service calls during peak summer months, and the fix takes a qualified person less than 30 minutes.
Important note: Marcus had previous experience with basic electrical work. If you are not confident working with high-voltage components, the $150-$400 professional service call is money well spent compared to the risk of injury.
When to Replace vs. When to Call a Pro
Testing a capacitor is an intermediate DIY skill. Replacing one follows the same process in reverse: disconnect wires, remove the old capacitor, install the new one, reconnect wires in the exact same positions.
You can handle this if:
- You are comfortable working with electrical components
- You own a multimeter and know how to use it
- You can safely discharge the capacitor
- You photographed the wiring before disconnecting
- The replacement capacitor matches the exact uF and voltage ratings
Call a professional if:
- The capacitor tests good but the system still does not work (the problem is elsewhere)
- You see burned wires, melted insulation, or scorched terminals
- The compressor makes grinding or clanking noises
- You smell burning from the unit
- The capacitor has failed multiple times in a short period (indicates a deeper electrical issue)
- You are not 100% confident in any step of this process
Repeated capacitor failure within 1-2 years often signals an underlying problem such as a short-cycling compressor, voltage irregularities, or an oversized system. A licensed technician needs to diagnose the root cause [2].
Replacement Cost Comparison
| Option | Cost | Time |
| DIY capacitor replacement (part only) | $10-$50 | 20-30 minutes |
| Professional diagnostic + replacement | $150-$400 | 30-60 minutes |
| Emergency weekend/after-hours service call | $250-$600 | 30-60 minutes |
The part is inexpensive. The labor and diagnostic fee are what drive the cost. If you can confirm the capacitor is bad yourself, you save the diagnostic portion even if you hire a pro to install the replacement.

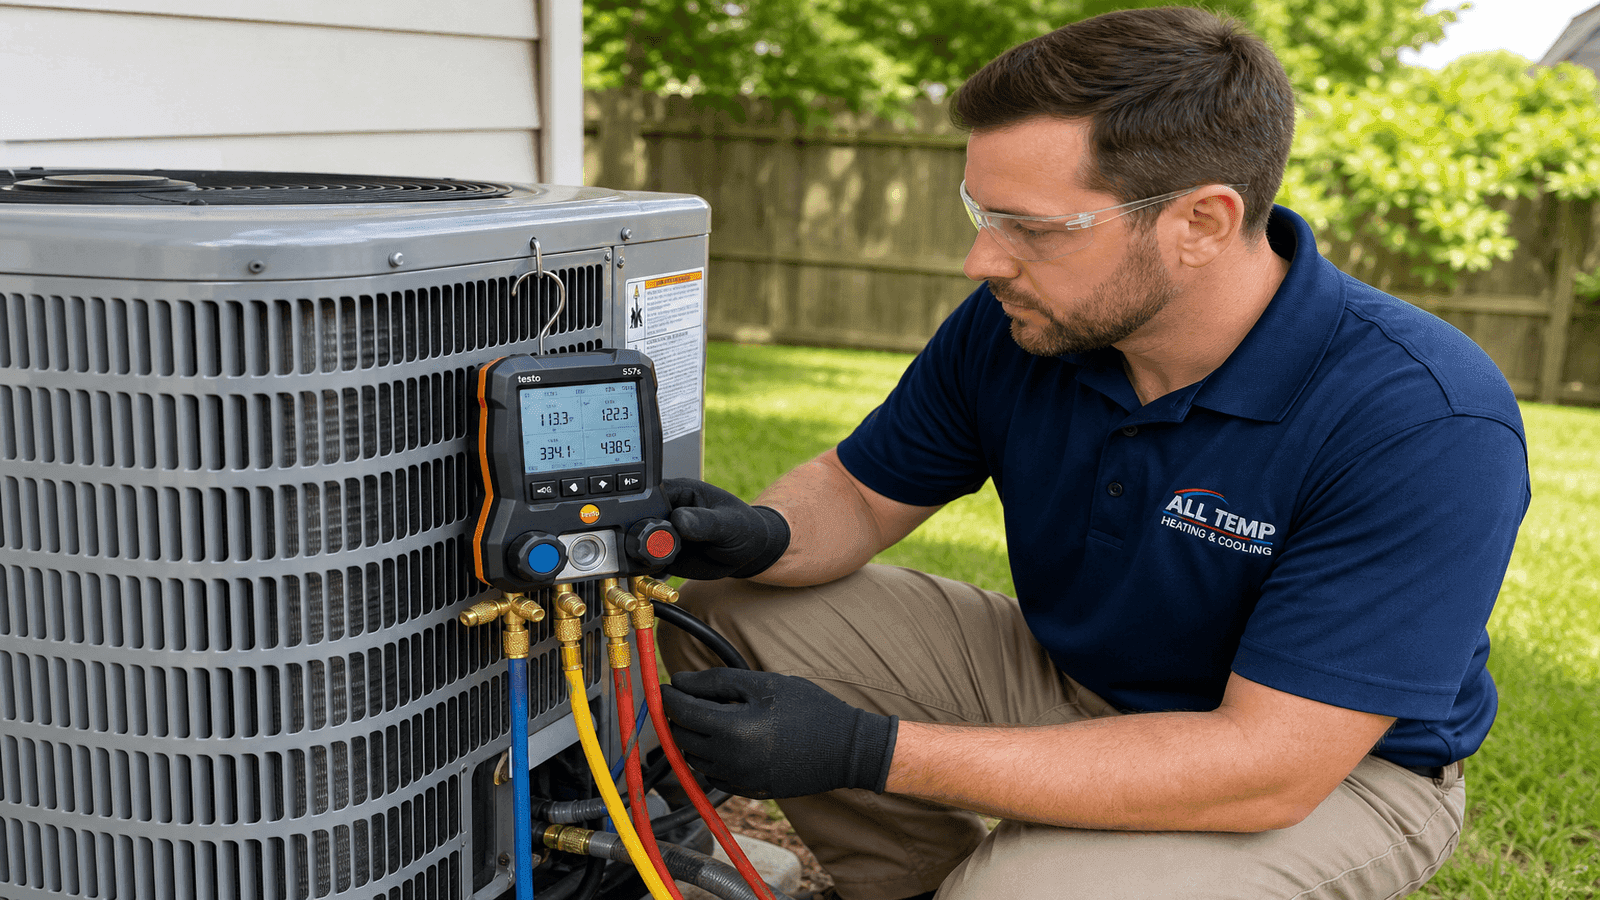
Photo: HVAC technician replacing a dual run capacitor inside an outdoor condenser unit with the access panel removed and wiring visible
Buying the Right Replacement
Matching the replacement capacitor to the original is essential. Using the wrong microfarad rating can damage the compressor or fan motor. Using the wrong voltage rating creates a fire hazard.
Match these specifications exactly:
- Microfarad rating (uF): Must match the original. A 45/5 uF capacitor must be replaced with a 45/5 uF capacitor
- Voltage rating: Must match or exceed the original. A 370V capacitor can be replaced with a 440V capacitor, but never the reverse
- Capacitor type: Run, start, or dual run must match
Where to buy:
- HVAC supply houses (best selection, may require trade account)
- Hardware stores (limited selection, higher markup)
- Online retailers (widest selection, verify seller reputation)
Always buy from a reputable source. Counterfeit and substandard capacitors are common online and can fail within weeks, potentially damaging your compressor [3].
Preventing Capacitor Failure
Capacitors are wear items with a typical lifespan of 10-20 years under normal conditions. Several factors accelerate failure:
- Heat exposure: Capacitors in direct sunlight or poorly ventilated units degrade faster. The Department of Energy notes that operating temperatures above rated maximums significantly shorten component lifespan [7]
- Power surges: Lightning strikes and grid fluctuations damage capacitors. A whole-house surge protector ($200-$500 installed) provides protection
- Short cycling: Repeated rapid on-off cycling from thermostat issues or oversized equipment strains capacitors
- Lack of maintenance: Dirty coils and restricted airflow force the system to work harder, increasing electrical stress on the capacitor
- Age: Electrolytic capacitors lose capacity naturally over time as the dielectric material degrades
Annual professional HVAC maintenance ($150-$300) includes capacitor testing as a standard part of the inspection. A technician can catch a weakening capacitor before it fails completely, preventing a breakdown on the hottest day of the year [5].
Related Resources
This guide is part of our HVAC How To and DIY series covering maintenance, troubleshooting, and repair tasks for homeowners.
Disclaimer: This article is for informational purposes only. HVAC capacitors store dangerous electrical charges that can cause serious injury or death. The testing procedures described here require experience with electrical components and proper safety equipment. If you are not fully confident in your ability to safely perform these steps, hire a licensed HVAC professional. NearbyHunt is not responsible for injuries, property damage, or equipment damage resulting from DIY repairs. Always follow local building codes and manufacturer guidelines.
Sources:
[1] U.S. Department of Energy. "Heating and Cooling." energy.gov
[2] HVAC.com. "How to Test an AC Capacitor." hvac.com
[3] PICKHVAC. "AC Capacitor Replacement Cost for Residential Systems." pickhvac.com
[4] HVAC How To. "HVAC Start and Run Capacitor Explained." hvachowto.com
[5] Bryant. "AC Capacitor Replacement Guide." bryant.com
[6] HVAC School. "How Do You Discharge a Capacitor?" hvacrschool.com
[7] U.S. Department of Energy. "Energy Saver - Maintaining Your Air Conditioner." energy.gov

Daniel is an EPA-certified HVAC technician & Energy Efficiency Consultant with over 14 years of experience in maintaining and installing heating and cooling systems throughout the Midwest. Passionate about sustainability, Dan specialises in energy-efficient retrofits and intelligent climate control systems. He writes for NearbyHunt to help homeowners extend the lifespan of their HVAC units while lowering utility bills.

Christine is an EPA-certified HVAC professional with 17 years of experience in heating, cooling, and indoor air quality systems. She has managed large-scale residential installations and worked as a technical trainer for new HVAC apprentices. Chris’s reviews focus on accuracy, safety, and performance standards in modern HVAC practices.