- Shower installation costs $1,000–$15,000+ in 2026 — prefab units start at $1,000; custom tile showers average $5,000–$15,000 installed [1].
- A permit is required in virtually every U.S. jurisdiction — rough-in must pass inspection before walls close or demolition may be required [2].
- Pressure-balance valves are required by code (IPC Section 424.3) on all U.S. showers — non-compliant valves fail inspection [3].
- Shower pan vs. tile base: pans install in under a day; tile bases require 3–5 days with waterproofing cure time.
- Valve centerline rough-in is 38–48 inches from the finished floor; showerhead arm rough-in targets 78–80 inches [4].
- Labor is 40–60% of total project cost — get 2–3 written quotes from licensed plumbers before committing.
Shower installation combines rough-in plumbing, waterproofing, and finish work that must all align correctly. Michael R. Jennings has completed 2,400-plus residential plumbing projects across Dallas-Fort Worth and California in his 18-year career, and this guide reflects what separates showers that last 20 years from those that require costly tearouts after two. Each phase has code requirements, inspection checkpoints, and material decisions that directly affect the long-term result. For a broader look at fixture installation across your home, see our complete guide on plumbing installation services and processes.

Get quotes from top-rated pros.
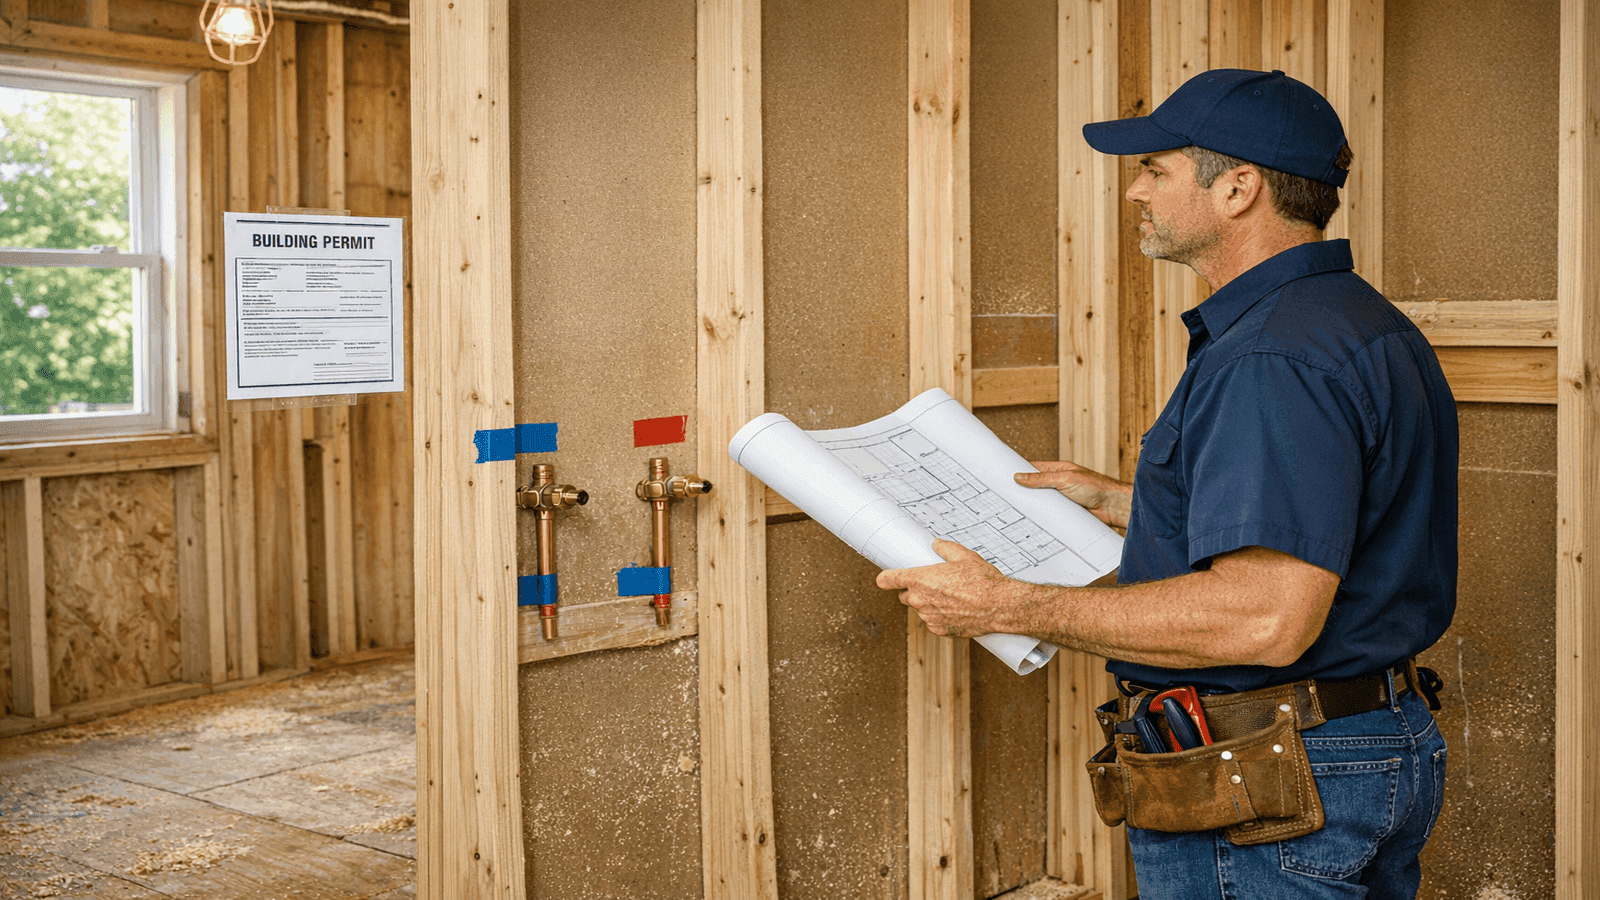
Photo: Plumber reviewing shower rough-in plans in unfinished bathroom framing, copper supply lines stubbed at valve height, building permit posted on wall stud
Shower Types and What Each Installation Involves
Prefab and One-Piece Shower Units
Prefab shower kits are the fastest and most affordable installation path. A one-piece fiberglass or acrylic unit includes the base, walls, and ceiling as a single molded piece. Three-piece and five-piece kits ship in sections assembled on-site for spaces where a one-piece unit cannot pass through a doorway.
Prefab shower costs in 2026 [1]
| Type | Unit Cost | Labor | Total Installed |
| One-piece fiberglass | $300–$800 | $700–$1,200 | $1,000–$2,000 |
| Three-piece acrylic kit | $400–$1,200 | $800–$1,500 | $1,200–$2,700 |
| Acrylic base + tile walls | $300–$600 base | $1,200–$2,000 | $1,500–$2,600 |
Custom Tile Showers
A custom tile shower is built from scratch: framing, cement board or waterproof backer, waterproofing membrane, setting bed, tile, and grout. Every layer requires proper cure time and a specific sequence. Custom tile showers cost $5,000–$15,000+ fully installed [1]. Walk-in showers (no barrier at entry) typically run $6,000–$12,000, and steam showers — which require a sealed enclosure, dedicated generator, and electrical circuit — run $8,000–$15,000+.
Steam showers require a completely sealed enclosure — glass ceiling panels, a fully sealed door, no open entry. I've seen steam generators installed in walk-in showers with an open end. The steam goes everywhere except where it's supposed to. Budget the generator and electrical on top of the full custom tile shower cost, because these are separate trades.
Rough-In Requirements
Supply Line Rough-In
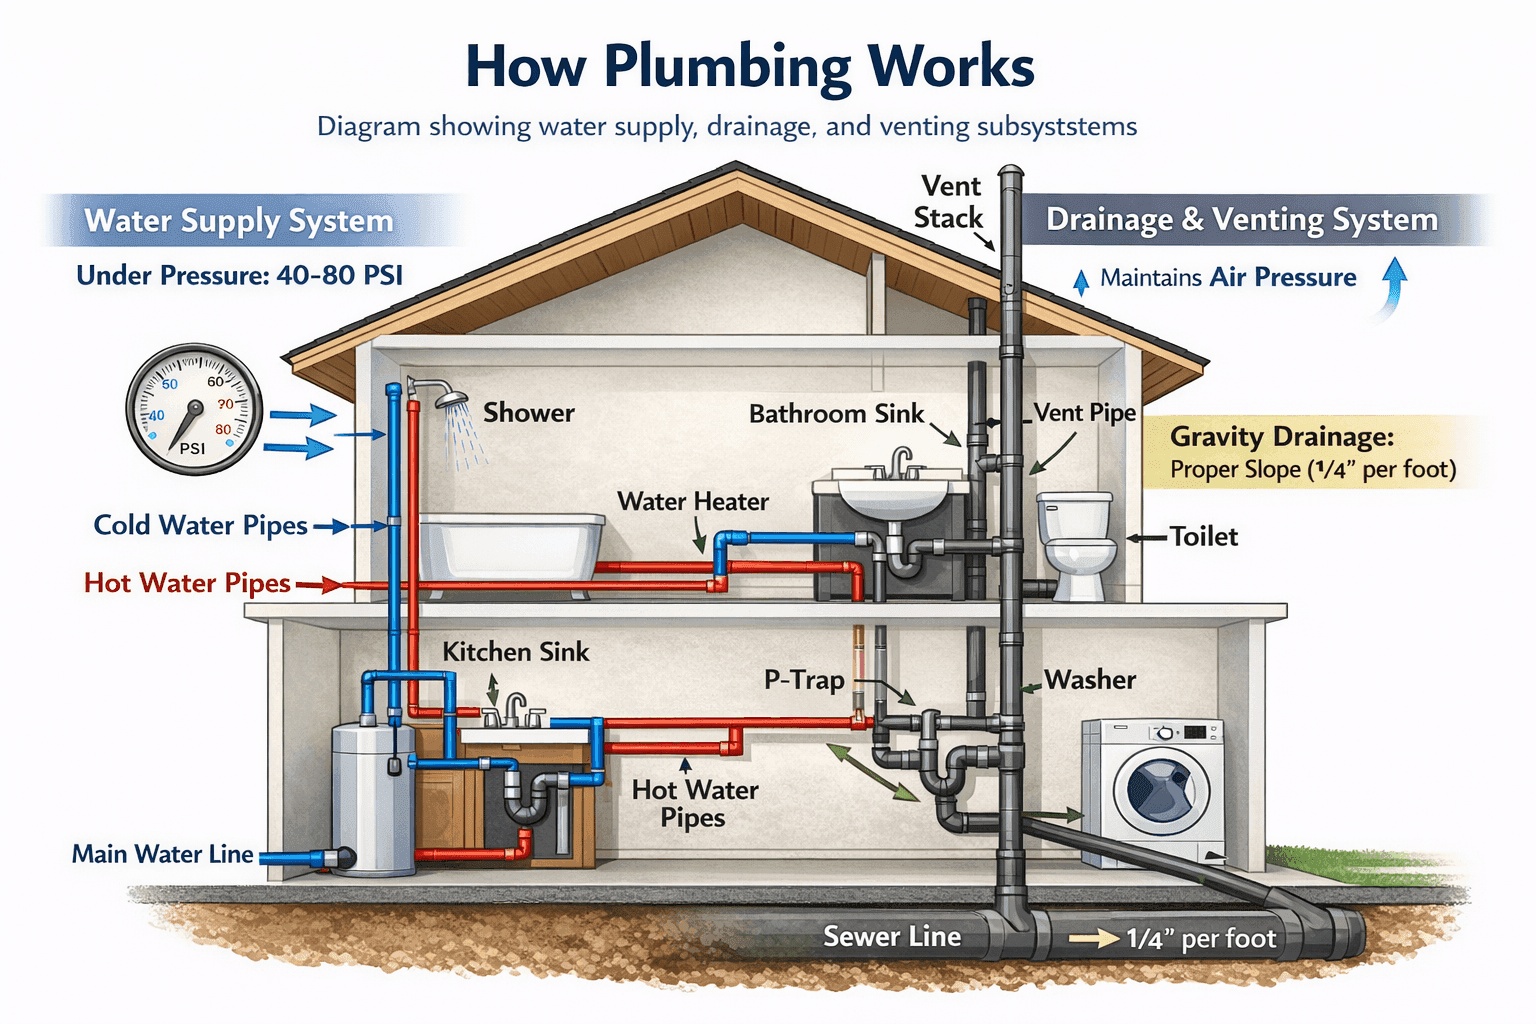
Shower supply rough-in positions the hot and cold water inlets at the valve body location before walls are closed [4]. Standard dimensions: valve centerline at 38–48 inches from the finished floor (48 inches is most common for shower-only; 28 inches for tub-shower combination). Showerhead arm rough-in targets 78–80 inches from the finished floor. The rough-in must be inspected before any backer board, tile, or enclosure installation — this inspection cannot be deferred [2].
Drain Rough-In
The drain rough-in positions the shower drain at the center of the shower footprint, or at the manufacturer-specified offset for linear drains. Drain pipe must slope a minimum of 1/4 inch per foot toward the main stack. On slab-on-grade homes, drain rough-in requires cutting concrete, which significantly increases project cost.
Get quotes from top-rated pros.
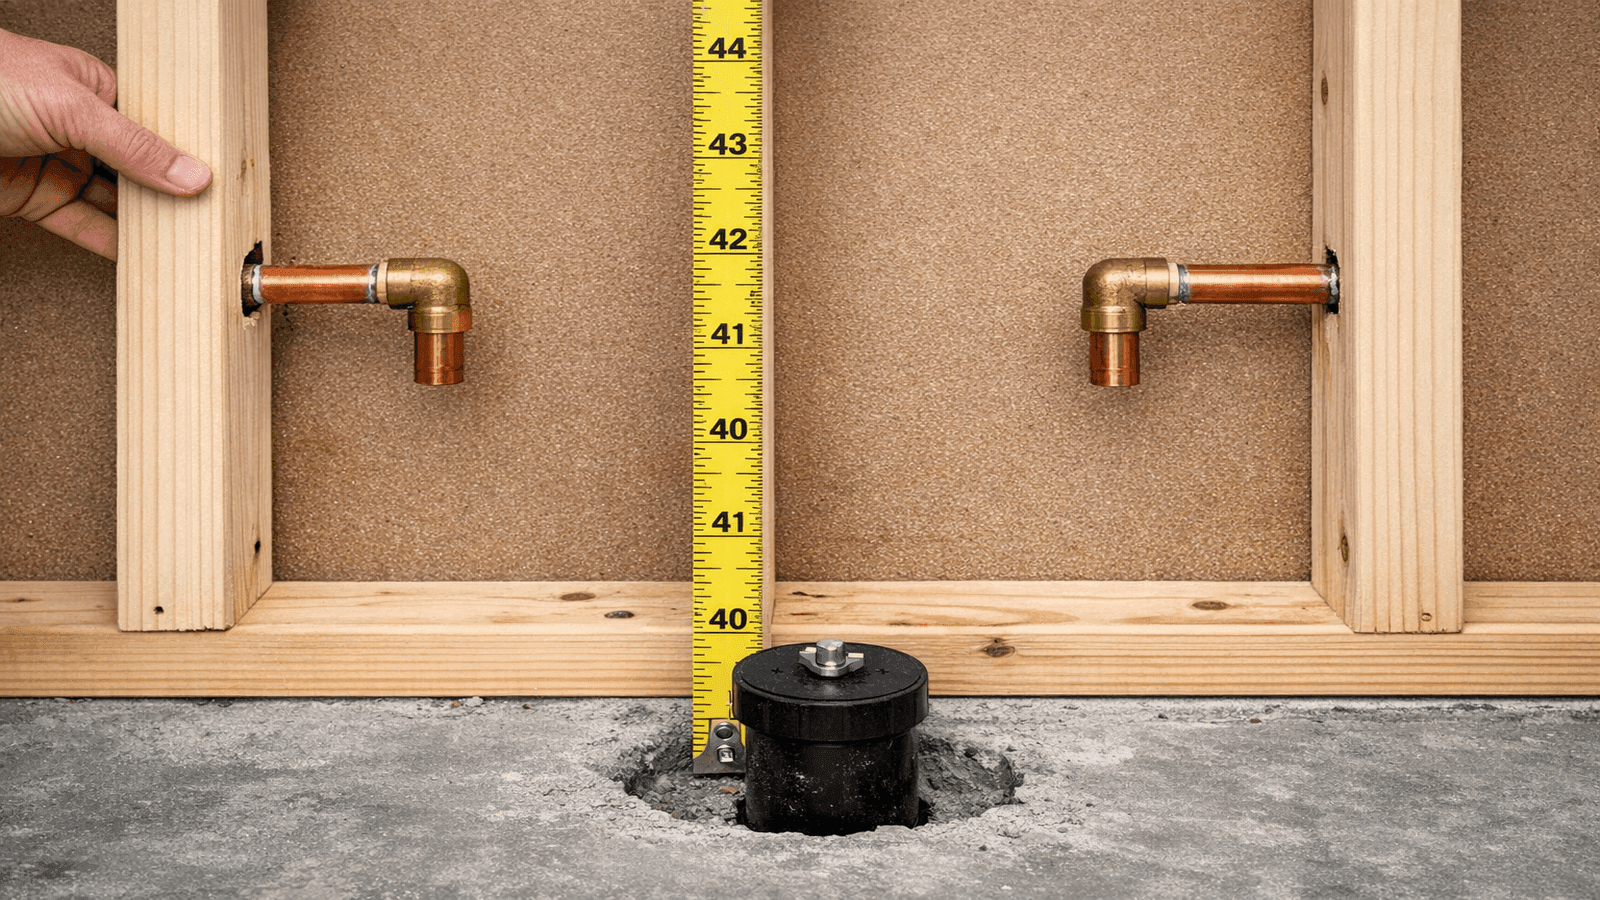
Photo: Bathroom framing showing shower supply rough-in with hot and cold copper lines stubbed at correct valve height and centered drain rough-in in subfloor
Shower Pan vs. Tile Base
A prefab shower pan sets directly on the subfloor and is the waterproof layer itself — no separate membrane required. A tile base requires a sloped mortar bed, waterproofing membrane, fabric tape at corners and seams, and tile set on top, with multiple cure periods.
| Feature | Prefab Shower Pan | Tile Base |
| Installation time | 4–6 hours | 3–5 days (with cure time) |
| Materials + labor | $500–$1,500 | $1,500–$4,000+ |
| Waterproofing | Built-in | Required (separate membrane) |
| Custom dimensions | No | Yes |
| Grout maintenance | None | Seal every 1–2 years |
| Durability | 10–20 years | 20+ years with maintenance |
The most common tile base failure point is the corner between the floor and wall. A membrane applied across flat surfaces but not properly turned at the 90-degree corner will leak slowly through the subfloor for months before any visible sign appears.
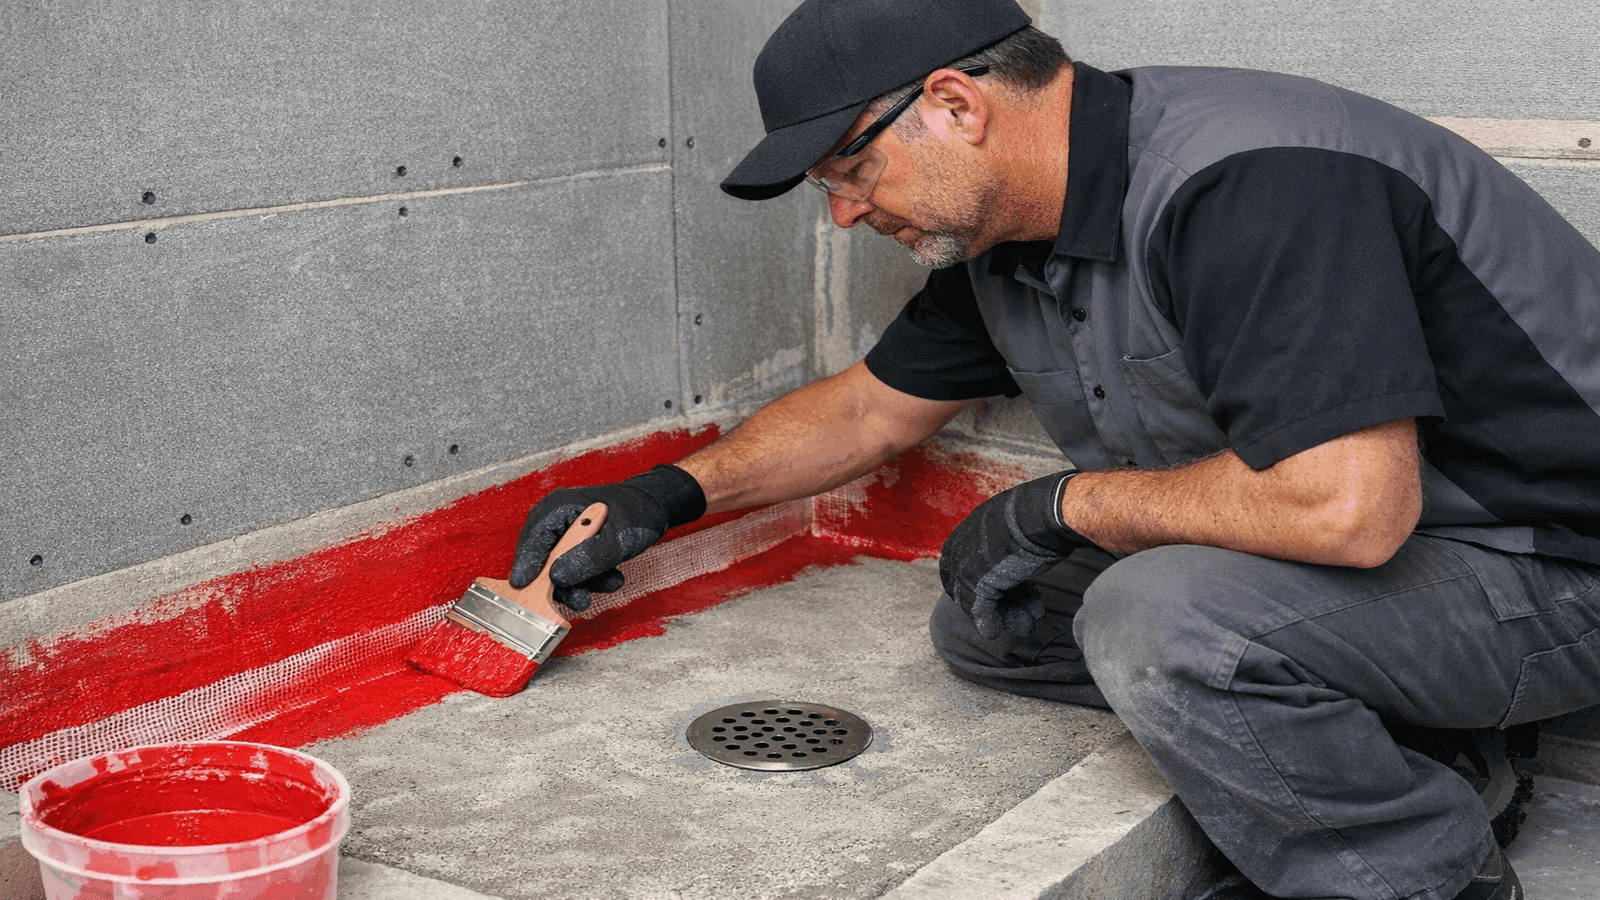
Photo: Plumber applying red liquid waterproofing membrane at tile shower floor-to-wall corner with fabric mesh tape embedded at seam
I have torn out hundreds of failed tile showers, and the failure point is almost always the same: the floor-to-wall corner. The membrane has to turn that corner and bond to both surfaces with fabric tape embedded in liquid membrane. Contractors who rush this step create leaks that show up as soft subfloor two years later.
Shower Valve Installation
Code Requirements
IPC Section 424.3 requires pressure-balance or thermostatic mixing valves on all U.S. showers [3]. This has been national code since 2000. The requirement prevents scalding surges caused by toilet flushes dropping cold water pressure mid-shower.
A pressure-balance valve maintains the hot/cold ratio when pressure fluctuates. Cost: $80–$250 for the valve body. A thermostatic valve maintains a precise set temperature regardless of changes — required for steam shower controllers. Cost: $300–$1,500+.
The valve body is set during rough-in before walls close. The trim kit installs after tile. The trim must match the valve body — selecting a different finish after rough-in may require replacing the valve body itself.
Before starting any valve work, confirm supply shutoffs are accessible. Our guide on how to shut off your water supply covers every shutoff type and location in a home.
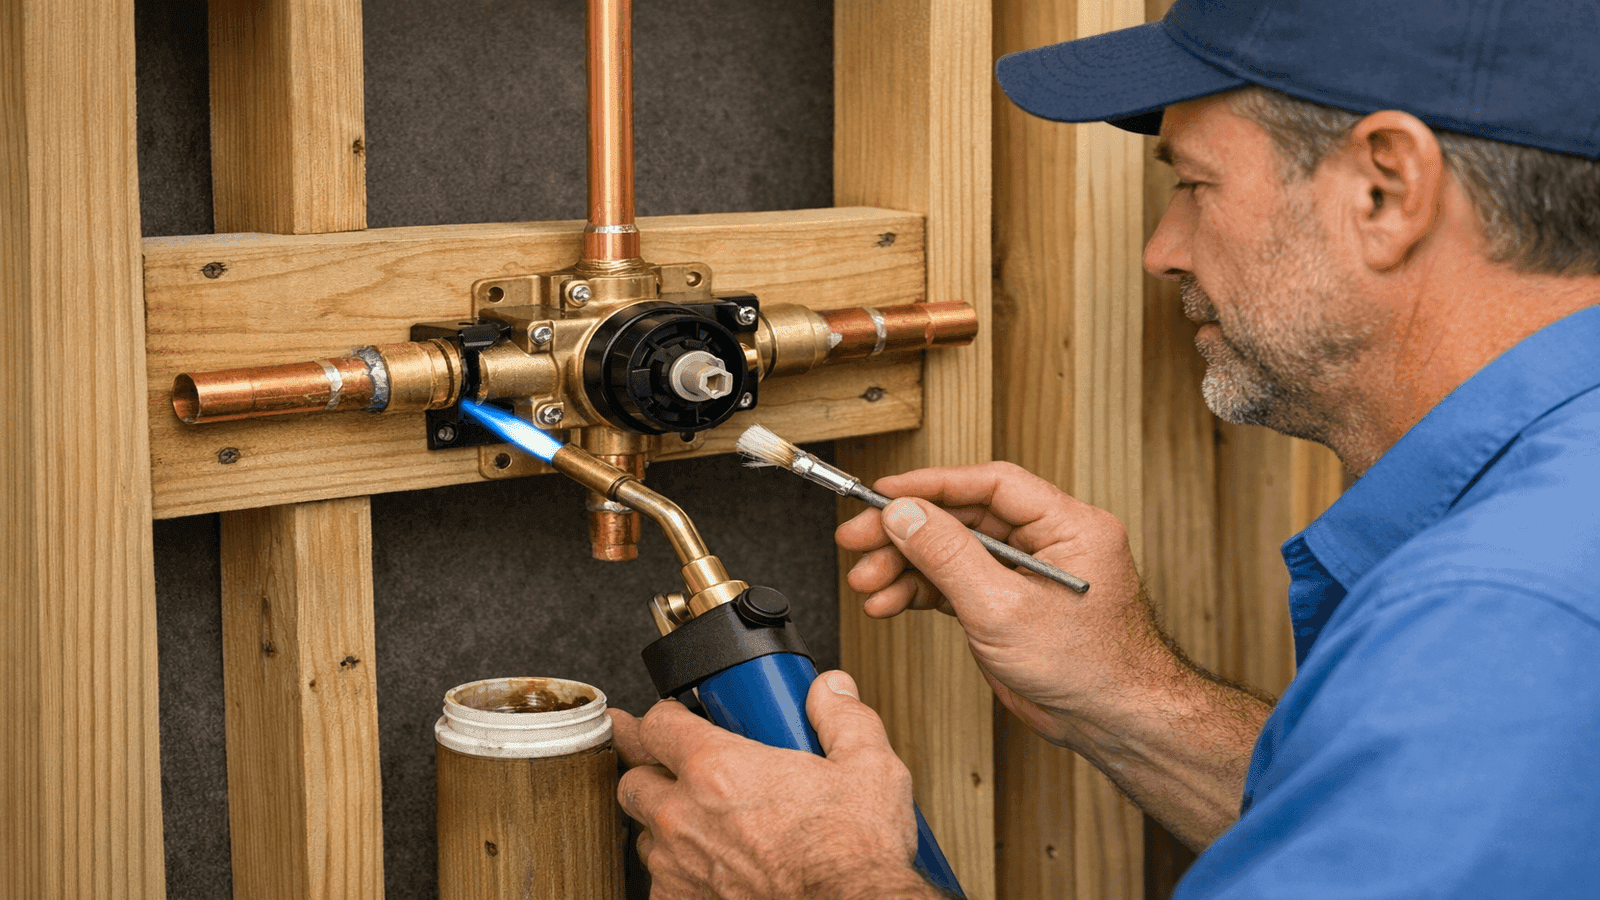
Photo: Licensed plumber soldering thermostatic shower valve body into wall framing, copper supply lines connected, wood blocking visible between studs
Waterproofing
Waterproofing is the highest-consequence phase of any tile shower. Three code-recognized systems are used professionally:
Sheet membrane (Schluter Kerdi): Polyethylene fabric bonded with unmodified thinset; most widely used professional system. Liquid-applied membrane (RedGard): Brush or roller applied, two coats minimum with fabric tape at corners. Foam board (Kerdi-Board, Wedi): Factory-waterproof panels replace cement board entirely; fewest failure points, higher material cost.
All systems must comply with plumbing code requirements. In many jurisdictions the inspector verifies waterproofing before tile is approved.
Get quotes from top-rated pros.
Shower Installation Costs: 2026
| Shower Type | Low | Mid | High |
| Prefab kit (replacement) | $1,000 | $2,000 | $3,000 |
| Custom tile (standard) | $5,000 | $8,000 | $12,000 [1] |
| Walk-in shower | $6,000 | $9,000 | $15,000 |
| Steam shower | $8,000 | $12,000 | $20,000+ |
| Shower pan swap only | $500 | $1,000 | $1,500 |
| Valve replacement only | $250 | $400 | $600 |
Permit fees add $75–$450 depending on municipality [2]. Regional labor in 2026 runs $45–$75/hour in rural Southern states and $120–$200/hour in California and the Pacific Northwest. Always confirm whether permit fees are included in any quote — this is the most commonly omitted line item in competing bids.
The licensed plumbers in our NearbyHunt network report that roughly 30% of custom tile shower bids include a line item for concrete cutting on slab foundations, which adds $800–$1,500 that homeowners do not anticipate when budgeting from online cost estimates alone.
Real Installation Story
James Kowalski in Grapevine, Texas, hired Michael to convert a fiberglass shower stall to a custom tile walk-in. When Michael opened the old unit, he found the drain line had never been properly sloped: it ran nearly flat for 4 feet before reaching the stack. Slow drainage had been the homeowner's constant complaint for years. Michael re-cut the subfloor, corrected the slope to 1/4 inch per foot, installed a linear drain, and built the tile base with a full Kerdi membrane. Total project cost: $7,200. James reported the shower drains instantly — something he had never experienced in the house. The lesson: persistent slow drainage in a shower almost always points to drain slope, not a clog.

Photo: Homeowner reviewing itemized shower installation quote with licensed plumber at kitchen table, laptop open showing tile selection options
Pro vs. DIY: Honest Assessment
Most shower installations require a licensed plumber. If a permit is required (which it nearly always is), most jurisdictions require a licensed contractor to pull it [2].
DIYer can handle: prefab kit into existing rough-in; showerhead or trim kit replacement only.
Licensed plumber required: all rough-in work; any permit-required project; custom tile waterproofing and tile setting; steam shower installation; concrete cutting on slab homes.
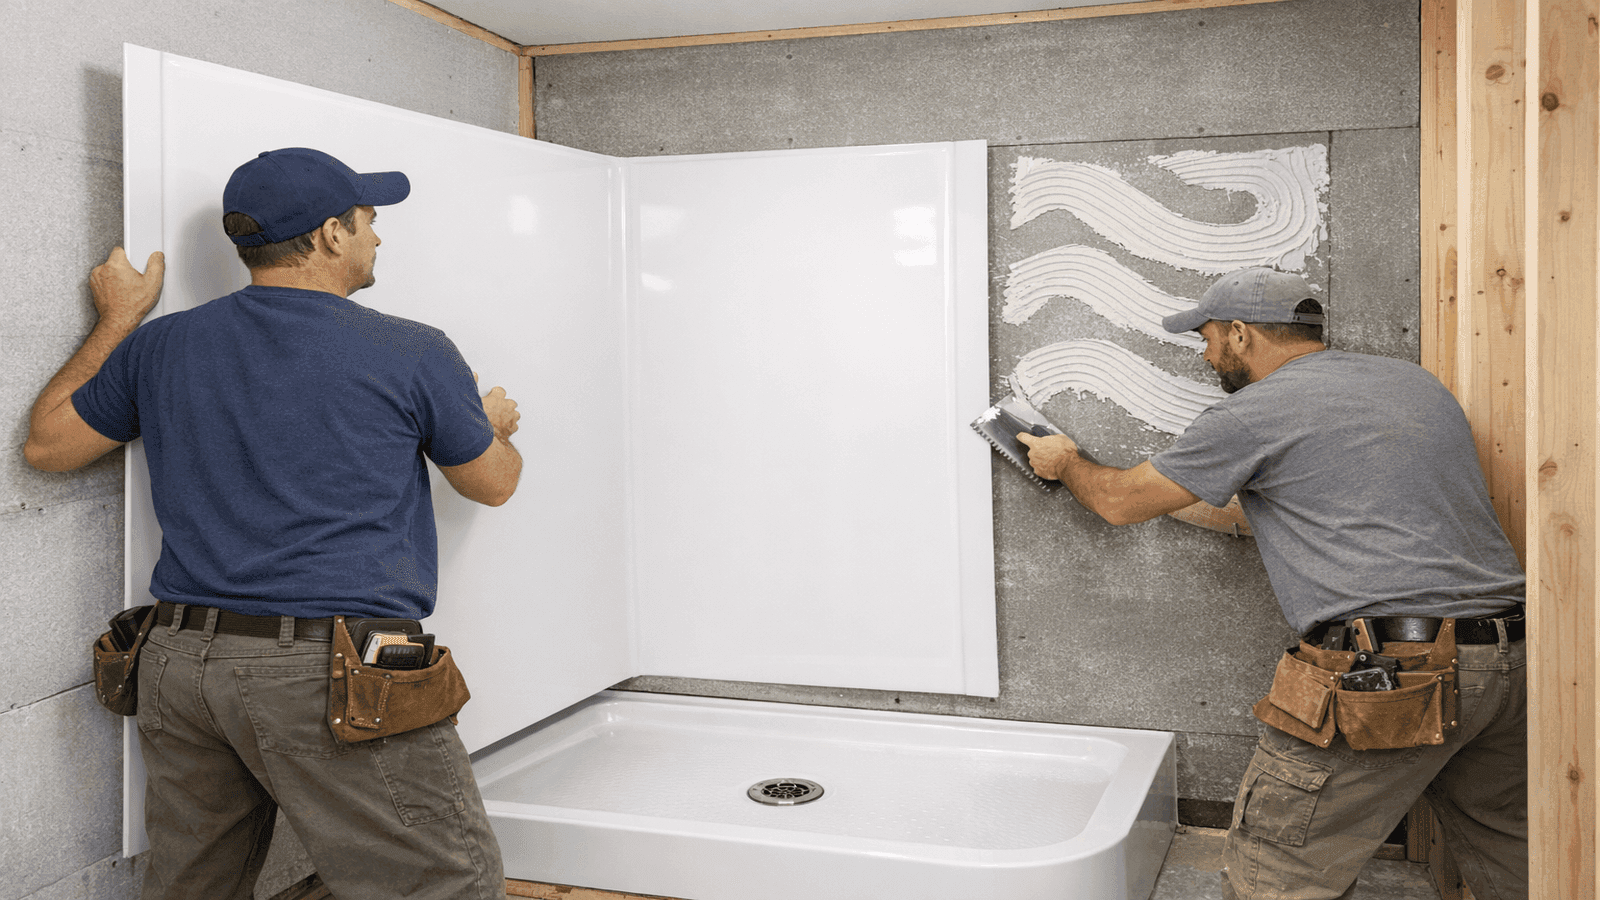
Photo: Walk-in shower being framed with pressure-treated base lumber and horizontal blocking for glass panels, showing structural work before finish materials
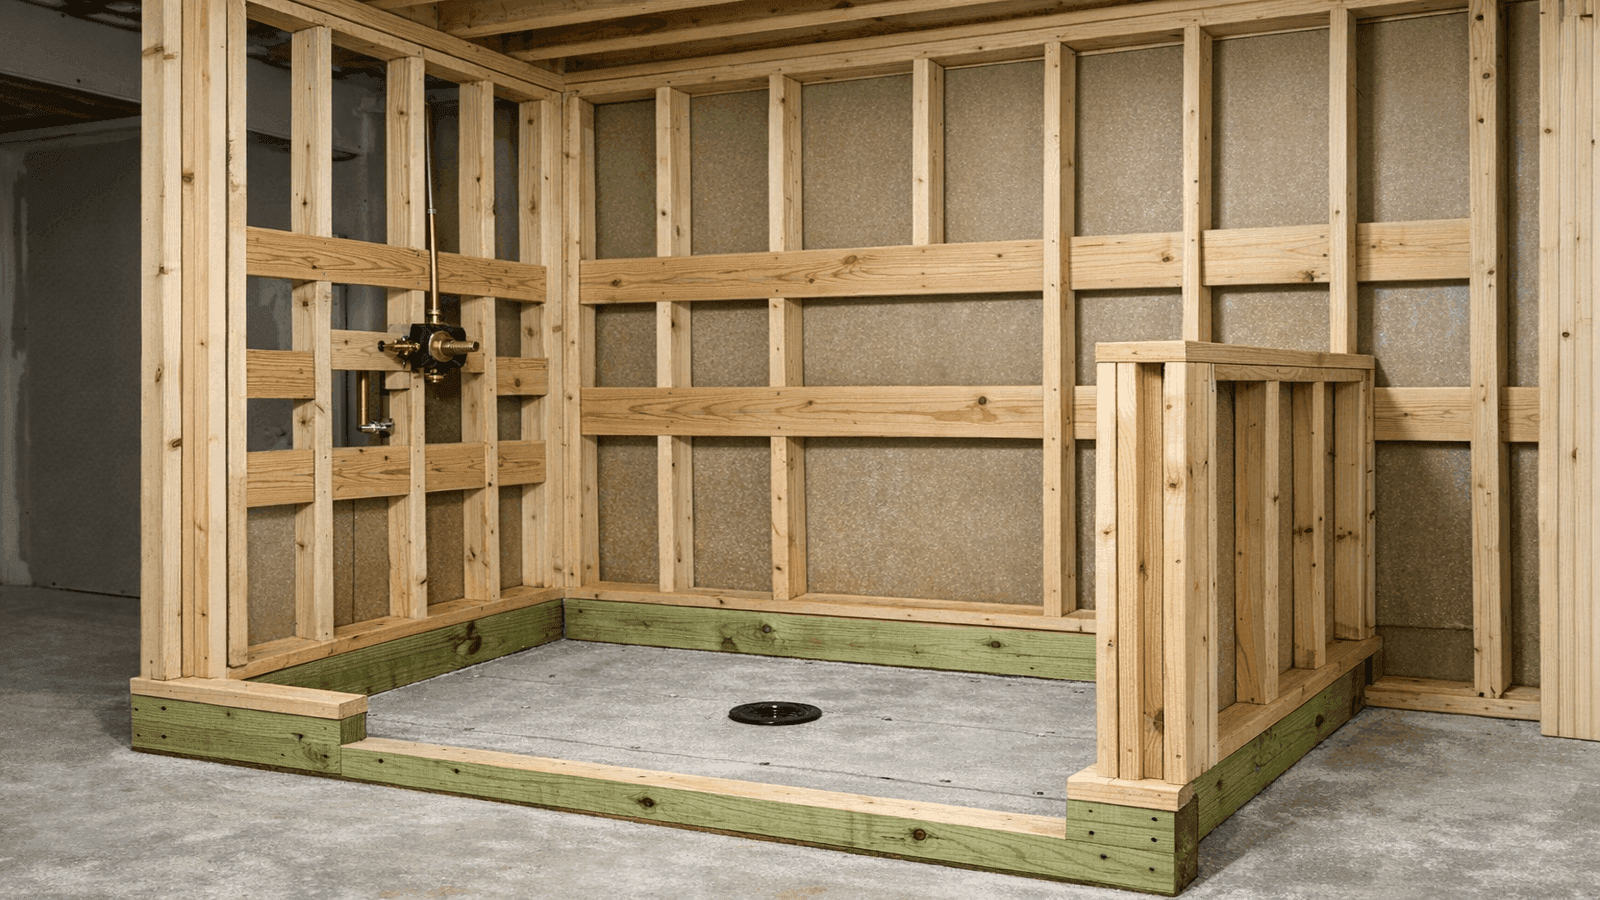
Photo: Licensed plumber completing final shower installation with valve trim kit and showerhead installed, finished tile walls surrounding the completed enclosure
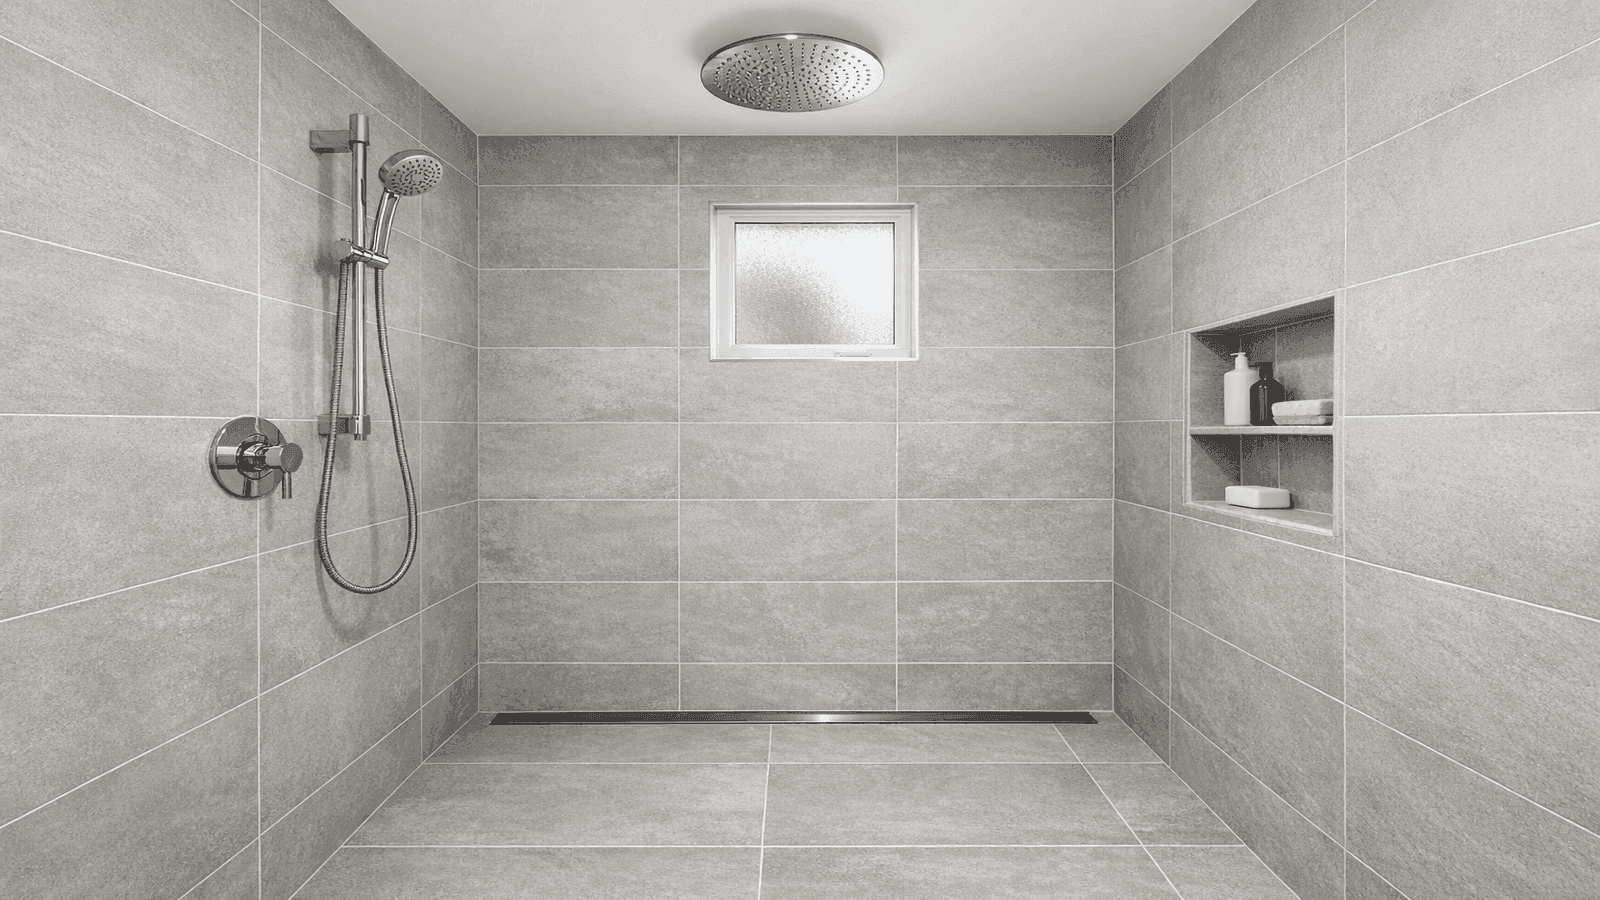
Photo: Completed custom tile walk-in shower with glass door installed, linear drain visible at floor, professional grouting and silicone caulk at all corners
Conclusion
Every layer that gets done correctly goes unnoticed for 20 years. Every shortcut shows up as a failed inspection, a water damage claim, or a soft subfloor two years later. Permit the work, use a code-compliant pressure-balance valve, waterproof every corner and penetration, and get the rough-in inspected before walls close.
Disclaimer: Cost figures are national averages for 2026 and vary significantly by region, project complexity, and contractor availability. Always obtain 2–3 written quotes from licensed plumbers before committing to any installation project. Permit requirements vary by municipality — verify with your local building department before starting work.
Sources & References
- Forbes Home: Shower Installation Cost Guide 2026
- This Old House: Walk-In Shower Cost 2026
- International Plumbing Code (IPC) 2024: Section 424.3 Pressure-Balance Valve Requirements
- Bob Vila: Shower Valve Height Standards and Rough-In Dimensions 2026
- Innovate Building Solutions: Shower Pan vs Tile Base Comparison
- Schluter Systems: Kerdi Waterproofing System Technical Data
- EPA WaterSense: Showerhead Efficiency Standards

Michael Jennings is a licensed master plumber & water systems specialist with over 18 years of hands-on experience in residential and commercial plumbing, serving clients across California and Texas. At NearbyHunt, he shares practical advice on pipe installations, water heater maintenance, and home plumbing upgrades. Michael has helped thousands of homeowners prevent costly water damage and improve water efficiency through modern plumbing solutions.

Robert is a licensed master plumber with over 20 years of experience serving both residential and commercial clients across the Midwest. Specialising in advanced plumbing systems and sustainable water technologies, Rob brings deep technical insight and hands-on expertise to every project. As a reviewer for NearbyHunt, he ensures all plumbing content reflects the highest standards of safety, compliance, and practicality.