A new roof installation is one of the largest home improvement projects most homeowners ever commission, yet most people have no idea what actually happens during those one to three days when a crew takes over their property. Understanding the full process, from material delivery to the final nail sweep, removes the uncertainty that can make roof replacement feel overwhelming. This guide covers every stage in the order your contractor will work through it, plus what you need to do before day one to protect your home and family. For a broader look at roofing options, material comparisons, and contractor selection, see the complete roofing installation guide on NearbyHunt.
According to data from the NearbyHunt contractor network, 67% of homeowner complaints about new roof installations stem from poor communication about timeline and site disruption — not from workmanship defects. Knowing what to expect in advance prevents almost all of that frustration.

Get quotes from top-rated pros.

Photo: Roofing crew unloading asphalt shingle bundles from a delivery truck in front of a two-story home at the start of a new roof installation project
Full Tear-Off vs. Overlay
The first decision your contractor will discuss with you is whether to tear off the existing roof or install new shingles on top of it — an approach called an overlay or recover.
Most building codes allow a maximum of two shingle layers on a residential roof [1]. If your home already has two layers, a full tear-off is required by code. Even if only one layer exists, many experienced contractors recommend tear-off for several reasons. Overlays add 2 to 4 pounds per square foot of additional load to your roof structure. They trap moisture between layers, which accelerates decking deterioration. They also prevent a thorough inspection of the roof deck, meaning hidden rot or soft spots go unaddressed.
James Carver, a licensed roofing contractor with 1,800-plus residential projects across the U.S. South and Midwest, puts it plainly: "In 20 years I've never regretted recommending a full tear-off. I have regretted overlay jobs where we found rot six months later that we should have caught on day one."
The NRCA Roofing Manual recommends a full tear-off whenever the existing roof deck needs inspection or repair, when the existing roof has two or more shingle layers, or when there is evidence of moisture damage or inadequate attic ventilation [2]. That guidance has not changed in the 2026 edition.
Cost impact: A full tear-off typically adds $1.00 to $2.00 per square foot to the project price compared to an overlay. For a 2,000 square foot home, that is roughly $1,500 to $3,000 in additional labor and disposal fees. Most roofing professionals and this guide view that cost as worthwhile.
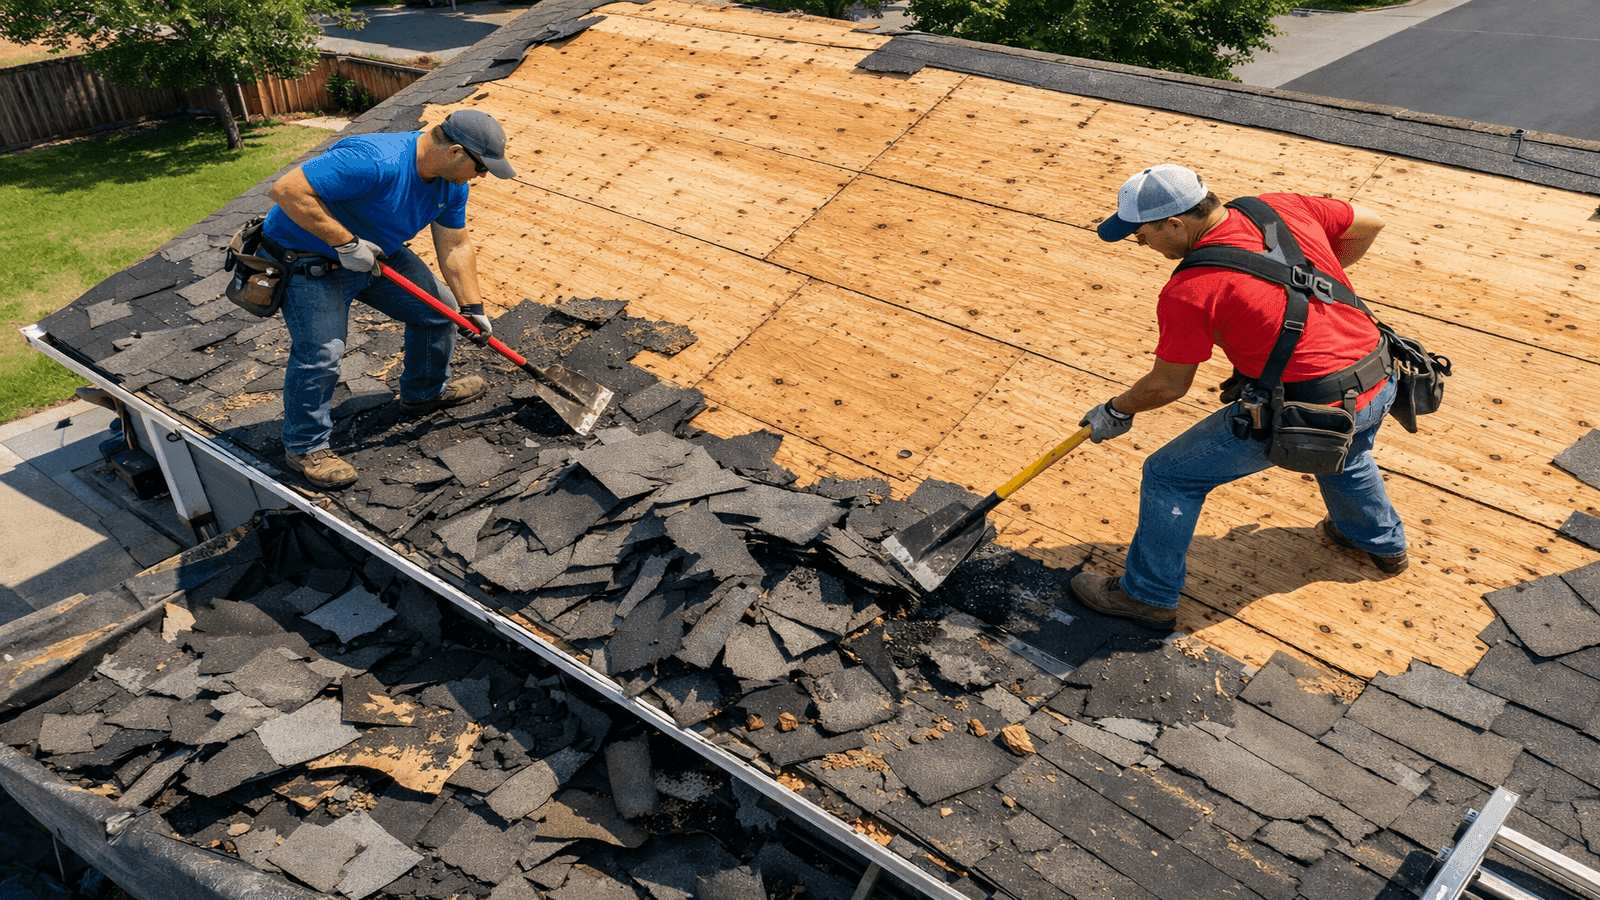
Photo: Roofing crew performing a full tear-off using roofing shovels, removing old asphalt shingles and exposing bare plywood roof decking
The Tear-Off Process
On day one, the crew's first task is stripping the existing roof down to bare decking. A typical tear-off sequence follows this order:
Ridge cap removal. Workers use pry bars to pop the ridge cap shingles along the peak of the roof. These come off first because they lock the top course of field shingles in place.
Field shingle removal. Crew members work in sections from the ridge down toward the eaves using roofing shovels designed for the purpose. The shovel blade slides under multiple shingle courses at once and pries them away in large sections. Debris falls to tarps, plywood sheets, or directly into a dump trailer parked below.
Nail removal and flattening. Every protruding nail must be pulled out or hammered flat. Even a single raised nail head can puncture an underlayment and cause a leak the first time rain hits it.
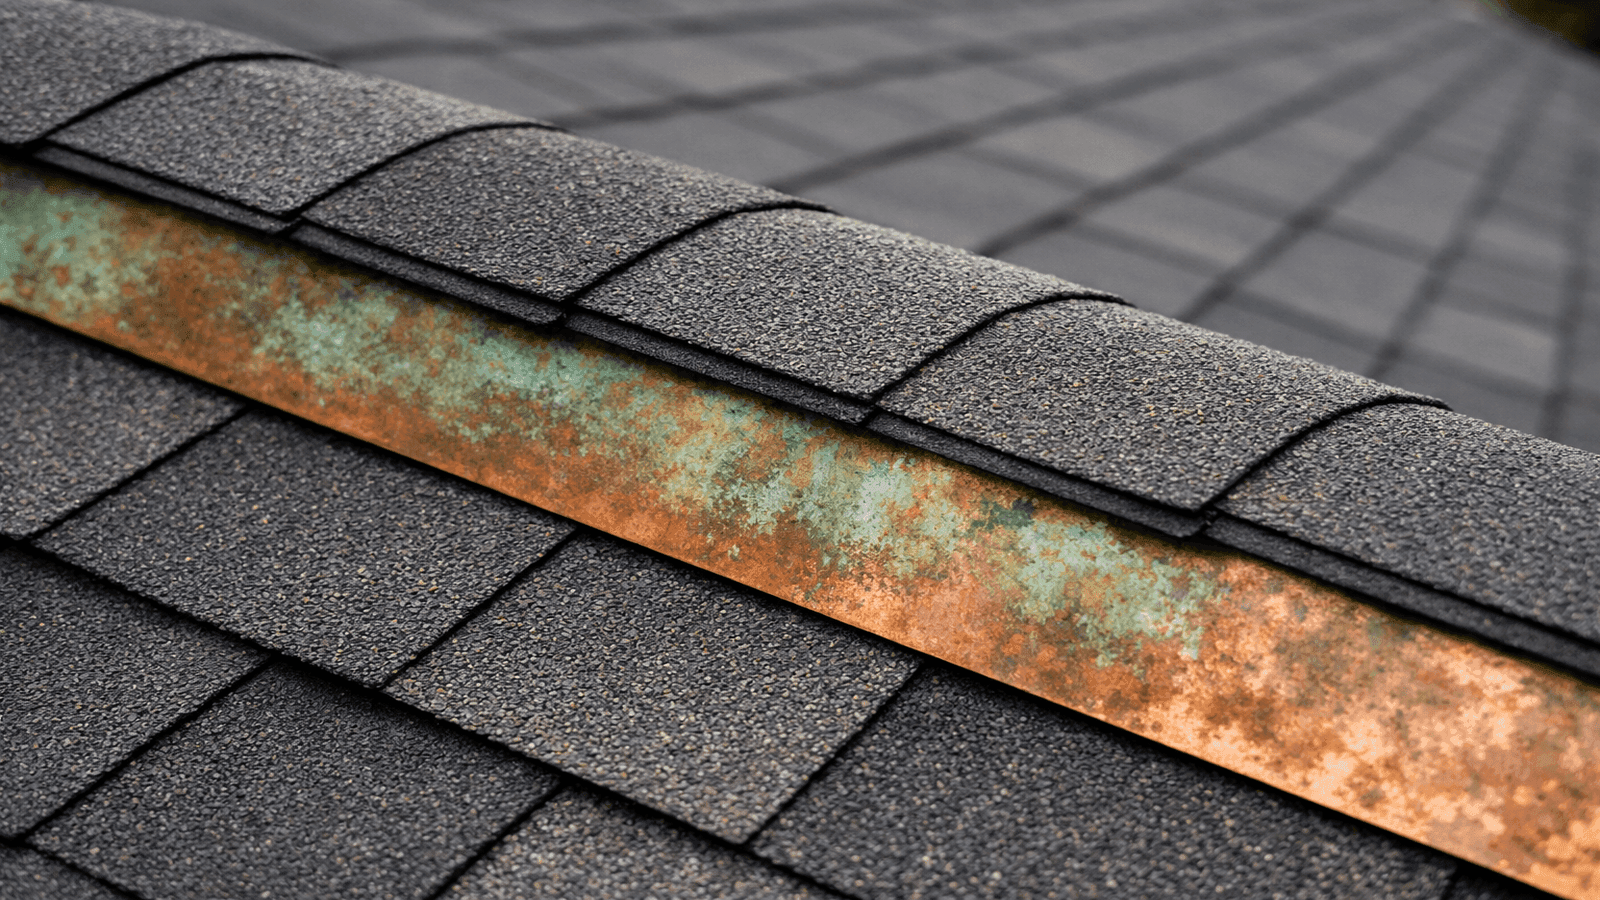
Flashing removal. Step flashing, valley flashing, and pipe boot flashings are removed. Drip edge is typically removed as well and replaced rather than reused. Reusing old flashing is a recognized red flag — it is a common shortcut that cuts cost for the contractor and creates leak risk for the homeowner.
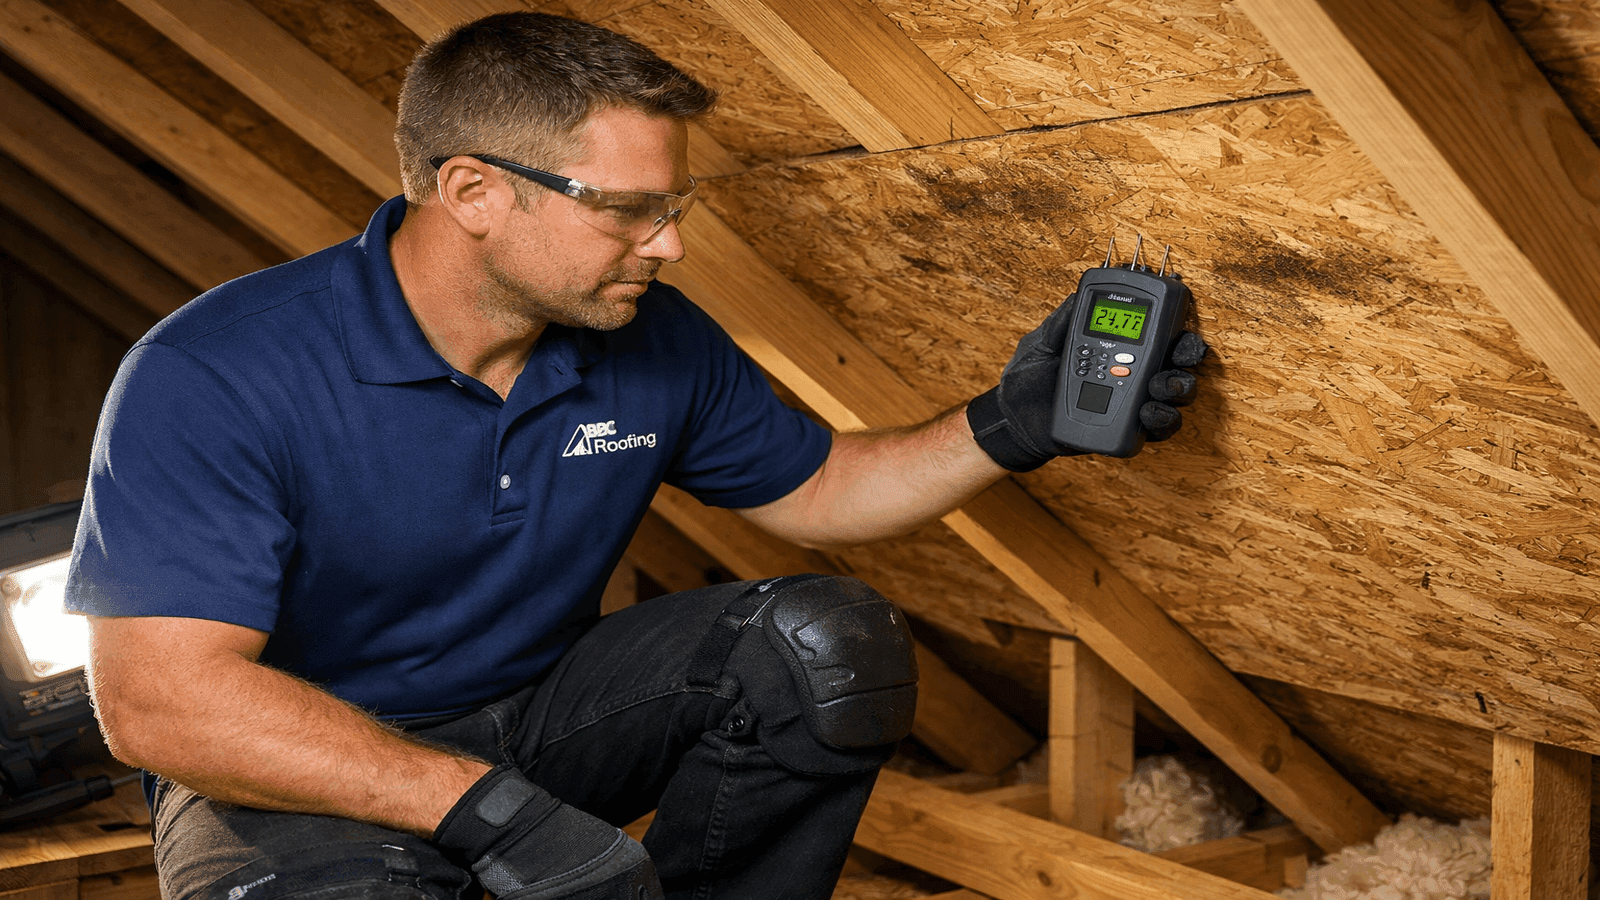
Deck inspection. Once the deck is exposed, the lead installer walks every section looking for soft spots (which indicate rot), delaminated plywood, cracked or missing decking boards, and signs of past leak staining. Damaged sections are marked for replacement before any new material goes down.
Homeowner Preparation Checklist
A roofing project creates significant disruption around your home. Completing this checklist before the crew arrives prevents damage and conflict.
Vehicles and driveway. Move all vehicles out of the driveway the night before and ask family members who park on the street to relocate a full block away. Material delivery trucks and dump trailers need full driveway access, and debris landing on a car roof causes dents.
Outdoor items. Remove potted plants, decorative items, bird feeders, wind chimes, and patio furniture from the area below the roofline. If items are too large to move, cover them with tarps. Falling debris, nails, and small shingle fragments spread farther than most homeowners expect.
Pets. Arrange for dogs and cats to stay elsewhere for the entire project, not just day one. Crew members cycle in and out of gates throughout the day, noise levels reach 85 to 95 decibels during peak tear-off, and stray nails in the yard create injury risk after the crew leaves. Boarding or a trusted neighbor's home are both reliable options.
Fragile interior items. Hammering and nailing transmit vibrations through the roof structure into walls. Remove framed art, mirrors, dishes on open shelving, and shelf-mounted collectibles. In attic spaces used for storage, cover boxes and furniture with drop cloths.
Notify neighbors. The project will generate construction noise from approximately 7 a.m. to 5 p.m. for one to three days. Giving neighbors 48 hours' notice prevents friction, especially if any neighbor works from home or has shift work sleeping schedules.
Confirm logistics with your contractor. Ask specifically: what time does the crew arrive, where will the dump trailer be placed, who is the on-site point of contact, and how will the crew alert you if they find deck damage requiring additional cost.
Get quotes from top-rated pros.
Day-by-Day Installation Steps
Day 1: Tear-Off and Deck Preparation
The morning begins with material delivery if not already staged the day before. The delivery truck places shingle bundles directly on the roof using a conveyor loader to distribute weight evenly. Tear-off begins immediately after.
Once decking is exposed, all deck repairs happen before any new material is installed. Replacing a full sheet of 7/16-inch OSB typically adds $75 to $150 per sheet to the project cost including labor. Most projects require one to three sheets; extensive water damage can require more.
Drip edge installation comes next. NRCA's 2026 manual guidelines recommend drip edge at all eaves and rakes for asphalt shingle roofs [2]. The drip edge at eaves goes down before underlayment; rake drip edge goes on after underlayment.
Ice and water shield (a self-adhering rubberized underlayment membrane) is installed at eaves, in valleys, and around penetrations. In cold climates, this membrane typically extends 24 inches past the interior wall line. In warm climates, it is often used only at valleys and penetrations.
Synthetic underlayment is then rolled out across the field of the roof in overlapping horizontal courses working from eave to ridge. Synthetic underlayment has largely replaced 15-pound felt because it is lighter, tears less in wind, and provides a safer walking surface for the crew.
Day 2: Shingle Installation
Shingle installation begins at the eave with a starter strip course — a specially manufactured strip, or a full shingle course inverted and cut — that seals the bottom edge and ensures the first full shingle course has adhesive under its entire lower half.
Field shingles are then installed course by course from eave to ridge, each course offset from the one below (typically a 6-inch offset for three-tab and architectural shingles) to stagger the joints and prevent water pathways. Nailing patterns follow manufacturer specifications: for GAF Timberline HDZ shingles, four nails per shingle is the standard installation with six nails required in high-wind zones.
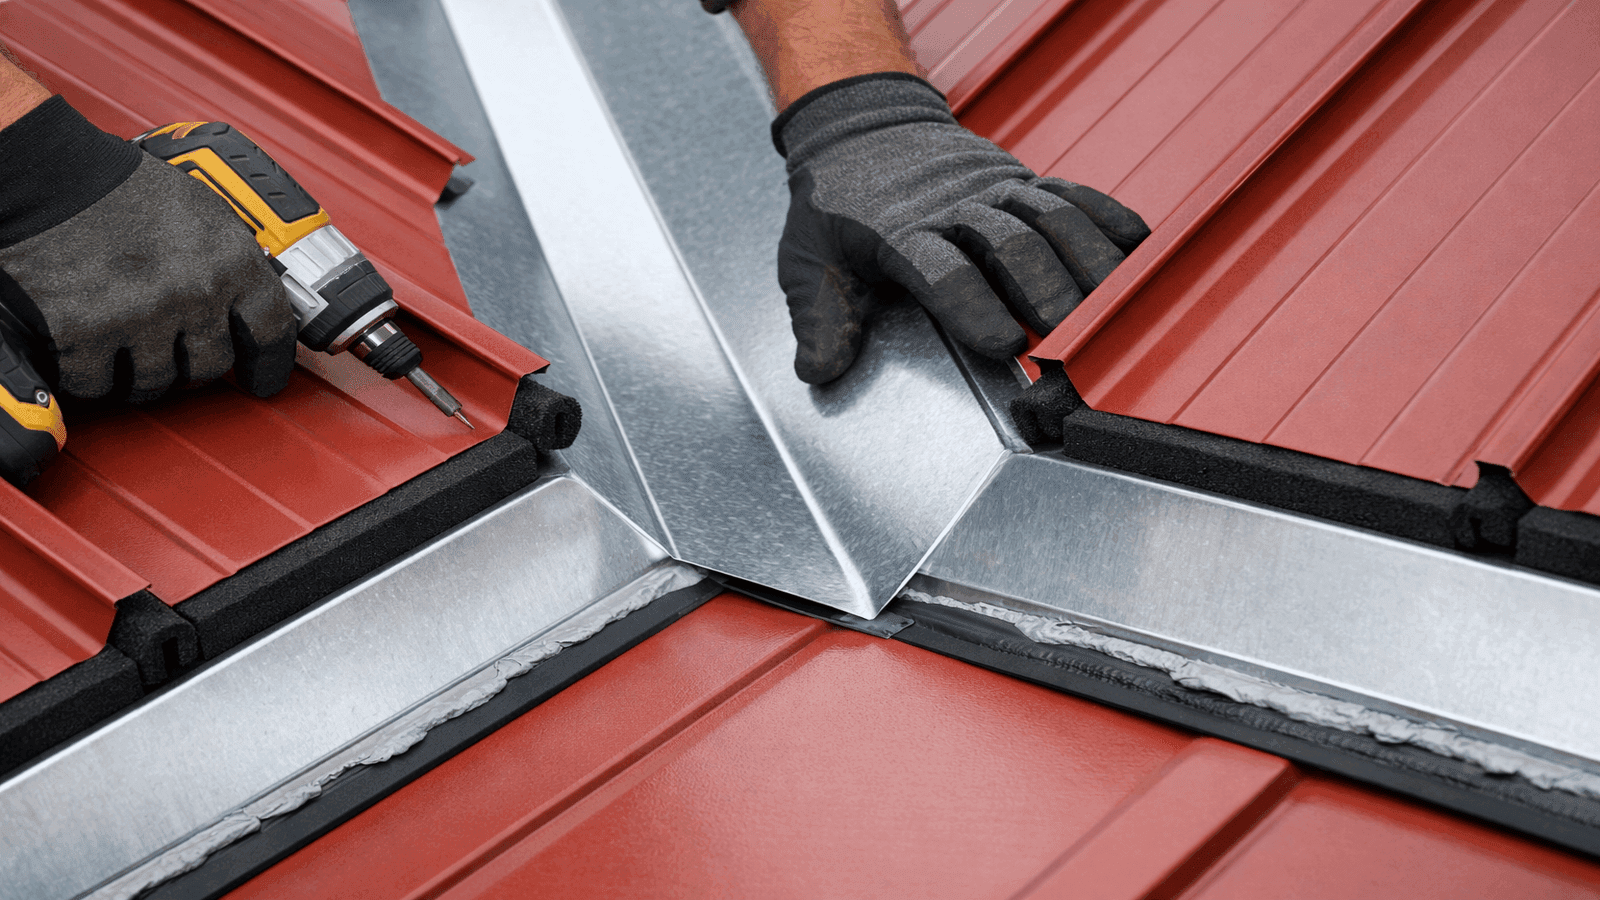
Step flashing — the L-shaped metal pieces woven into courses where the roof meets a wall or chimney — is installed simultaneously with the shingle courses in those areas. Proper step flashing is one of the most technically demanding parts of the job. An improperly flashed chimney or dormer wall is among the most common sources of post-installation leaks.
Valleys are finished in one of three methods: open (metal valley flashing exposed), closed-cut (shingles woven across the valley then one side cut back), or woven (alternating shingles from each side woven together). Open valley flashing is generally considered the most durable and easiest to inspect.
The ridge is finished last. Ridge cap shingles are installed along the peak, and a continuous ridge vent is installed if the design calls for one. Ridge vents are critical to proper attic ventilation — they work in tandem with soffit vents to allow hot air to exhaust from the attic continuously.
Day 3: Finishing, Cleanup, and Final Walkthrough
Most average-sized homes (2,000 to 2,500 square feet of living space) are fully shingled by the end of day two. Day three, where it occurs, is typically reserved for final flashing work, caulking around penetrations, and the final quality check.
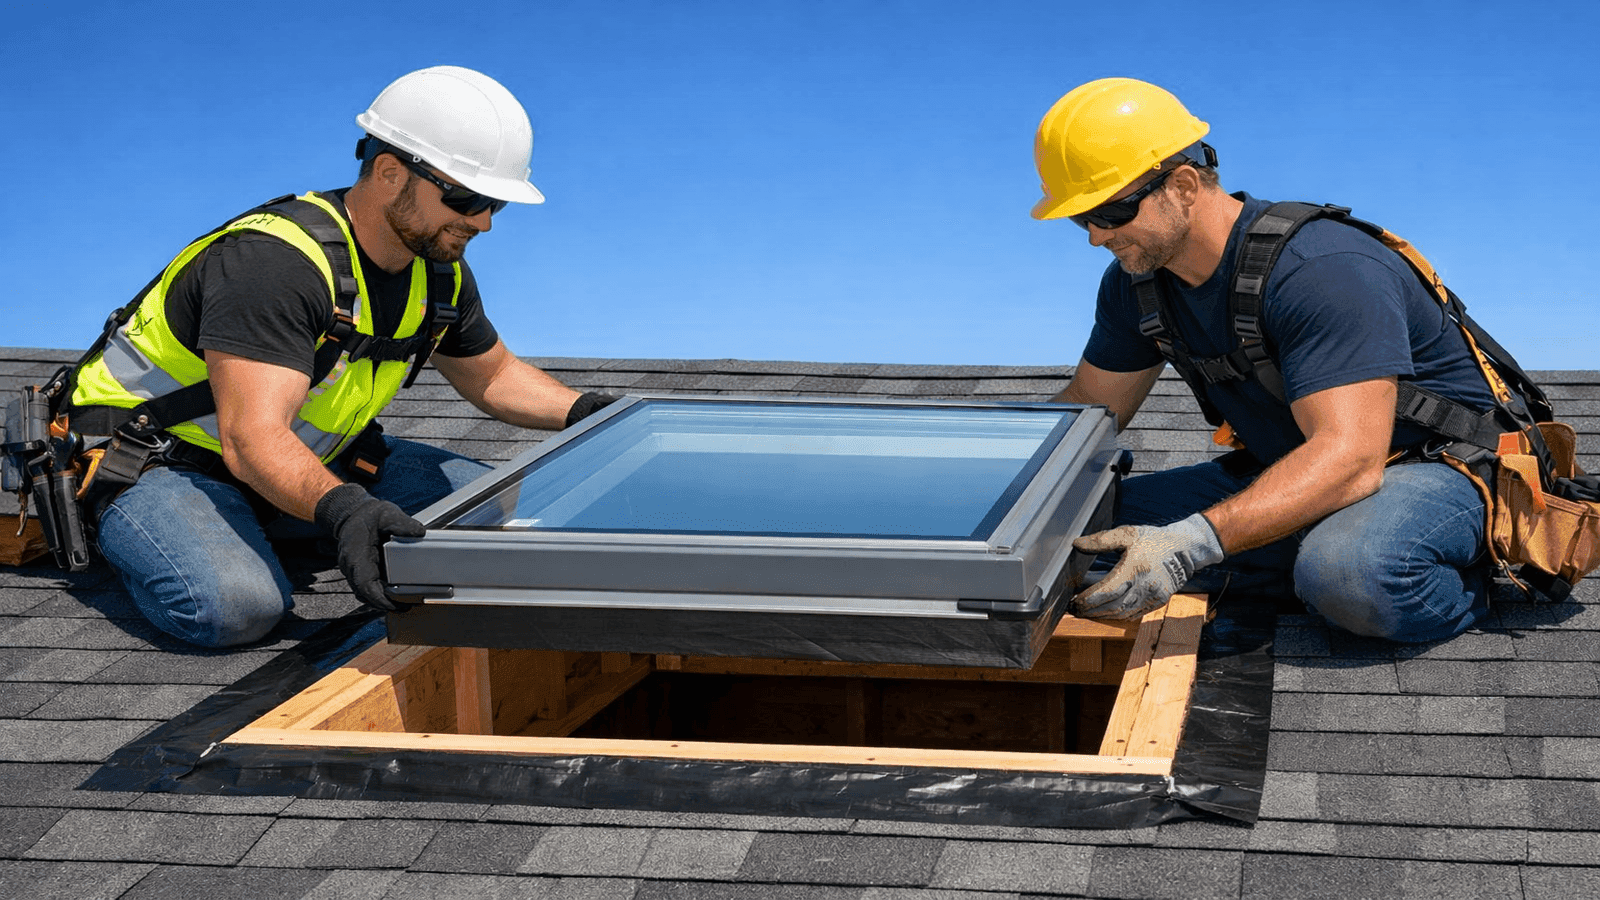
Pipe boots (rubber or lead flashing collars around plumbing vent pipes) are re-sealed and checked for fit. Skylight flashing is re-inspected. Any areas where the crew had to stop due to weather or at end of day are checked for continuity.
The crew then performs a full site cleanup: all shingle debris, torn-off felt, old flashing, and packaging materials are loaded into the dump trailer. Magnetic rollers are swept across the lawn, driveway, and garden beds to collect stray nails. This nail sweep is not optional — it is a standard part of every professional installation, and you should specifically confirm it is included in your contract.
What Affects Total Cost
For most residential homes, a new asphalt shingle roof replacement costs between $8,000 and $22,000 [1]. The range is wide because each of the following factors adds or subtracts meaningfully from the final price.
| Cost Factor | Impact |
| Roof size (per square, 100 sq ft) | $350–$600 per square installed |
| Tear-off vs. overlay | Full tear-off adds $1–$2/sq ft |
| Deck repairs | $75–$150 per sheet of decking |
| Shingle grade (3-tab vs. architectural vs. designer) | $30–$150 more per square |
| Valley and flashing type | Open metal valleys add $150–$400 |
| Ridge vent installation | $300–$600 for a 40-foot ridge |
| Slope complexity (hips, valleys, dormers) | Adds 15–30% to labor |
| Geographic labor market | Southern and Midwest markets average 10–20% lower than coastal cities |
Robert M. in St. Louis, MO replaced a 32-square roof using a GAF Timberline HDZ system. His final project total was $11,720, which included full tear-off and disposal, replacement of three decking sheets, ice-and-water shield at eaves and valleys, synthetic underlayment, architectural shingles, continuous ridge vent, step flashing at two dormers, and complete site cleanup. That breaks down to roughly $366 per roofing square — a representative figure for the U.S. Midwest in 2026 using a mid-grade architectural shingle system.
Get quotes from top-rated pros.
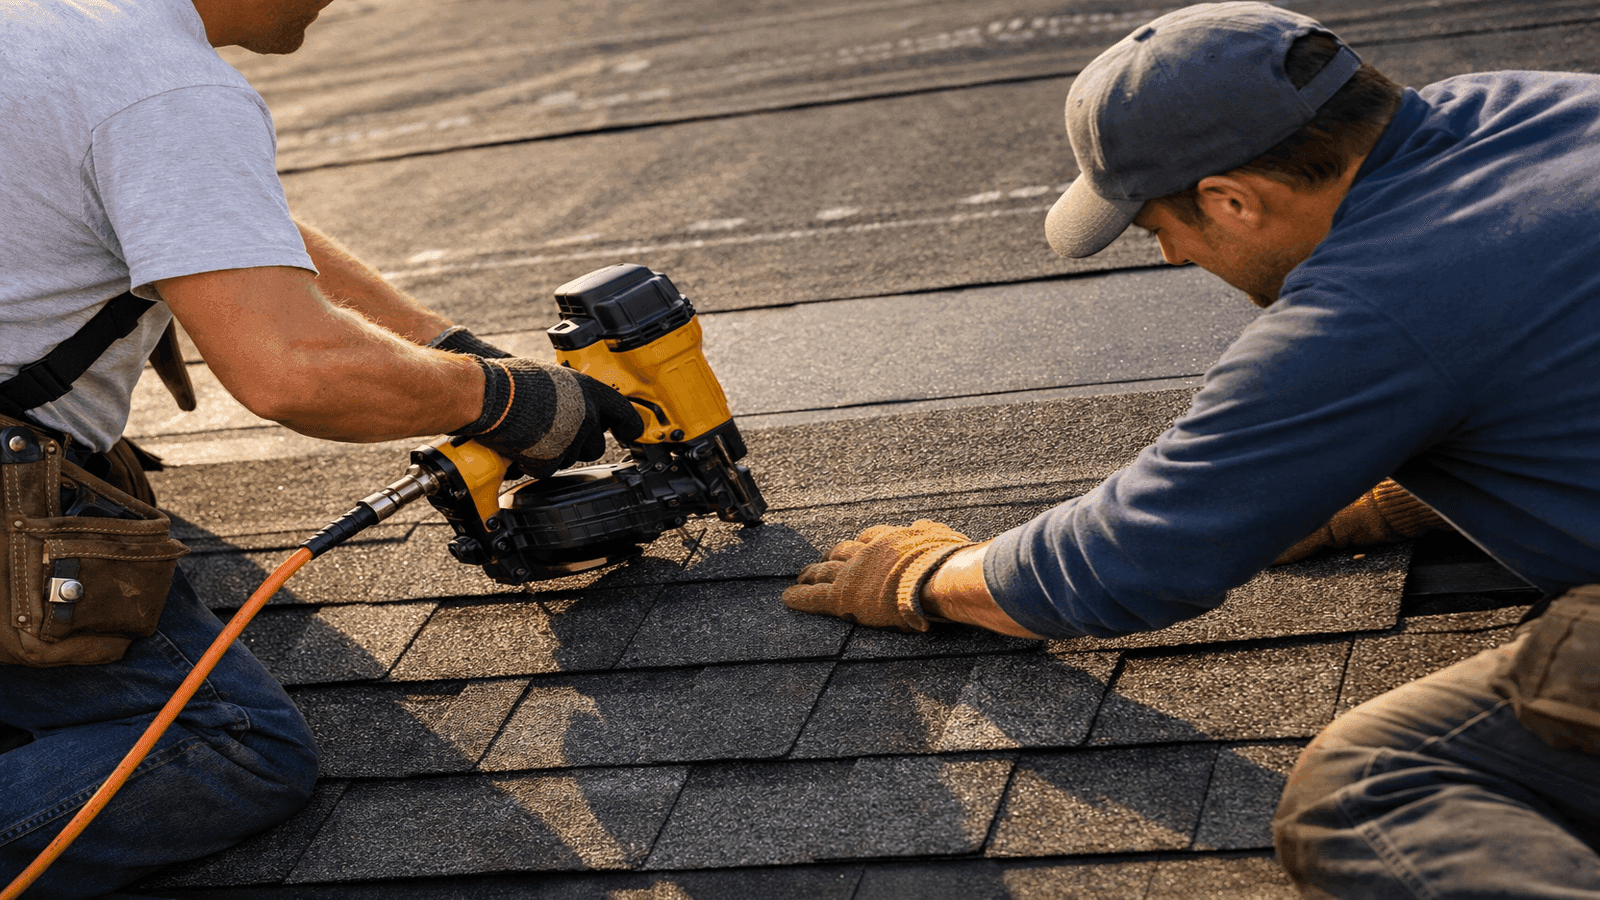
Photo: Two roofers installing architectural asphalt shingles using a pneumatic nail gun on a residential roof with synthetic underlayment visible above
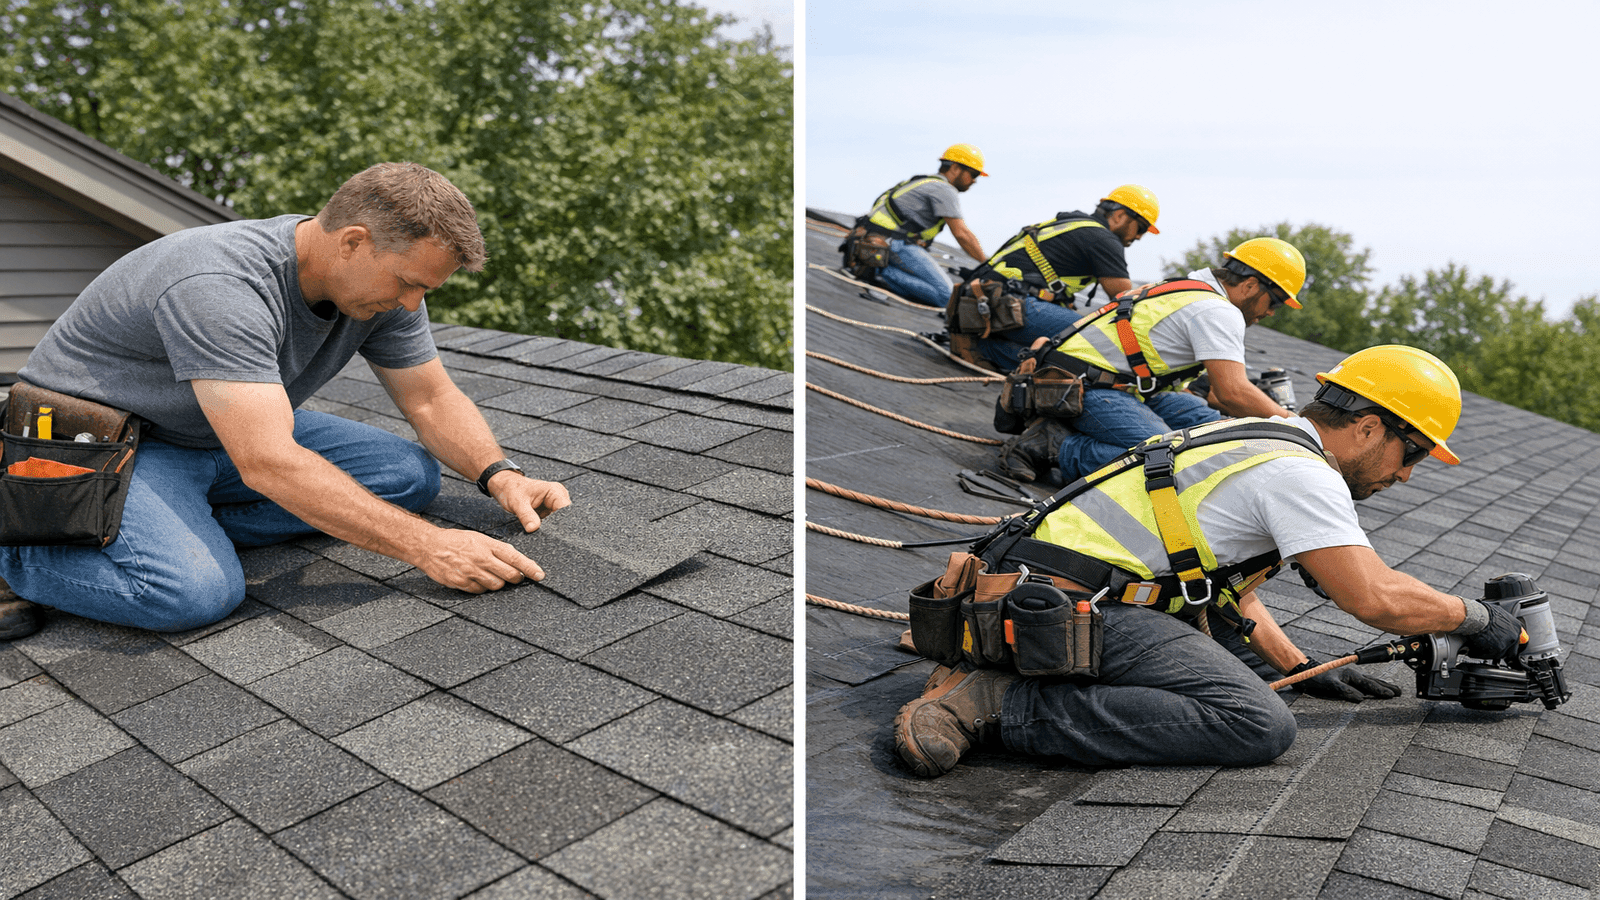
Post-Installation Inspection Checklist
Before your contractor leaves and before you sign off on the project, walk the property with the lead installer or project manager and work through this checklist.
Exterior inspection points:
- Ridge cap shingles run continuously from end to end with no gaps
- All shingle courses are straight and uniform in exposure
- No lifted or buckled shingle tabs visible from the ground
- All pipe boots and vent covers are properly seated and caulked
- Drip edge is flush at all eaves and rakes with no gaps or lifted sections
- Step flashing is visible at all wall intersections and is seated flat
- No exposed nail heads anywhere on the field of the roof
- Gutters have been cleared of shingle granules and debris
Interior / attic inspection points:
- No daylight visible through the decking
- No new nail tips protruding through the decking (indicates mis-nailing)
- Ridge vent is unobstructed end-to-end
- Insulation has not been disturbed or compressed
Yard and property:
- Magnetic nail sweep has been completed on lawn, driveway, and garden beds
- All dump trailer debris has been removed from the property
- Landscaping has been checked for damage from falling debris
- Downspouts are clear and flowing properly
Ask your contractor to provide you with the manufacturer's warranty documentation and the contractor's workmanship warranty in writing before they leave. GAF, Owens Corning, and IKO all offer enhanced warranties (ranging from 25 years to lifetime coverage) when their materials are installed by a certified contractor. These warranties are transferable to subsequent owners, which adds measurable value at resale.
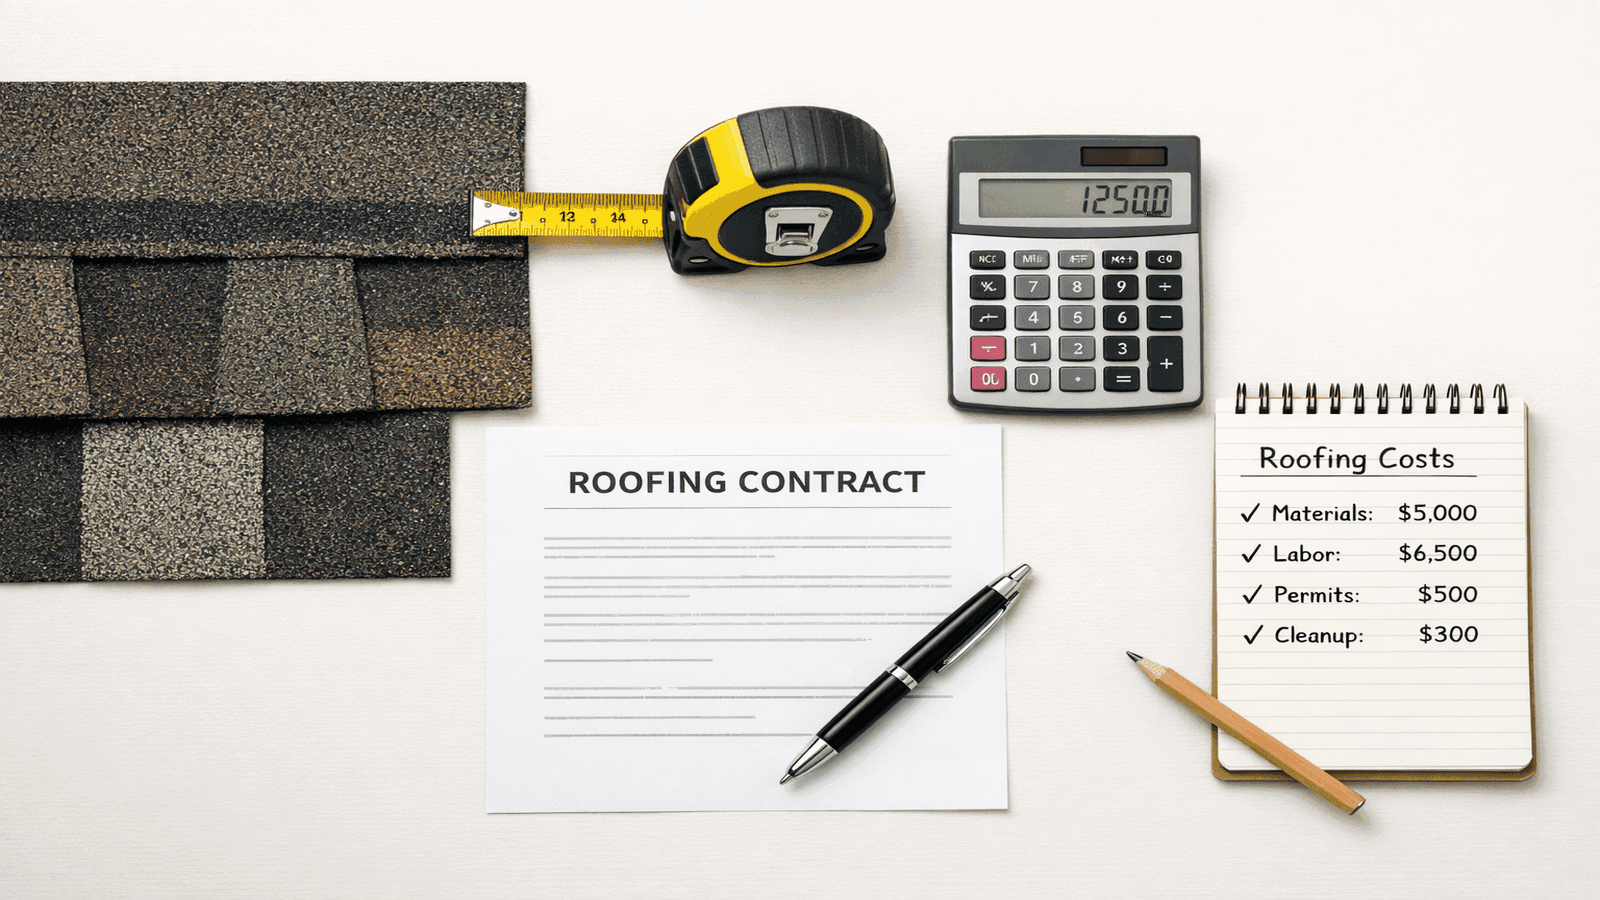
Photo: Flat-lay of roofing cost components including a shingle sample, calculator, contract document, and cost notes representing a residential roof replacement estimate
Red Flags During Installation
Even with a reputable contractor, knowing what to watch for protects your investment.
Skipping the deck inspection. If the crew begins laying underlayment within an hour of starting the tear-off without anyone walking the deck carefully, ask your project manager to slow down. Decking inspection is not something that can be rushed.
Reusing old flashing. New flashing costs between $50 and $200 in materials. Any contractor who proposes reusing valley or step flashing to save money is not doing you any favours. Old flashing carries previous sealant failures and micro-cracks that a new installation will not fix.
Skipping ice and water shield in climate-appropriate areas. In any region that sees ice or snow, an ice-and-water shield at the eaves is not optional; it is a code requirement in most jurisdictions. Confirm with your contractor before installation begins.
No starter strip course. The starter strip provides the adhesive bond that holds the first full course of shingles at the eave. Skipping it is a visible sign of cutting corners and voids most manufacturer warranties.
Crew working without a dumpster or debris plan. If shingle debris is being thrown off the roof without a designated landing zone or collection system, it indicates poor overall site management.
Pressure to skip permits. Most jurisdictions require a building permit for roof replacement. Pulling a permit means a municipal inspection confirms the work meets code. A contractor who pushes to avoid the permit process is exposing you to liability and may be unlicensed or trying to avoid inspection of their work.
Finding a Qualified Contractor
Selecting the right contractor is as important as the installation itself. Verify that any contractor you hire carries current general liability insurance and workers' compensation coverage, holds a state contractor's license where required, and can provide a list of local references from the past 12 months. Manufacturer certifications from GAF (Master Elite), Owens Corning (Preferred Contractor), or IKO (SELECT ShingleMaster) indicate a contractor who has met training and installation standards set by the material manufacturer.
Get a minimum of three written bids. If one bid is substantially lower than the others, ask specifically what it excludes. Low bids are typically low because something is missing — deck repair allowance, ice and water shield, or proper flashing replacement.
Disclaimer: The information in this article is for general educational purposes and reflects typical industry practices as of 2026. Roofing costs, code requirements, and installation standards vary by location, roof design, and material choice. Always consult a licensed roofing contractor in your area before beginning any roofing project. NearbyHunt does not perform roofing work and is not responsible for contractor performance.
Sources & References
- This Old House — New Roof Cost Guide (2026): https://www.thisoldhouse.com/roofing/new-roof-cost
- National Roofing Contractors Association — NRCA Roofing Manual 2026: https://www.nrca.net/manuals
- Owens Corning — What to Expect During a Roof Replacement: https://www.owenscorning.com/en-us/roofing/blog/what-to-expect
- IKO — How to Prepare for a Roof Replacement: https://www.iko.com/blog/how-to-prepare-for-a-roof-replacement/
- Bob Vila — Roof Replacement Guide: https://www.bobvila.com/articles/roof-replacement-cost/
- Forbes Home — Roof Replacement Cost Guide 2026: https://www.forbes.com/home-improvement/roofing/roof-replacement-cost/
- Bankrate Home — Roof Replacement Cost: https://www.bankrate.com/homeownership/roof-replacement-cost/

James is a licensed roofing contractor with 20 years of experience in roof installation, inspection, and repair across the U.S. South and Midwest. He specialises in asphalt shingles, metal roofing, and storm damage restoration. On NearbyHunt, James offers practical advice on roof maintenance, insurance claims, and selecting the right materials for long-lasting protection.

Jacob is a licensed roofing contractor with over 18 years of experience in roof inspection, installation, and restoration. Based in Texas, he has led hundreds of successful roofing projects across residential and commercial properties. Jacob is also a certified storm damage specialist, ensuring that all NearbyHunt roofing content meets industry best practices and safety standards.