- Roof patches are temporary fixes -- most last 1-5 years before permanent repair is needed
- A proper roofing cement patch over a small breach costs $10-$30 in materials and takes under an hour to apply
- Never use duct tape, flex seal spray, or hydraulic cement on roof surfaces -- they fail within one wet season
- Patches work best on slopes under 6:12 -- steeper roofs require professional safety gear and different techniques
- James Carver estimates 40% of the emergency patch calls his crew gets are on repairs that a homeowner could have done themselves with the right materials
A single missing shingle after a windstorm, a small split in flashing around a pipe boot, a puncture from a fallen branch -- these are the most common roof failures homeowners face. The difference between a minor inconvenience and a $10,000 water-damage claim is often how fast and how correctly you respond. A roof patch done right can keep water out for months while you wait for a contractor or decide on a full repair.
Knowing when to patch and when to call a professional is the critical first judgment. This guide gives you the step-by-step process for the most common patch scenarios -- damaged asphalt shingles, metal flashing patches, flat roof repairs, and emergency tarps -- along with the honest assessment of when a patch is all you need and when it is just buying time on a roof that needs more. For a broader look at roofing repairs and what each approach costs, see the complete roofing DIY guide.

Get quotes from top-rated pros.
When to Patch vs. When to Replace
Not every roof problem is a patching candidate. Applying a cement patch to a roof that needs section replacement delays the inevitable and can create a false sense of security during the next storm.
Patching is appropriate for:
- Isolated shingle damage affecting fewer than 10 square feet
- Minor flashing gaps at pipe boots, chimneys, or valleys
- Single cracked or lifted shingles after wind events
- Nail pops with no surrounding deck damage
Full section replacement is needed when:
- Multiple shingles in a concentrated area have failed simultaneously
- Granule loss is widespread, exposing bare fiberglass mat
- The roof deck feels soft or spongy when you press on it -- a sign of rot or delamination
- Damage covers more than one full square (100 square feet)
Age is the deciding factor nobody wants to hear. A 25-year-old 3-tab shingle roof that is five years past its manufacturer warranty will experience the next failure within weeks of the first patch. At that point, you are patching a deteriorating system, not a damaged one. The economics stop making sense.
| Damage Type | Patch Appropriate? | Expected Patch Life | Recommended Next Step |
| 1-3 missing shingles (wind) | Yes | 2-5 years | Monitor annually |
| Cracked pipe boot flashing | Yes | 1-3 years | Full boot replacement within 2 years |
| Split flashing at chimney | Yes | 1-2 years | Full reflash within one season |
| Deck rot visible | No | N/A | Call licensed contractor immediately |
| Widespread granule loss | No | N/A | Full replacement estimate |
| 10+ shingles damaged | No | N/A | Section replacement or full reroof |

Photo: Side-by-side comparison of a patch-appropriate isolated shingle failure versus widespread granule loss damage requiring full section replacement
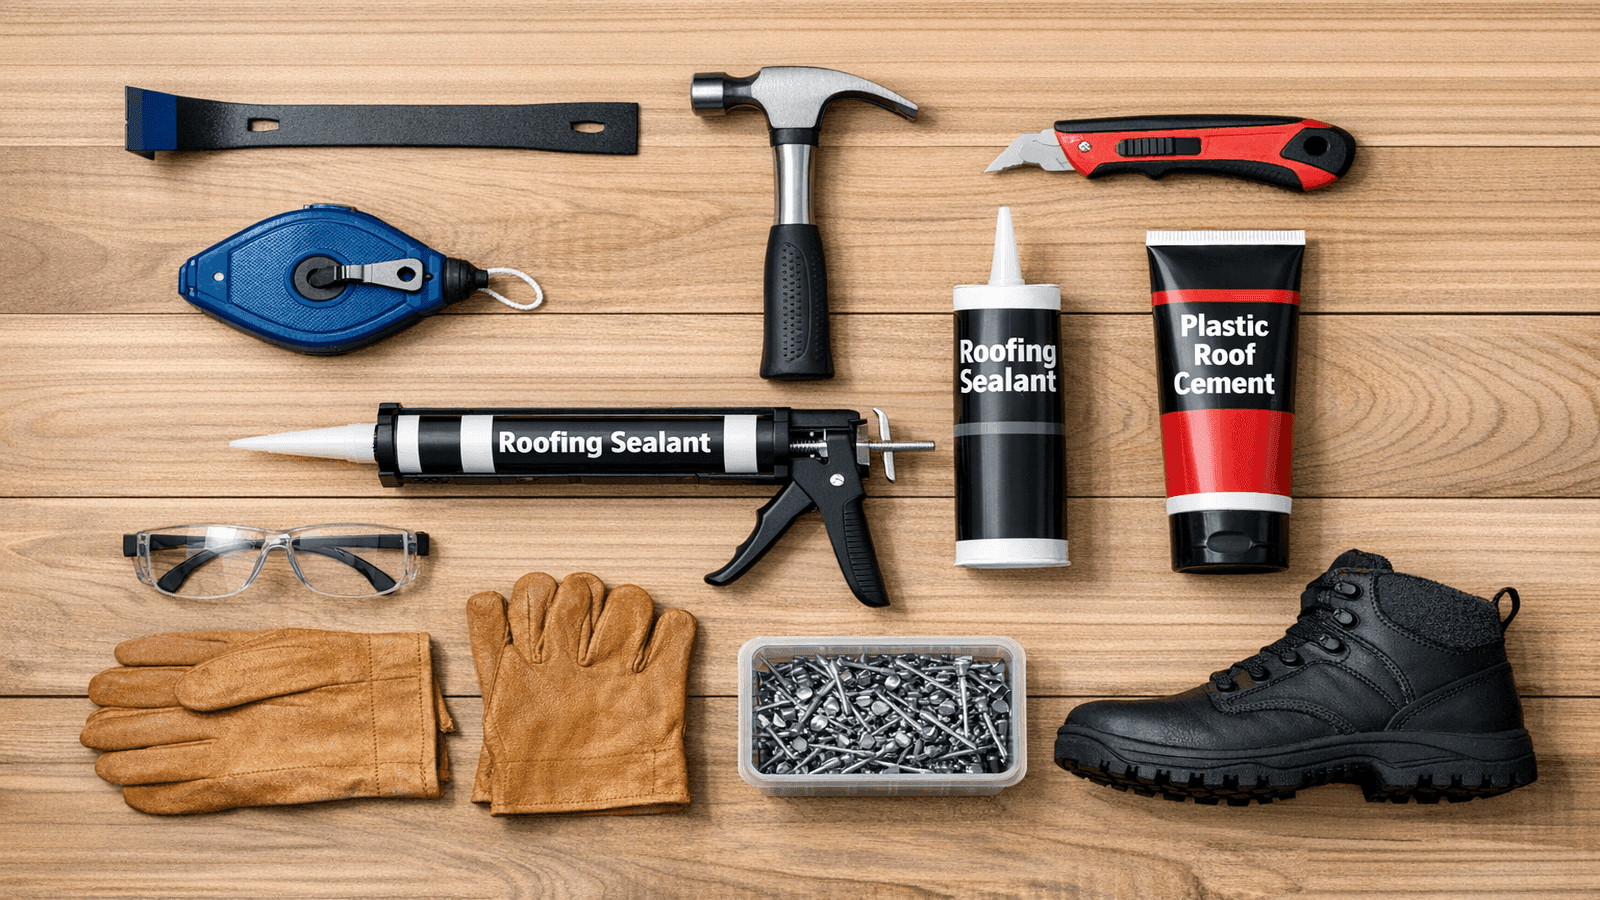
Materials You Need for a Roof Patch
Buying the wrong materials is the fastest way to ensure a patch fails. Roofing cement and standard interior caulk look similar in a tube. They are not interchangeable. Roofing cement is asphalt-based, UV-resistant, and formulated to flex through temperature cycles. Interior caulk or silicone caulk will harden, crack, and separate from the shingle surface within a single freeze-thaw season [1].
| Material | Purpose | Average Cost | Where to Buy |
| Roofing cement (Henry 208 or equivalent) | Primary sealant, shingle bonding, nail head coverage | $8-$14 per quart | Home Depot, Lowe's, roofing supply |
| Pre-cut aluminum flashing (6" x 6" or 12" x 12") | Covering holes, bridging splits, pipe boot repairs | $5-$15 per piece | Home Depot, roofing supply |
| Matching replacement shingles (1 bundle) | Replacing missing or cracked shingles | $25-$50 per bundle | Manufacturer distributor, big-box store |
| Galvanized roofing nails (1.5") | Fastening replacement shingles | $4-$8 per pound | Any hardware store |
| Utility knife with roofing blades | Cutting shingles to size | $10-$20 (blades extra) | Hardware store |
| Flat pry bar or cat's paw | Removing old nails and lifting adjacent shingles | $10-$20 | Hardware store |
| Caulk gun | Applying roofing cement from cartridge tubes | $5-$15 | Hardware store |
| Work gloves and knee pads | Safety and comfort on roof surface | $15-$30 | Hardware store |
One important note on shingle matching: Bring a sample shingle from your existing roof to the hardware store. Shingle colors change between production runs, and a patch done with a mismatched shingle creates an uneven surface texture that sheds water differently than the surrounding field. It is a minor functional issue, but it can accelerate granule loss along the mismatch line over time.
Get quotes from top-rated pros.
How to Patch Damaged Shingles
Shingle replacement is the most common DIY roof repair. Done correctly on a slope under 6:12, it is within reach of any homeowner comfortable on a ladder and willing to work carefully.
Step 1: Clear and assess the area.
Remove all loose debris -- leaves, sticks, broken shingle fragments -- from the damaged section and a 2-foot perimeter around it. Once the area is clear, press firmly on the roof deck with both palms. A solid deck will not flex. If you feel movement or softness, the deck is damaged and this job moves from DIY territory into a call to a licensed contractor.
Step 2: Remove the damaged shingles.
Slide the flat pry bar under the tabs of the damaged shingle. The nails holding it in place are covered by the tab of the shingle above. Lift gently to avoid cracking the surrounding shingles, which become brittle in cold weather. Remove the nails and slide the old shingle out.
Step 3: Inspect the felt paper and deck.
With the shingle removed, check the underlying roofing felt (underlayment). Small tears in felt can be patched with roofing tape before you set the new shingle. If you see bare wood with dark staining, that is a sign of water infiltration -- probe the wood with a screwdriver. Sound wood resists the probe. Soft or punky wood means deck damage and the job stops here.
Step 4: Cut replacement shingles to size and slide into position.
New shingles should overlap the course below by the same exposure as the surrounding field -- typically 5 to 5.5 inches for standard 3-tab shingles. Slide the new shingle into position under the shingle above, lining up the exposure line correctly.
Step 5: Nail with the correct pattern.
Four nails per shingle, placed 1 inch from each side edge, with the center nails spaced 6 inches apart. All nails go in the nail strip -- the area above the adhesive line printed on the shingle. Nails placed below the adhesive line pierce the tab face and create direct water entry points.
Step 6: Seal all nail heads.
Every nail head gets a small dab of roofing cement applied with a putty knife. This is not optional. Unsealed nail heads are the most common source of shingle-area leaks within the first year of a repair [2].
Step 7: Bond the shingle tabs.
Apply a small bead of roofing cement under the tabs of the new shingle and the shingle directly above it. Press the tabs down firmly for 30 seconds. In temperatures below 40 degrees F, warm the shingles with a heat gun for 30 seconds before pressing -- cold shingles will not bond reliably.
The nail placement mistake I see constantly is putting nails too low -- into the tab itself instead of the nail strip. In a 70 mph wind event, those shingles come right off. In 1,800-plus residential roofing projects across the U.S. South and Midwest, nail placement below the nail strip accounts for more storm callbacks than any other single installation error. If you can see the nail head after the course above is in place, it is in the wrong position.

Photo: Step-by-step shingle replacement diagram showing proper nail strip placement, four-nail pattern, and correct 5-inch exposure alignment
How to Apply a Metal Flashing Patch
A metal flashing patch is the right tool when the damage is a hole, a split, or a section of missing material too large for roofing cement alone. Metal patches are also appropriate for cracked pipe boots, split valley flashing, and areas around skylights or chimneys where the original flashing has separated from the roof surface.
Cut the patch to the right size. The patch must extend at least 4 inches beyond all edges of the damaged area. This is not a guideline -- it is the minimum required for adequate bond and water deflection. A patch cut exactly to the size of the hole will fail within one freeze-thaw cycle as the metal expands and contracts, breaking the cement seal along its edges.
Bed the patch in roofing cement on all edges.
Apply a 1/4-inch bead of roofing cement around the entire perimeter of the area where the patch will sit. Press the patch firmly into the cement, working from the center outward to push out air pockets.
Nail the perimeter at 2-inch intervals.
Use 1.5-inch galvanized roofing nails. Drive nails 1/2 inch from the edge of the patch, spacing them every 2 inches around the full perimeter. Drive nails flush -- do not countersink.
Cover all nail heads and patch edges with roofing cement.
Apply roofing cement over every nail head and feather the cement 1 inch beyond the patch edge on all four sides. The goal is a continuous seal with no gaps at the transition between patch and roof surface.
If the patch needs to go under existing shingles:
Use the pry bar to lift the overlying shingle just enough to slide the patch beneath it. Avoid cracking the shingle. Bed the upper edge of the patch in cement under the shingle, re-nail the shingle with new nails offset from the original holes, and seal all nail heads.
Undersizing is the number-one flashing patch failure mode. A homeowner cuts a patch to cover the hole exactly, and within 90 days water is coming in around the edge. The cement-to-metal bond is strong, but it is only strong if there is enough surface area for the bond to work. Four inches minimum on every side. On a pipe boot or chimney corner, I go six inches to give myself a margin on the angles.
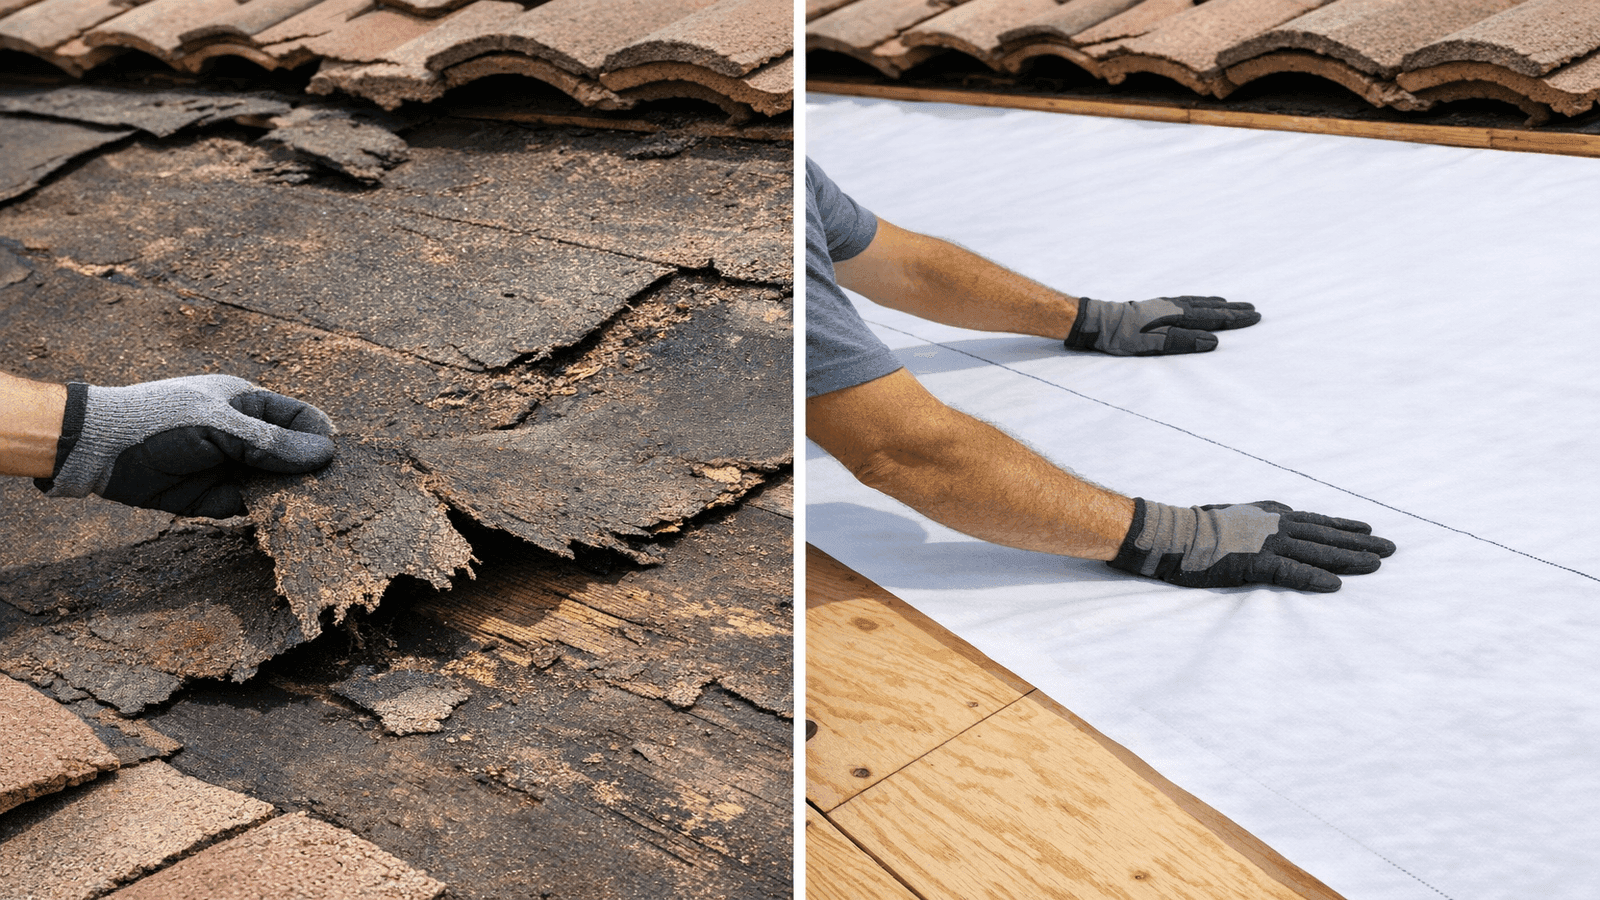
How to Patch a Flat or Low-Slope Roof
Flat and low-slope roofs use membrane systems that are fundamentally different from asphalt shingles, and the biggest mistake in flat roof patching is buying the wrong adhesive for the membrane type you have. Mixing adhesive systems -- using EPDM cement on a TPO roof, for instance -- creates a bond failure within one season [2].
Identify your membrane type before buying anything.
- EPDM (rubber): Black, flexible, slightly textured surface. Feels rubbery when you press it. Patch requires EPDM-specific primer and contact cement.
- TPO: White or light gray, smooth, slightly stiff. Heat-welded seams are visible as raised lines. TPO patches are heat-welded and are not DIY-appropriate without a roofing heat gun.
- Modified bitumen (torch-down): Black, often with a granulated surface similar to shingles. Patched with cold-process modified bitumen patching compound -- no torch required for DIY.
- Built-up roofing (BUR/tar-and-gravel): Multi-layer with aggregate surface. Small cracks and blisters can be patched with asphalt roof coating applied by roller.
EPDM patch process (DIY-appropriate):
- Clean the damaged area with EPDM primer. Let dry until tacky (5-10 minutes).
- Apply EPDM contact cement to both the patch and the roof surface.
- Let both surfaces become tacky (follow manufacturer timing -- typically 5-7 minutes).
- Press patch down firmly from center to edges. Roll with a hand roller or press with a wooden block and mallet.
- Seal patch edges with EPDM lap sealant in a continuous bead.
NearbyHunt network data shows 70% of flat roof patch failures come from using the wrong adhesive for the membrane type [3]. Contractors in the NearbyHunt network who specialize in flat roof repairs report that EPDM contact cement applied to a TPO surface will peel in the first hard rain. Visual identification before purchase is mandatory.
The single most important thing you can do before buying any flat roof patch material is to confirm the membrane type. Check your roof warranty documentation or call the original roofer. Every flat roof system requires its own specific adhesive chemistry. I have seen homeowners spend $200 on EPDM patch kits for a TPO roof and wonder why the patch failed in three weeks. You cannot substitute adhesive systems.
Get quotes from top-rated pros.

Photo: Flat roof EPDM patch application showing primer application, contact cement coverage on both the patch and roof surface, and proper edge lap sealant technique
Temporary Patch with a Tarp (Emergency Only)
When a storm creates a hole too large for a standard patch, or when you are waiting on materials or a contractor, a properly installed roof tarp buys time. The operative word is properly. A tarp thrown over a peak and held down with a few bricks is not a weather seal. When the wind catches it, it becomes a sail and causes additional damage.
Proper tarp installation method:
- Size the tarp correctly. It must extend at least 4 feet past all edges of the damaged area, including over the peak if the damage is near the ridge. Most emergency situations require a minimum 12 x 20-foot tarp.
- Anchor with 2x4 boards. Fold the tarp over a 2x4 and nail the board to the roof surface with 16d nails. Do not rely on weight or rope over a bare tarp -- these fail in any wind over 20 mph.
- Run boards parallel to the ridge and perpendicular on the sides. Each board holds a folded tarp edge. Space boards no more than 4 feet apart across the tarp width.
- Seal the peak side. If the tarp extends over the ridge, add a cap board nailed on both sides of the peak to prevent wind from lifting the tarp from underneath.
Tarps are 90-day solutions at best. UV radiation degrades most blue poly tarps in three months, and the constant movement of a tarp in wind erodes the roofing material beneath it. If you have not replaced the damaged section within 90 days, replace the tarp before it deteriorates.
For a complete detailed guide on installation, anchor spacing, and storm preparation, see our how to tarp a roof article.

Photo: Properly anchored roof tarp showing 2x4 board securing method folded at ridge and eave edges, versus an incorrectly weighted tarp that will fail in wind
Real-World Case Study: Carlos M., Dallas TX
In April 2025, a hail-and-wind event across the Dallas-Fort Worth metro left Carlos M., a homeowner in a Dallas suburb, with six shingles blown off a second-story valley section. His insurance claim was filed the same day, but with the volume of storm damage in the region, the earliest contractor availability was three weeks out.
Carlos had rain in the forecast for the following weekend and a wide-open valley section above his master bedroom. He bought a roll of pre-cut aluminum flashing and a quart of Henry 208 roofing cement at the local roofing supply store and spent an afternoon cutting six patches -- each 12 inches wide by 16 inches long, providing a full 4-inch overlap beyond the damaged area on every edge.
He bedded each patch in roofing cement, nailed the perimeter with 1.5-inch galvanized nails at 2-inch spacing, sealed every nail head with a dab of cement, and applied a final feathered cement layer over all patch edges. The three-hour job covered the valley completely before the weekend rains arrived.
When the contractor came three weeks later, the attic was dry with zero deck damage. The patches had held through two storm systems and a period of sustained heavy rain.
James Carver's assessment: "Carlos got every critical detail right. He sized the patches correctly -- 4 inches of overlap minimum on every edge. He sealed every nail head, which a lot of homeowners skip. And he used roofing cement, not silicone. Those three things are the entire difference between a patch that holds and one that fails in the first rain. I have seen homeowners get two out of three. Carlos got all three, and his bedroom ceiling stayed dry for three weeks in a Dallas spring."
Common Patching Mistakes to Avoid
Even homeowners who buy the right materials and understand the process make the following errors. Each one is a direct path to a patch that fails faster than it should.
Using interior caulk or silicone instead of roofing cement. Silicone is not UV-rated for continuous sun exposure and does not bond well to asphalt surfaces. It will peel and crack within one season. Roofing cement only.
Over-applying roofing cement. More is not better. Thick, raised beads of roofing cement catch and pool water instead of shedding it. Apply in thin, feathered layers. If the cement forms a ridge over 1/8 inch high, it will hold water against the patch edge rather than directing it away [4].
Not sealing nail heads. Every exposed nail head is a water entry point. On a shingle patch, the nail heads for the top row are not covered by any course above. Seal every one.
Patching without checking deck condition. A patch applied over soft or rotted decking delays discovery of the actual problem. The deck damage continues to worsen underneath, and the next failure will be significantly larger. Always press-test the deck before laying any patch material.
Using mismatched shingles. Beyond the cosmetic issue, shingles with different thicknesses shed water at different rates. A thick shingle next to a thin one creates an edge where water can pond and infiltrate. Match the weight and profile as closely as possible.
Treating the patch as a permanent solution. A patch is a bridge. Even a well-executed shingle patch has a five-year useful life in optimal conditions. Plan the permanent repair while the patch is protecting you, not after the patch fails during the next storm season.
Conclusion
A roof patch done correctly -- right materials, right technique, and an honest assessment of the deck condition beneath -- is one of the most effective emergency home repairs a homeowner can execute. The four principles that separate successful patches from failed ones are consistent across every repair type: use the right sealant for your roof system, extend patch coverage well beyond the damage boundary, seal every fastener, and verify the deck is sound before you begin.
If the deck is compromised, if the slope exceeds 6:12, or if the damage covers more than a single isolated area, the patch conversation ends and the contractor conversation begins. In 1,800-plus residential roofing projects across the U.S. South and Midwest, James Carver has seen both outcomes: the homeowner who patches correctly and stays dry for three years while planning a full reroof, and the homeowner who patches incorrectly and calls in a water damage emergency six weeks later. The techniques in this guide lead to the first outcome.
- Disclaimer: This article provides general guidance for informational purposes only. Roof work involves working at height and carries inherent risk of serious injury. Always use appropriate fall protection equipment when working on any roof surface. Consult a licensed roofing contractor for an assessment before performing any repair on a roof with unknown deck condition, slopes exceeding 6:12, or damage covering more than 10 square feet. Local building codes may require permits for certain roofing repairs. NearbyHunt connects homeowners with licensed contractors but does not perform roofing work.*
Sources & References
- Henry Company -- Roofing and Waterproofing Products
- National Roofing Contractors Association -- Residential Steep-Slope Roofing Best Practices Guide
- EPDM Roofing Association -- EPDM Membrane Installation and Repair Standards
- Asphalt Roofing Manufacturers Association -- Residential Asphalt Roofing Manual
- Insurance Institute for Business and Home Safety -- Roof Performance Under Wind and Hail
- U.S. Bureau of Labor Statistics -- Roofing Industry Wage Data 2025

James is a licensed roofing contractor with 20 years of experience in roof installation, inspection, and repair across the U.S. South and Midwest. He specialises in asphalt shingles, metal roofing, and storm damage restoration. On NearbyHunt, James offers practical advice on roof maintenance, insurance claims, and selecting the right materials for long-lasting protection.

Jacob is a licensed roofing contractor with over 18 years of experience in roof inspection, installation, and restoration. Based in Texas, he has led hundreds of successful roofing projects across residential and commercial properties. Jacob is also a certified storm damage specialist, ensuring that all NearbyHunt roofing content meets industry best practices and safety standards.