- Trapped air in radiators blocks hot water circulation, creating cold spots at the top while the bottom stays warm, and bleeding takes less than 10 minutes per radiator with a $3-$8 radiator key [1].
- Bleeding your radiators once or twice per year can reduce boiler run time by allowing heat to distribute evenly, lowering strain on equipment rated for 15-20 years of service [2].
- The U.S. Energy Information Administration reports that heating accounts for roughly 42% of residential energy use, making even small efficiency gains from proper radiator maintenance worth the effort [3].
- Boiler pressure should read 12-15 PSI when cold on a typical two-story home; if pressure drops below 10 PSI after bleeding, you need to add water through the fill valve before restarting the system [4].
- Persistent cold spots after bleeding usually indicate sludge buildup or a failing circulator pump, both of which require professional diagnosis costing $150-$400 [5].
Hydronic heating systems, which circulate hot water through radiators, baseboard units, and convectors, are common across the Northeast, Upper Midwest, and older homes throughout the United States. These systems are efficient and long-lasting, but they share one recurring problem: trapped air.
Air enters your heating system through micro-leaks at joints and valve packing, dissolved oxygen released when water heats up, and routine maintenance that introduces air during refilling. That trapped air rises to the top of radiators and blocks hot water from filling the entire unit. The result is a radiator that feels warm at the bottom but cold across the top, uneven room temperatures, and a boiler working harder than it should.
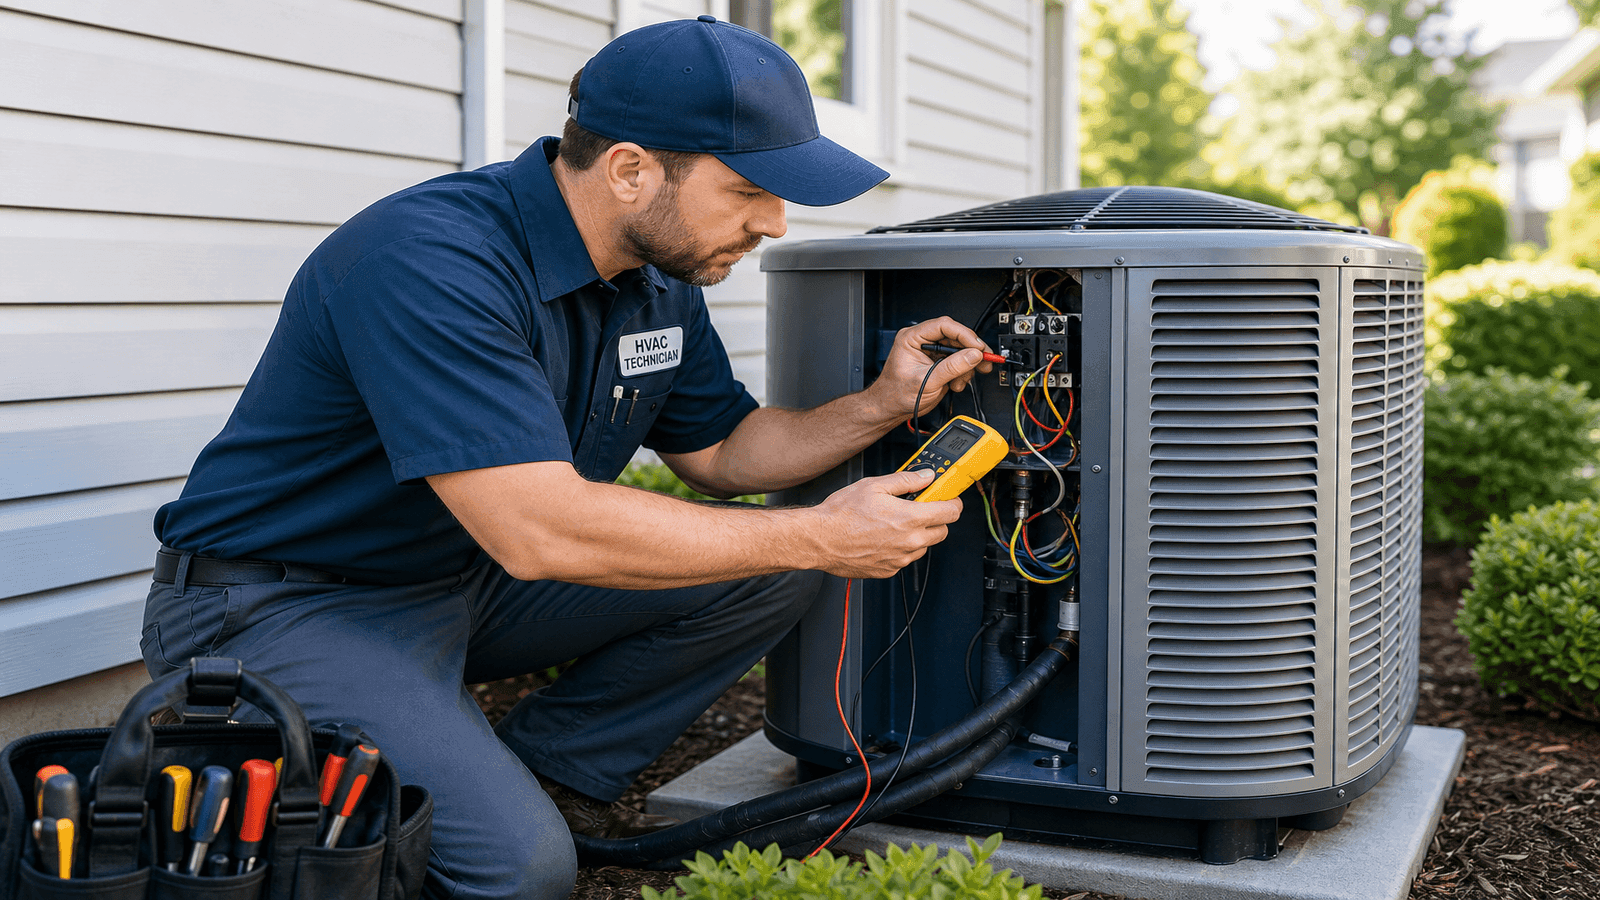
Daniel Torres, a Certified HVAC Technician and Energy Efficiency Consultant with EPA 608 Universal, NATE, and HVAC Excellence certifications and 14 years of field experience in Minneapolis, has serviced hundreds of hydronic systems. His guidance throughout this article draws from real-world service calls where proper bleeding technique solved problems homeowners assumed required expensive repairs.

Get quotes from top-rated pros.
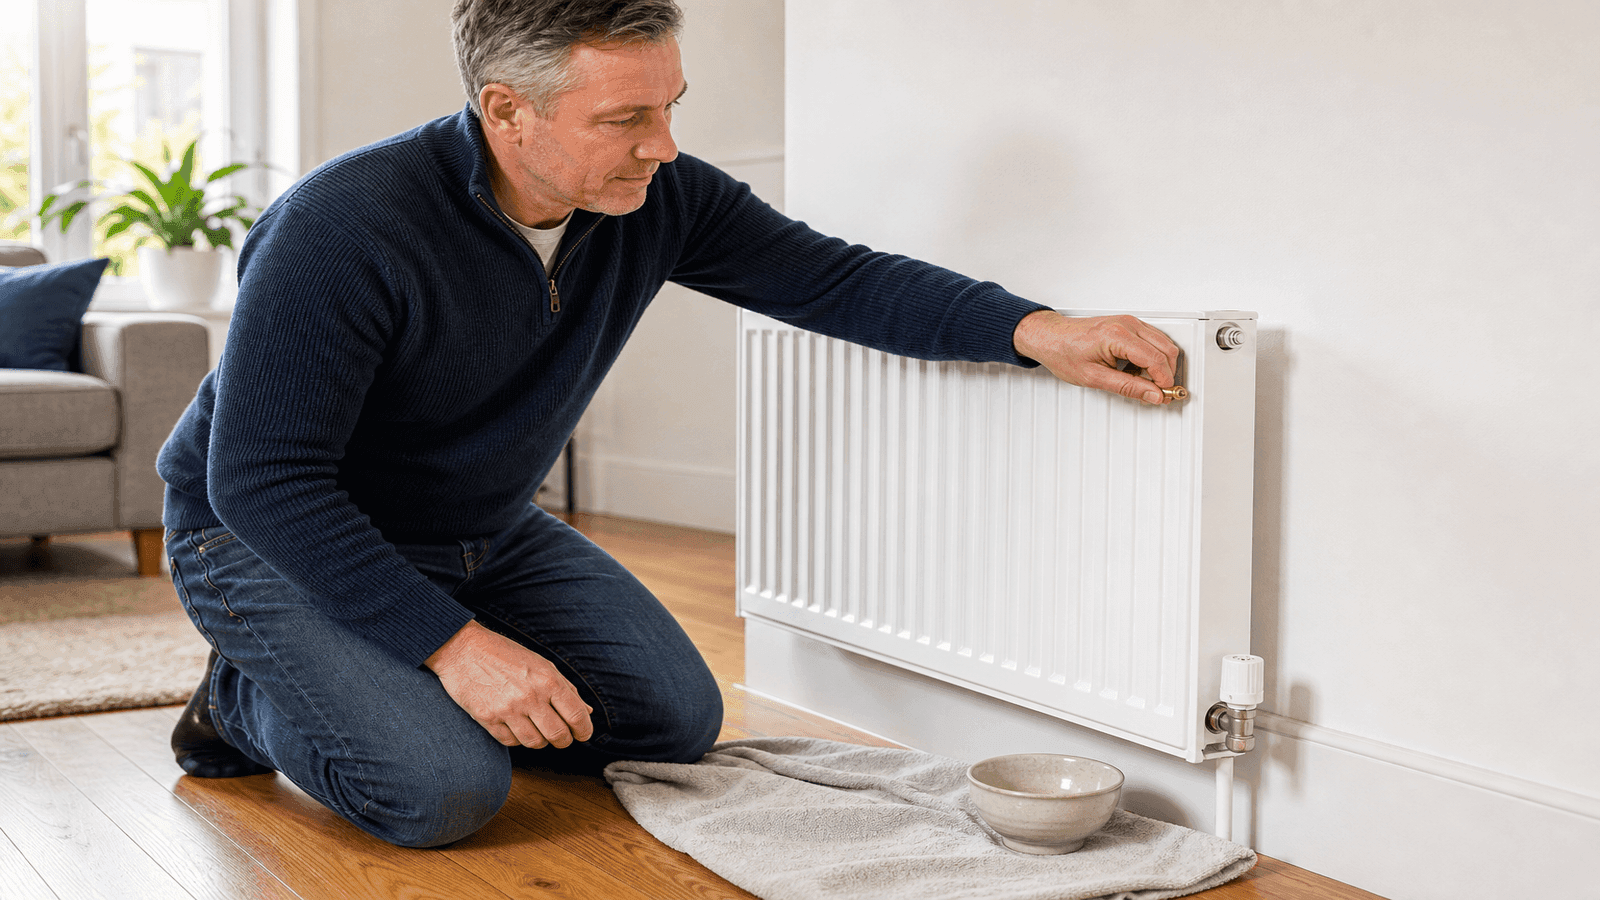
Photo: Homeowner using a radiator key to bleed a wall-mounted radiator with a cloth and bowl positioned beneath the valve
This article is part of our HVAC How To and DIY guide, which covers essential maintenance tasks you can handle yourself.
Why Radiators Need Bleeding
Air is roughly 900 times less dense than water, so any air that enters your hydronic system rises to the highest points, typically the tops of radiators and the upper floors of your home [1]. Because air is a poor conductor of heat compared to water, even a small pocket prevents that section of the radiator from transferring warmth to the room.
The consequences extend beyond comfort. When radiators cannot release their full heat output, the boiler runs longer cycles to reach the thermostat's set point. Longer cycles mean higher fuel consumption and more wear on the circulator pump, expansion tank, and boiler itself. Over months, that added strain shortens equipment life and inflates heating bills.
Common signs your radiators need bleeding:
- Top of the radiator feels noticeably cooler than the bottom
- Gurgling, bubbling, or ticking noises from radiators or pipes
- Some rooms take much longer to reach comfortable temperature
- Boiler cycles on and off more frequently than usual
- Radiator takes longer than normal to warm up after the system starts
Homeowners often call me thinking their boiler is failing when the real problem is air-locked radiators on the second floor. I have seen systems where bleeding four radiators dropped the boiler's cycle time by 20 minutes per hour. That is real fuel savings from a five-minute job.
Tools and Materials You Need
Bleeding a radiator requires minimal tools, and everything costs under $15 total.
| Tool/Material | Purpose | Cost |
| Radiator bleed key | Opens the bleed valve | $3-$8 |
| Small bowl or container | Catches water drips | Already owned |
| Old towel or rags | Protects floor and absorbs spills | Already owned |
| Flat-head screwdriver | Alternative to radiator key on some valves | Already owned |
| Work gloves (optional) | Protects hands from hot water if system is warm | $5-$10 |
Radiator bleed keys are available at any hardware store. Standard keys fit most residential radiators in the U.S. Some modern radiators use a slotted valve that accepts a flat-head screwdriver instead of a key.
Step-by-Step: How to Bleed a Radiator
Follow these steps carefully. The entire process takes 5-10 minutes per radiator.
Step 1: Turn Off the Heating System
Switch off your boiler or thermostat and let the system cool for at least 30 minutes. Bleeding while the system is hot pressurizes the water and increases the risk of scalding. Cooler water also makes it easier to hear the air escaping.
Step 2: Identify Which Radiators Need Bleeding
With the system recently off (radiators still somewhat warm from the last cycle), feel across each radiator from bottom to top. Radiators with trapped air will have a clear temperature difference: warm at the bottom, cool or cold at the top. Mark every radiator that shows this pattern.
If you have a multi-story home, start with the radiators on the lowest floor and work your way up. Air rises through the system, so upper-floor radiators typically hold the most trapped air.
Step 3: Prepare the Area
Place your towel on the floor beneath the bleed valve. Position the bowl directly under the valve to catch any water. Radiator water is often dark or discolored from mineral deposits and can stain flooring or carpet.
Step 4: Locate the Bleed Valve
The bleed valve is a small metal fitting, usually located at the top corner of the radiator on the opposite side from the supply pipe. It has a small square socket (for the radiator key) or a slotted head (for a screwdriver).
Get quotes from top-rated pros.
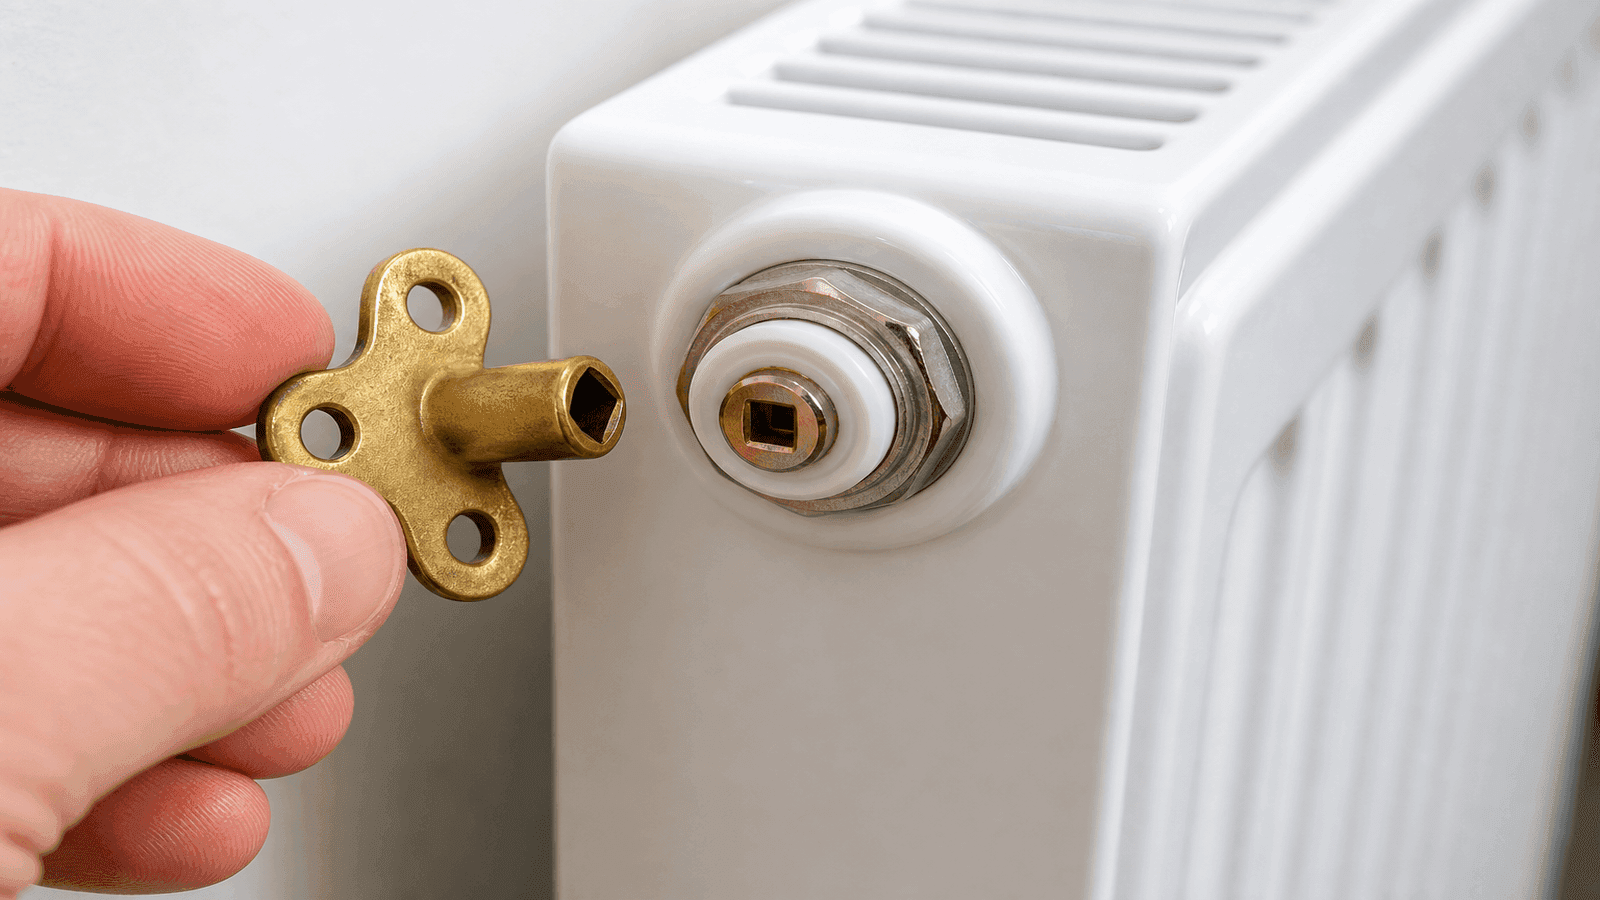
Photo: Close-up view of a radiator bleed valve at the top corner of a white panel radiator showing the square socket
Step 5: Open the Bleed Valve Slowly
Insert the radiator key into the valve socket and turn counterclockwise (to the left) approximately one-quarter turn. Do not open the valve fully. You will hear a hissing sound as trapped air escapes through the valve opening.
Keep your hands and face clear of the valve opening. The escaping air may be warm, and water will follow once the air clears.
Step 6: Wait for Water to Flow
Hold the valve open until the hissing stops completely and a steady stream of water begins to flow. This water may be dark or rusty at first, which is normal. Once you see a consistent, bubble-free stream of water, the air has been fully expelled from that radiator.
Step 7: Close the Valve
Turn the radiator key clockwise (to the right) to close the valve. Tighten it snugly but do not over-torque. The valve only needs to be finger-tight with the key. Over-tightening can damage the valve seat and cause leaks.
Step 8: Repeat for All Affected Radiators
Move to the next radiator and repeat steps 3 through 7. Work from the ground floor upward. If your home has three floors, bleed every marked radiator on the first floor, then the second, then the third.
Step 9: Check and Restore Boiler Pressure
After bleeding all radiators, check your boiler's pressure gauge. Normal operating pressure for a residential hydronic system is 12-15 PSI when cold [4]. Bleeding releases water along with air, which lowers system pressure.
If the gauge reads below 10 PSI, you need to add water:
- Locate the fill valve (usually a lever or knob near the boiler)
- Open the fill valve slowly
- Watch the pressure gauge rise to 12-15 PSI
- Close the fill valve completely
The number one mistake I see is homeowners who bleed their radiators but forget to check the boiler pressure afterward. Low pressure means the circulator pump cannot push water to the upper floors, and you end up right back where you started with cold radiators.
Step 10: Restart and Verify
Turn the heating system back on and let it run for 30-45 minutes. Check each radiator you bled. The entire surface should now feel uniformly warm from top to bottom. If any radiator still has cold spots at the top, repeat the bleeding process for that unit.

Photo: Homeowner feeling across a white wall-mounted radiator to check for even heat distribution after bleeding
When to Bleed Your Radiators
Timing matters. Bleed your radiators in these situations:
Seasonal maintenance (once or twice per year). The best time is early fall before you start using the heating system regularly. A second bleeding in mid-winter catches any air that accumulated during the first months of heavy use.
After any system work. Any time a plumber or HVAC technician drains, repairs, or modifies your hydronic system, air enters the pipes. Bleed all radiators after the work is complete and the system is refilled.
When symptoms appear. Do not wait for your scheduled maintenance if you notice cold tops, gurgling sounds, or uneven heating. Bleed the affected radiators immediately to prevent the boiler from overworking.
After a power outage. Extended power outages stop the circulator pump, allowing dissolved air to separate from the water and collect in radiators. Check and bleed after power is restored.
Troubleshooting: When Bleeding Does Not Fix the Problem
Bleeding solves air-related issues, but not every cold radiator has an air problem. Here is how to diagnose what is actually wrong.
Radiator Cold at the Bottom, Warm at the Top
This pattern is the opposite of an air problem. Cold at the bottom typically indicates sludge, rust, and mineral deposits settling in the lower portion of the radiator and blocking water flow. Bleeding will not fix this.
Solution: The radiator needs flushing. A professional power flush of the entire system costs $400-$800 depending on the number of radiators and severity of buildup [5]. Individual radiator removal and flushing costs $100-$200 per unit.
Radiator Completely Cold
A radiator that produces no heat at all, top or bottom, likely has a stuck thermostatic radiator valve (TRV), a closed lockshield valve, or a blockage in the supply pipe.
DIY check: Remove the TRV head and check whether the pin beneath it moves freely when pressed. A stuck pin can often be loosened by gently tapping it with a wrench handle or applying penetrating oil.
Get quotes from top-rated pros.
Multiple Radiators Cold on One Floor
If several radiators on the same floor or zone fail to heat, the problem is likely a failing circulator pump or a zone valve that is not opening. Both require professional diagnosis. Circulator pump replacement costs $400-$800 installed. Zone valve replacement runs $200-$500 [6].
Boiler Pressure Drops Repeatedly After Bleeding
If you keep needing to add water to restore pressure, your system has a leak. Common leak points include radiator valve connections, pipe joints, the expansion tank, and the pressure relief valve. A plumber can pressure-test the system to locate the leak ($150-$300 for diagnosis).
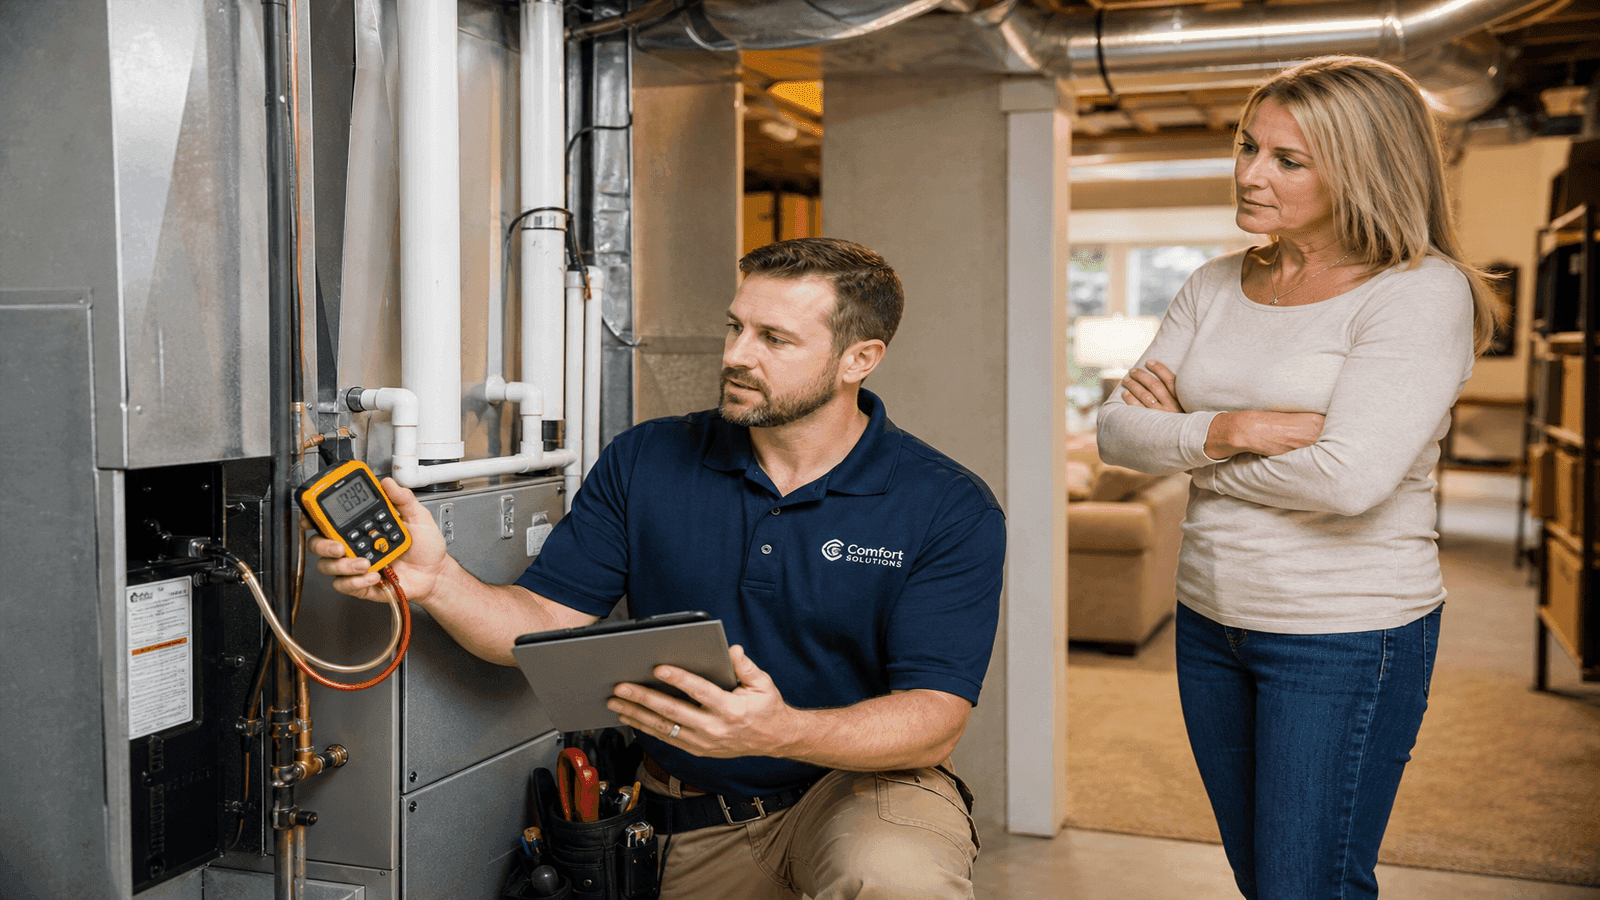
Case Study: The Kowalski Family's Second-Floor Problem
Greg and Maria Kowalski of St. Paul, Minnesota, contacted Daniel through NearbyHunt in November 2025 after the three bedrooms on their second floor stayed cold despite the boiler running constantly. Their 1960s colonial had cast-iron radiators throughout, and the couple had not bled any radiator in the four years since purchasing the home.
Daniel's inspection found significant air pockets in all six second-floor radiators. Two radiators on the first floor also had partial air locks. He bled all eight radiators in under 40 minutes, restored the boiler pressure from 8 PSI to 14 PSI through the fill valve, and checked the expansion tank's air charge.
The results were immediate. Within one hour, every second-floor radiator reached full temperature. The boiler's cycle time dropped from running nearly continuously to cycling normally at 15-minute intervals. Greg reported a $47 reduction on their next monthly gas bill compared to the same period the previous year.
Total cost of Daniel's service call: $175. Estimated annual savings from restored efficiency: $280-$400 in reduced gas consumption. The Kowalskis now bleed their radiators every September as part of their fall maintenance routine.
Automatic Air Vents: A Long-Term Solution
If you are tired of bleeding radiators manually, automatic air vents offer a permanent alternative. These float-operated devices mount where a manual bleed valve sits and continuously release trapped air without any intervention [7].
Pros:
- Eliminates the need for manual bleeding
- Prevents air from accumulating between maintenance visits
- Costs $15-$30 per vent installed
- Simple installation that does not require draining the system
Cons:
- Can fail after 5-10 years and need replacement
- May leak small amounts of water if the float mechanism sticks
- Not ideal for systems where the circulator pump is on the return line, as reduced pressure can cause the vent to draw air in rather than release it
I install automatic air vents on second and third-floor radiators for customers who have chronic air problems. For $100-$200 in parts across a whole house, you eliminate 90% of air-related callbacks. Just check them once a year to make sure the float has not stuck.
NearbyHunt Network Insight
Data from HVAC and plumbing professionals in the NearbyHunt network reveals consistent patterns in hydronic heating service requests:
| Service Type | % of Hydronic Heating Requests | Average Cost |
| Radiator bleeding (service call) | 24% | $100-$200 |
| Boiler maintenance and tune-up | 21% | $150-$350 |
| Circulator pump replacement | 16% | $400-$800 |
| System power flush | 14% | $400-$800 |
| Zone valve repair or replacement | 11% | $200-$500 |
| Boiler replacement | 8% | $4,000-$10,000 |
| Expansion tank replacement | 6% | $200-$500 |
Nearly a quarter of all hydronic heating service requests involve radiator bleeding, making it the single most common call. Professionals in the network note that the majority of these calls come in November and December, after homeowners turn on their heating for the season and discover cold spots for the first time.

Photo: Infographic showing a hydronic heating system diagram with labeled components including boiler, circulator pump, expansion tank, radiator bleed valve, and supply and return pipes
Preventive Maintenance Schedule for Hydronic Systems
Monthly (homeowner): Check radiators for cold spots by feeling top and bottom. Listen for gurgling or ticking sounds. Verify boiler pressure reads 12-15 PSI.
Early Fall (homeowner): Bleed all radiators before the heating season begins. Check and restore boiler pressure after bleeding. Test each zone by running the thermostat in each area.
Annually (professional): Schedule a boiler tune-up ($150-$350). Have the technician inspect the expansion tank, circulator pump, and pressure relief valve. Ask about system water quality and whether a flush is needed.
Every 5-7 Years (professional): Consider a full system power flush to remove accumulated sludge and mineral deposits. Replace any automatic air vents that show signs of leaking or sticking. Inspect pipe insulation in unheated areas.
Find Heating Professionals on NearbyHunt
When radiator problems go beyond bleeding, NearbyHunt connects you with licensed, insured HVAC technicians who specialize in hydronic heating systems. Whether you need a system flush, boiler tune-up, or circulator pump replacement, you can compare verified reviews and get multiple quotes through one platform.
Sources and References
[1] Altecnic. "The Impact of Trapped Air in Heating and Cooling Systems."
[2] U.S. Department of Energy. "Energy Saver: Heating and Cooling."
[3] U.S. Energy Information Administration. "Space Heating and Water Heating Account for Nearly Two Thirds of U.S. Home Energy Use."
[4] InspectAPedia. "Heating System Pressure and Temperature Settings."
[5] Oatey/Hercules. "How to Keep a Well-Maintained Hydronic Heating System."
[6] Tevis Energy. "Learn How to Maintain Your Hydronic Heating System."
[7] Caleffi. "Automatic Air Vents: An Overview."
[8] U.S. Energy Information Administration. "Colder Winter Weather Increases Home Heating Expenditure Forecasts."
Disclaimer: Hydronic heating systems vary based on equipment type, home age, pipe material, and local building codes. The costs provided are national averages from 2025-2026 data and may not reflect your specific situation. Always get written estimates from licensed, insured HVAC or plumbing technicians before proceeding with repairs. Boiler work involving gas connections, pressure relief valves, or electrical components should only be performed by qualified professionals. This article is for informational purposes only and does not constitute professional HVAC advice for your specific situation.

Daniel is an EPA-certified HVAC technician & Energy Efficiency Consultant with over 14 years of experience in maintaining and installing heating and cooling systems throughout the Midwest. Passionate about sustainability, Dan specialises in energy-efficient retrofits and intelligent climate control systems. He writes for NearbyHunt to help homeowners extend the lifespan of their HVAC units while lowering utility bills.

Christine is an EPA-certified HVAC professional with 17 years of experience in heating, cooling, and indoor air quality systems. She has managed large-scale residential installations and worked as a technical trainer for new HVAC apprentices. Chris’s reviews focus on accuracy, safety, and performance standards in modern HVAC practices.