- Professional bathtub installation costs $1,500–$8,000 in 2026 depending on tub type, material, and whether tile surrounds or subfloor work is required [1].
- Alcove tubs are the most affordable to install, making them the choice for roughly 70% of residential bathrooms.
- The standard drain rough-in sits 15–18 inches from the side wall with a 1.5-inch minimum drain line sloped at 1/4 inch per foot [2].
- Subfloor prep is the most skipped step — a soft subfloor under a cast-iron tub causes cracking and drain leaks within two years.
- Most jurisdictions require a permit even for like-for-like replacement if drain work is involved [3].
Bathtub installation touches framing, subfloor, rough-in plumbing, drain assembly, and finish work. Based on insights from 2,400-plus installations Michael R. Jennings has completed across Texas and California, understanding what each stage requires helps you coordinate a project that goes in level, drains correctly, and holds up for decades. For an overview of residential plumbing systems, see our complete plumbing installation guide.

Get quotes from top-rated pros.

Photo: Plumber setting an alcove bathtub into a mortar bed in a bathroom rough-in, walls studded and ready for backer board, tools on drop cloth
Bathtub Types and What Each Requires
Choosing the right tub type before rough-in begins is critical. Changing tub types after framing is set costs significantly more in rework.
Alcove Tubs
Alcove tubs fit into a three-wall enclosure and are the standard configuration in most U.S. bathrooms. They install via an integral flange that laps over the wallboard on three sides, creating a water barrier. A mortar bed or foam cradle supports the floor of the tub. Alcove units are available in acrylic, fiberglass, enameled steel, and cast iron.
Standard dimensions: 60 inches long by 30 or 32 inches wide. Rough opening must match the tub length exactly — alcove tubs are not adjustable.
Drop-In Tubs
Drop-in tubs sit inside a platform or deck that is framed and tiled separately. Installation requires building the deck structure before the tub is placed, and all deck surfaces must be waterproofed and tiled. Access panels are required to reach the drain and overflow.
Freestanding Tubs
Freestanding tubs stand independently and require a floor-mounted filler or wall supply routed to the floor. Moving supply to a new location requires opening the floor or ceiling below.
Corner Tubs
Corner tubs occupy two walls and are typically larger than standard alcoves. Drain and overflow placement varies by manufacturer — always verify the rough-in sheet before setting any pipe.
| Tub Type | Typical Install Cost (2026) | Drain Access | Permit Typically Required |
| Alcove (acrylic/fiberglass) | $1,500–$3,500 [1] | Back wall access panel | Yes if drain moves |
| Alcove (cast iron) | $2,500–$5,000 | Back wall access panel | Yes if drain moves |
| Drop-in | $3,000–$6,000 | Deck access panel | Yes |
| Freestanding | $3,500–$8,000 | Floor supply rough-in | Yes |
| Corner | $4,000–$7,000 | Custom enclosure | Yes |
Know your foundation type before choosing a freestanding tub. Slab means cutting concrete to run floor supply — a full day of work. Crawl space or basement means two hours. That detail changes the budget significantly.
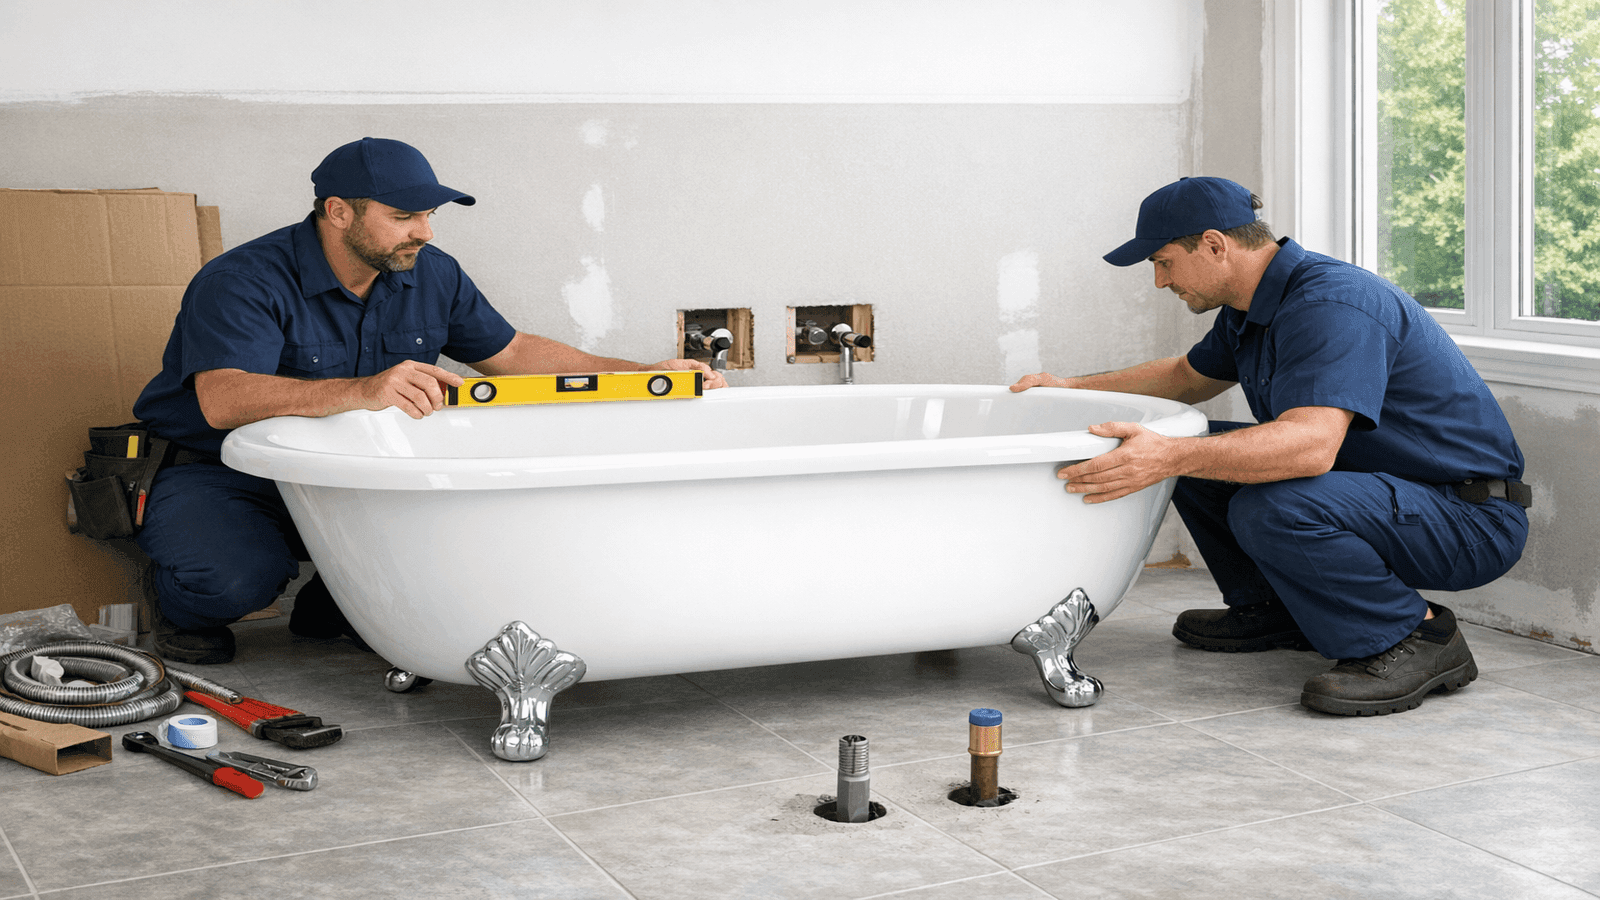
Photo: Freestanding clawfoot bathtub being positioned in a spacious bathroom, floor supply lines visible, two plumbers checking level
Rough-In Requirements
Standard rough-in for a 60-inch alcove tub [2]: drain center 15–16 inches from the head wall (faucet end); 15.5 inches from the side wall. Drain pipe: 1.5-inch minimum per IPC code (2-inch preferred). Slope: 1/4 inch per foot from trap to stack. The overflow plate connects at 16–18 inches above the drain.
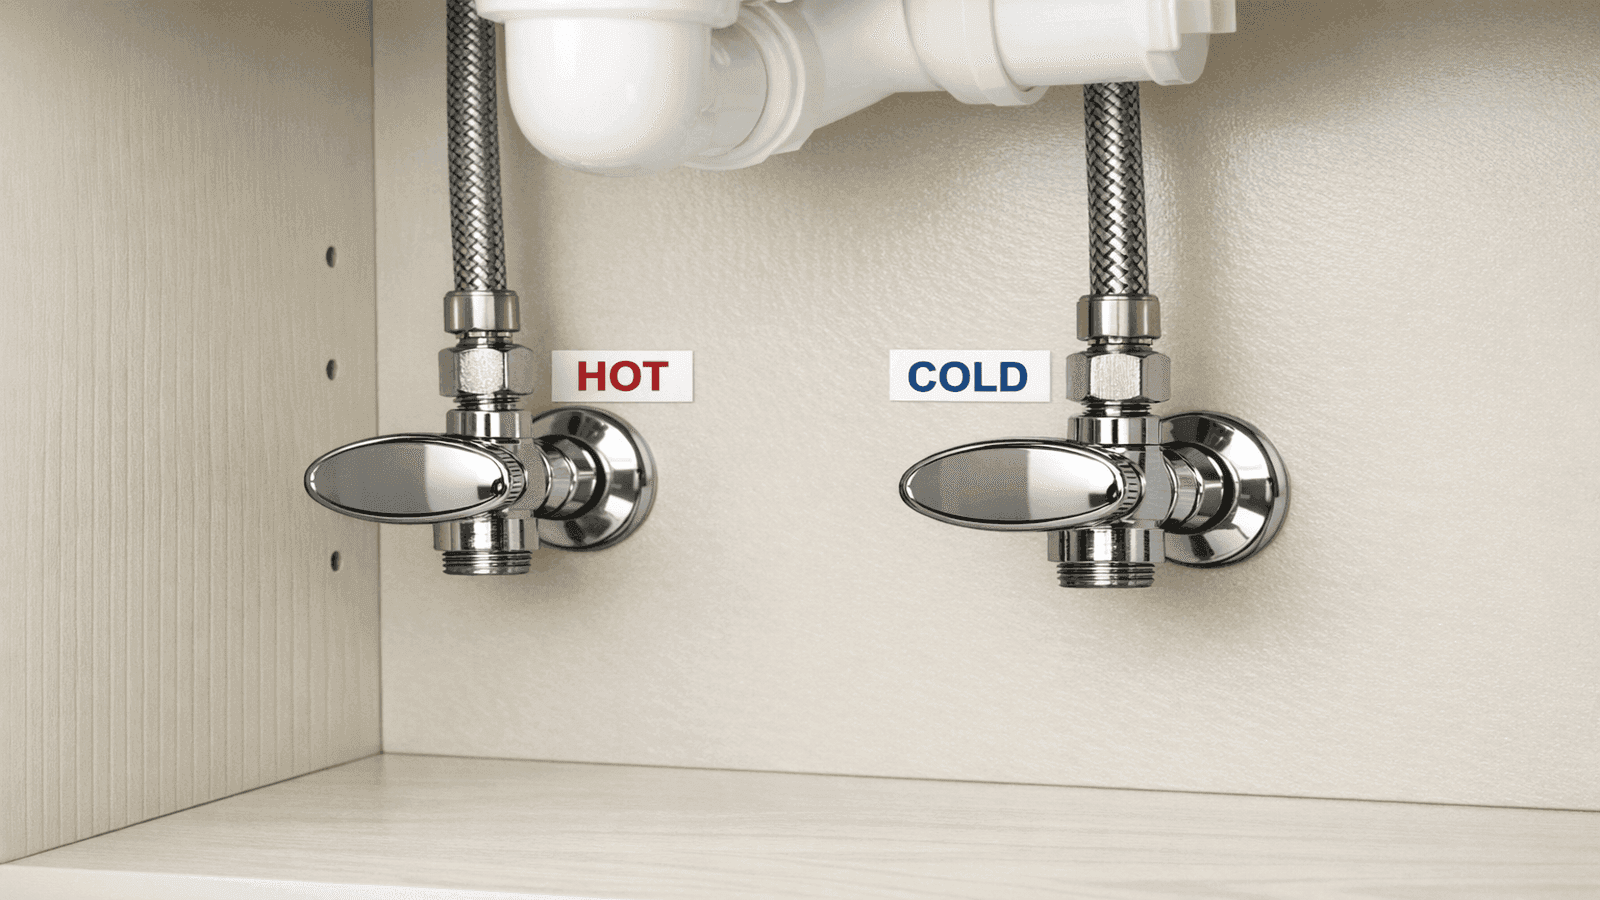
For supply: faucet centered on the end wall at 26–28 inches above the floor, hot left, cold right. Tub spout rough-in sits at 4–6 inches above the tub rim.
Get quotes from top-rated pros.
Don't rough in the drain until the tub is in the room and you've confirmed its actual dimensions. I've seen 60-inch tubs measure 59.5 or 60.25 inches because of how the flange adds width. That half-inch can push your drain two inches off center. Measure the actual tub, not the box.
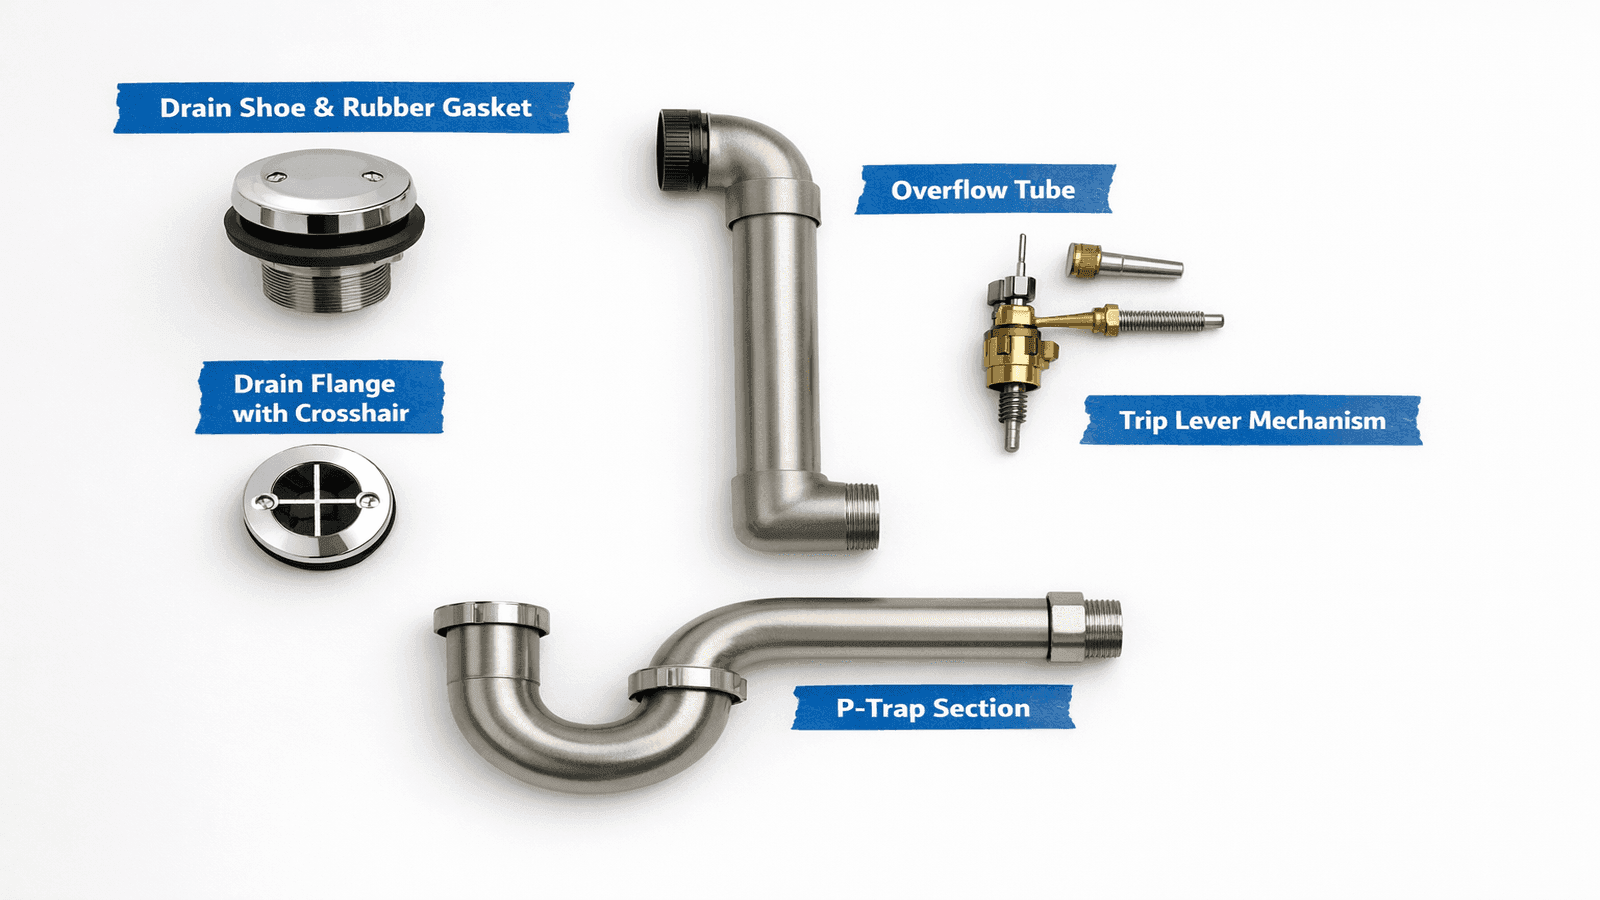
Photo: Bathtub drain and overflow assembly laid out before installation, P-trap, drain shoe, and overflow tube components labeled
Subfloor Preparation
Subfloor prep is the most commonly skipped step in DIY bathtub installation and the step most responsible for cracked tubs and leaking drains years later.
Acrylic and fiberglass tubs require a mortar bed or manufacturer-supplied foam cradle under the tub floor before lowering into position. Cast-iron tubs weigh 250–500 pounds empty and require a doubled subfloor (two layers of 3/4-inch plywood) or reinforced joists.
Mortar bed method: Mix dry-set mortar to a stiff consistency, spread a 1-inch layer across the tub footprint, lower the tub until the flange contacts the studs, check level in both directions, and do not fully tighten the drain until the mortar cures (24 hours minimum).
The mortar bed is not optional for acrylic tubs, even though many installers skip it because it slows the job down. Without it, the tub floor flexes every time someone steps in, working the drain connection loose over 12–18 months. The leak is slow, and by the time you find it, the subfloor is rotted.

Photo: Plumber spreading mortar bed on bathroom subfloor before alcove tub installation, tub waiting to be lowered, consistent layer visible
Drain and Overflow Installation
The drain and overflow connect via a waste-and-overflow kit: a drain shoe (mounts to the tub underside), an overflow tube (connects the overflow opening to the drain shoe), a trip lever or lift-and-turn stopper, and the P-trap below.
Install the drain shoe from below before the tub is set. Thread the drain flange from above using plumber's putty — not silicone, which makes future removal very difficult. Tighten all connections to hand-tight plus one-quarter turn; over-tightening cracks acrylic and fiberglass tub decks.
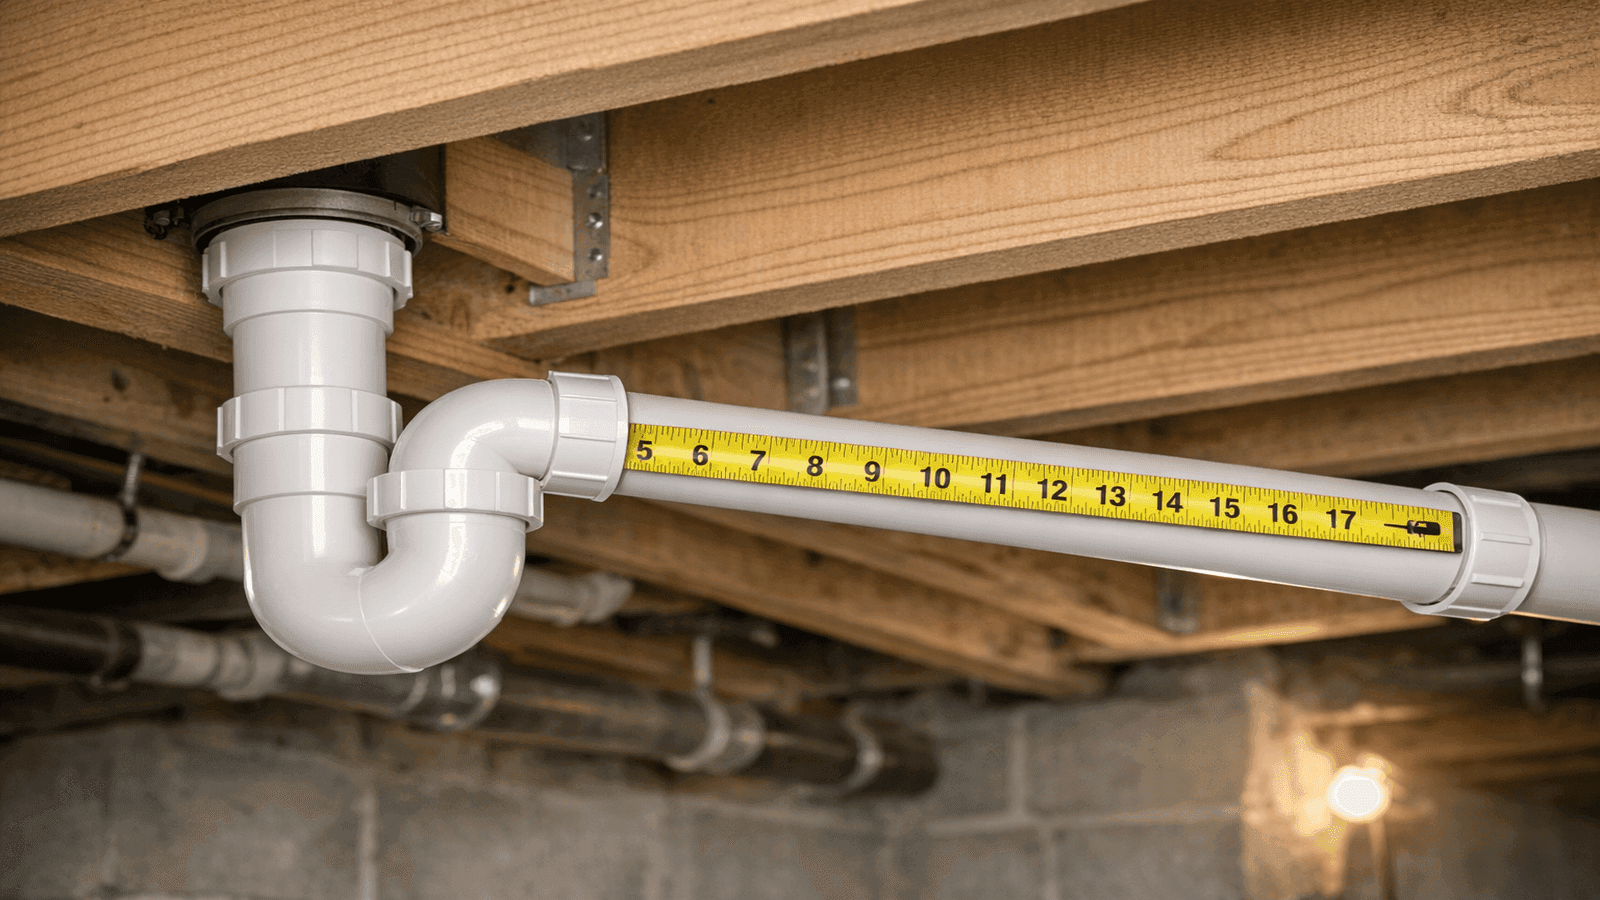
Photo: Bathtub drain rough-in showing P-trap connection below subfloor, drain pipe entering the trap, 1.5-inch pipe with proper slope visible
Flange, Surround, and Waterproofing
After the tub is set, install cement backer board to the studs down to the tub flange, overlapping the flange by 1/4 inch. Greenboard drywall is not waterproof and should not be used in any area that contacts water. Tile installs over the backer board. All inside corners must be caulked with silicone, not grouted.
Caulk all inside corners in a tub surround, every time, no exceptions. Grout in corners cracks within a season because the two walls move independently. Once grout cracks, water is behind your tile. I've torn out surrounds that were only three years old because the installer grouted the corners.
Get quotes from top-rated pros.
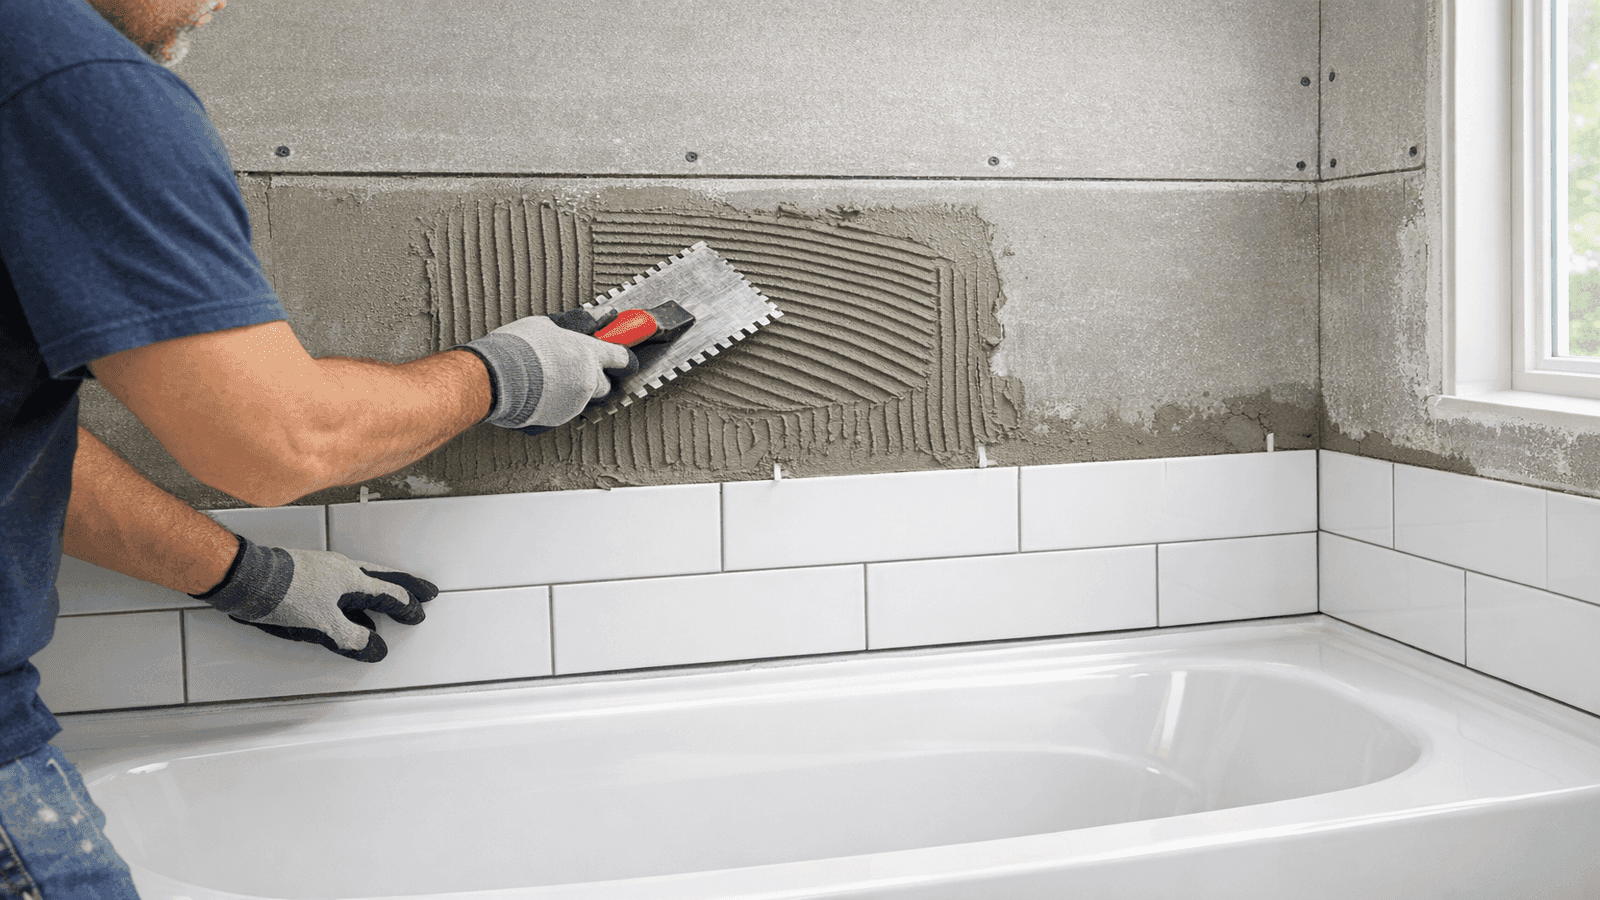
Photo: Tile surround being installed around alcove bathtub, cement backer board visible below tile rows, plumber applying tile adhesive
What Bathtub Installation Costs in 2026
| Scenario | Estimated Cost Range |
| Alcove acrylic/fiberglass (DIY materials only) | $400–$1,200 |
| Alcove acrylic — professional installation | $1,500–$3,500 [1] |
| Alcove cast iron — professional installation | $2,500–$5,000 |
| Drop-in tub with deck construction | $3,000–$6,000 |
| Freestanding tub — professional installation | $3,500–$8,000 |
| Subfloor repair | $500–$2,000 |
Labor alone for a standard alcove replacement runs $800–$1,800 depending on market [4]. High-cost metros (New York, San Francisco, Seattle) can push professional installation to $6,000–$8,500 for a basic project.
The licensed plumbers in our NearbyHunt network report that subfloor damage is discovered in approximately one in four bathtub replacement projects, adding $500–$2,000 in unexpected cost not visible until the old tub is removed.
Real Installation Story
David and Karen Reyes in Frisco, Texas, hired Michael to replace their 1990s alcove tub after the floor began cracking underfoot. When Michael pulled the tub, he found the original mortar bed had never been installed: the acrylic floor had been flexing unsupported for 30 years until it split. He poured a proper mortar bed, installed a new acrylic unit, and added a prefab surround. Total cost: $2,400. The Reyeses noted the new tub feels completely solid. The lesson: a hollow-sounding tub floor is always a warning sign — do not wait for a visible crack before calling a plumber.
For a licensed plumber near you, get a free quote here.
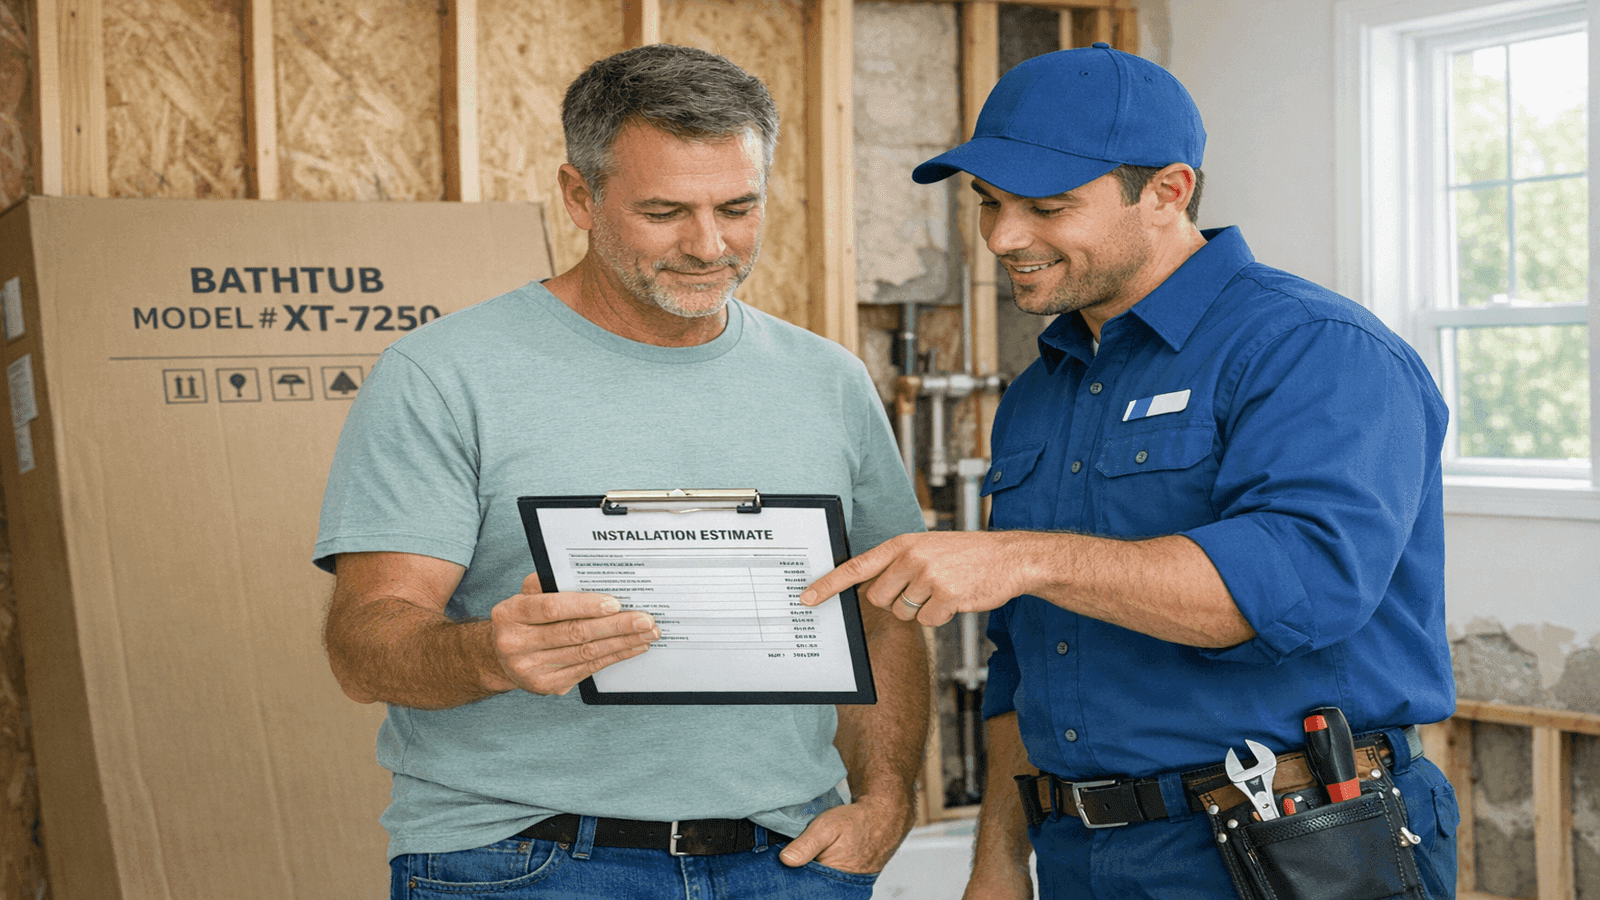
Photo: Homeowner reviewing bathtub installation quote with licensed plumber in bathroom, cost estimate paperwork on counter, discussing project scope and timeline
Permit Requirements
A permit is required in most jurisdictions when any of the following apply [3]: new drain rough-in, drain relocation, new supply rough-in, or structural subfloor work. A like-for-like tub swap with all connections in the same locations may qualify for an exemption — verify with your local building department. For state-by-state rules, see our plumbing code requirements guide.
Pro vs. DIY: What You Can and Cannot Do
Reasonable for skilled DIYers: standard alcove replacement (same size, no drain relocation); installing a prefab surround over existing waterproof backer; connecting a freestanding tub to existing floor-supply rough-in.
Requires a licensed plumber: any new drain rough-in or drain relocation; cast-iron or stone tub installation; freestanding tub when floor supply must be run new; subfloor structural repair (sistering joists).
For a related project, our bathroom sink installation guide covers vanity rough-in and supply connections.
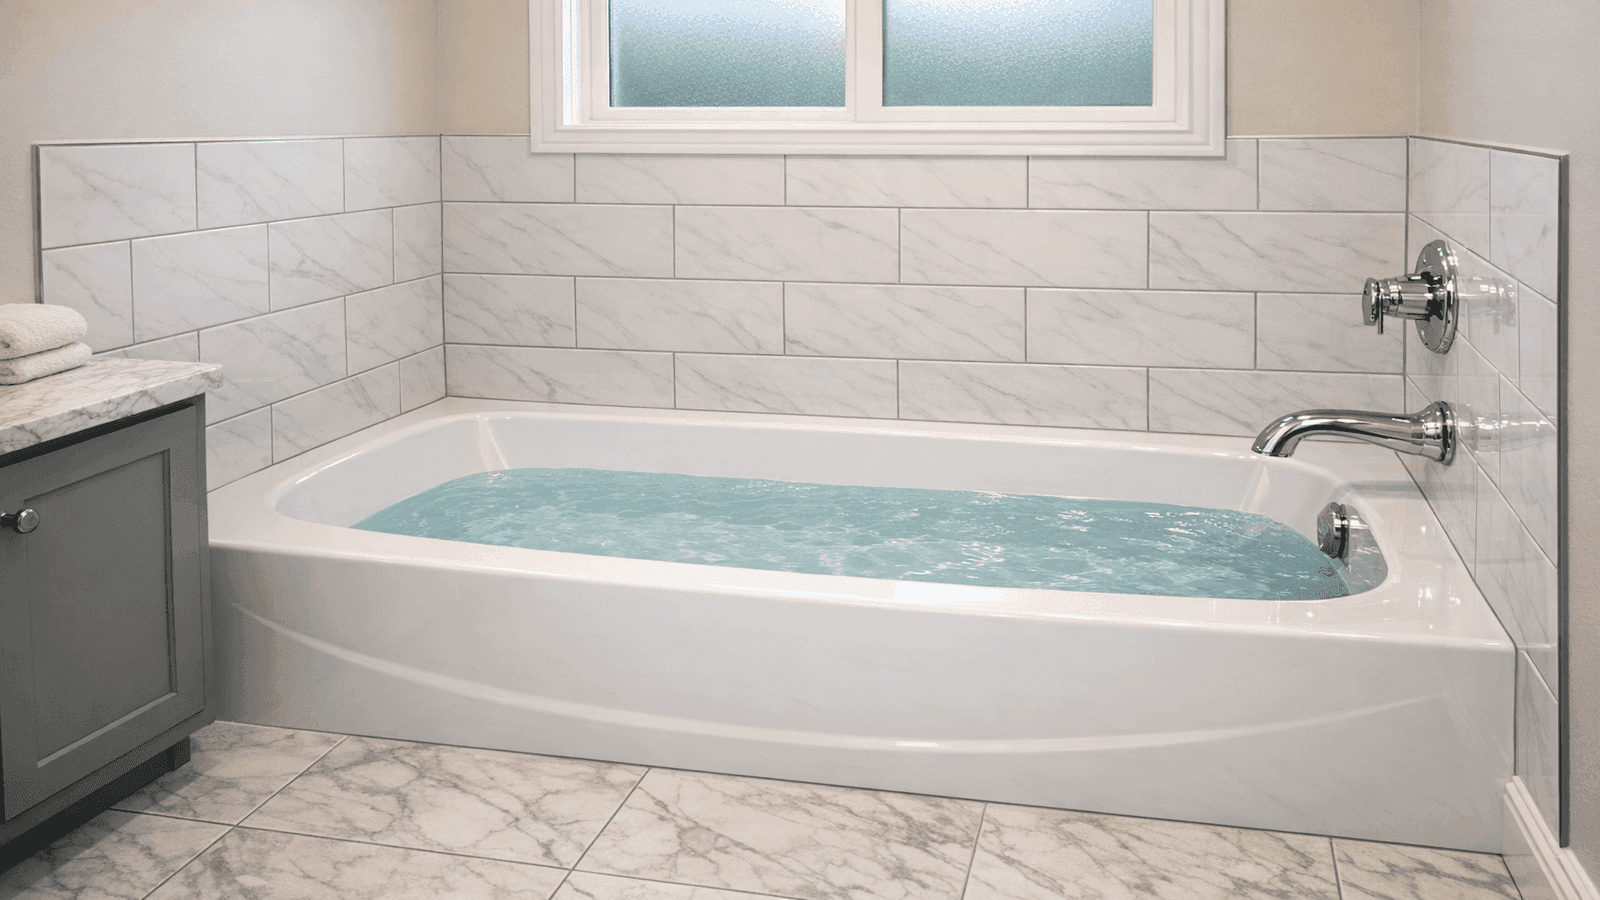
Photo: Completed alcove bathtub installation with tiled surround, faucet and spout installed, finished bathroom showing professional quality workmanship
Conclusion
The difference between a tub that holds up for 30 years and one that fails in three comes down to three fundamentals: the drain rough-in is in the right location before the subfloor closes, the subfloor or mortar bed provides continuous solid support, and every water-contact joint is sealed correctly. For cast-iron tubs, freestanding tubs requiring new supply, or anything involving drain relocation, a licensed master plumber is the right call from the start.
Disclaimer: Costs and permit requirements vary by region and project scope. Prices reflect national averages for 2026. Always verify permit requirements with your local building department before beginning any plumbing work.
Sources & References
- Forbes Home. "How Much Does Bathtub Replacement Cost? [2026 Data]." https://www.forbes.com/home-improvement/bathroom/bathtub-installation-cost/
- This Old House. "How Much Does Bathtub Installation Cost? (2026 Pricing)." https://www.thisoldhouse.com/bathrooms/bathtub-installation-cost
- PHCC. "Plumbing Code and Permit Requirements." https://www.phccweb.org
- Bob Vila. "How Much Does Bathtub Installation Cost?" https://www.bobvila.com/articles/bathtub-installation-cost/
- Home Depot. "Bathroom Plumbing Rough-In Dimensions." https://www.homedepot.com/c/ab/bathroom-plumbing-rough-in-dimensions/9ba683603be9fa5395fab901b9624727
- International Plumbing Code 2024, Section 408 (Bathtubs) and Section 702 (Sanitary Drainage).

Michael Jennings is a licensed master plumber & water systems specialist with over 18 years of hands-on experience in residential and commercial plumbing, serving clients across California and Texas. At NearbyHunt, he shares practical advice on pipe installations, water heater maintenance, and home plumbing upgrades. Michael has helped thousands of homeowners prevent costly water damage and improve water efficiency through modern plumbing solutions.

Robert is a licensed master plumber with over 20 years of experience serving both residential and commercial clients across the Midwest. Specialising in advanced plumbing systems and sustainable water technologies, Rob brings deep technical insight and hands-on expertise to every project. As a reviewer for NearbyHunt, he ensures all plumbing content reflects the highest standards of safety, compliance, and practicality.