- Professional bathroom sink installation costs $100–$500 depending on sink type, with wall-mount installations requiring the most labor due to wall backing requirements.
- Drop-in and pedestal sinks are DIY-friendly; undermount, vessel, and wall-mount installations carry higher failure risk and benefit from professional installation.
- Standard drain rough-in height is 18–24 inches above the finished floor for most bathroom sink types; confirm this before purchasing any fixture.
- Permits are rarely required for like-for-like sink replacements, but adding a new sink, relocating drain lines, or roughing in a wall-mount always requires a permit.
- Supply line replacement is the most common cause of under-sink flooding; inspect braided stainless lines annually and replace every 5–7 years.
- Wall-mount sinks require wood blocking inside the wall before mounting; installing without backing causes the sink to pull from the wall within months.
Installing a bathroom sink touches three systems at once: the water supply, the drain, and in some cases the wall structure. Michael has completed 2,400-plus residential plumbing projects across Dallas-Fort Worth and California in his 18-year career, and this guide reflects what he has learned from installations that range from straightforward swaps to complex remodels. For a broader look at every fixture type and permit requirements, see the complete plumbing installation guide.

Get quotes from top-rated pros.
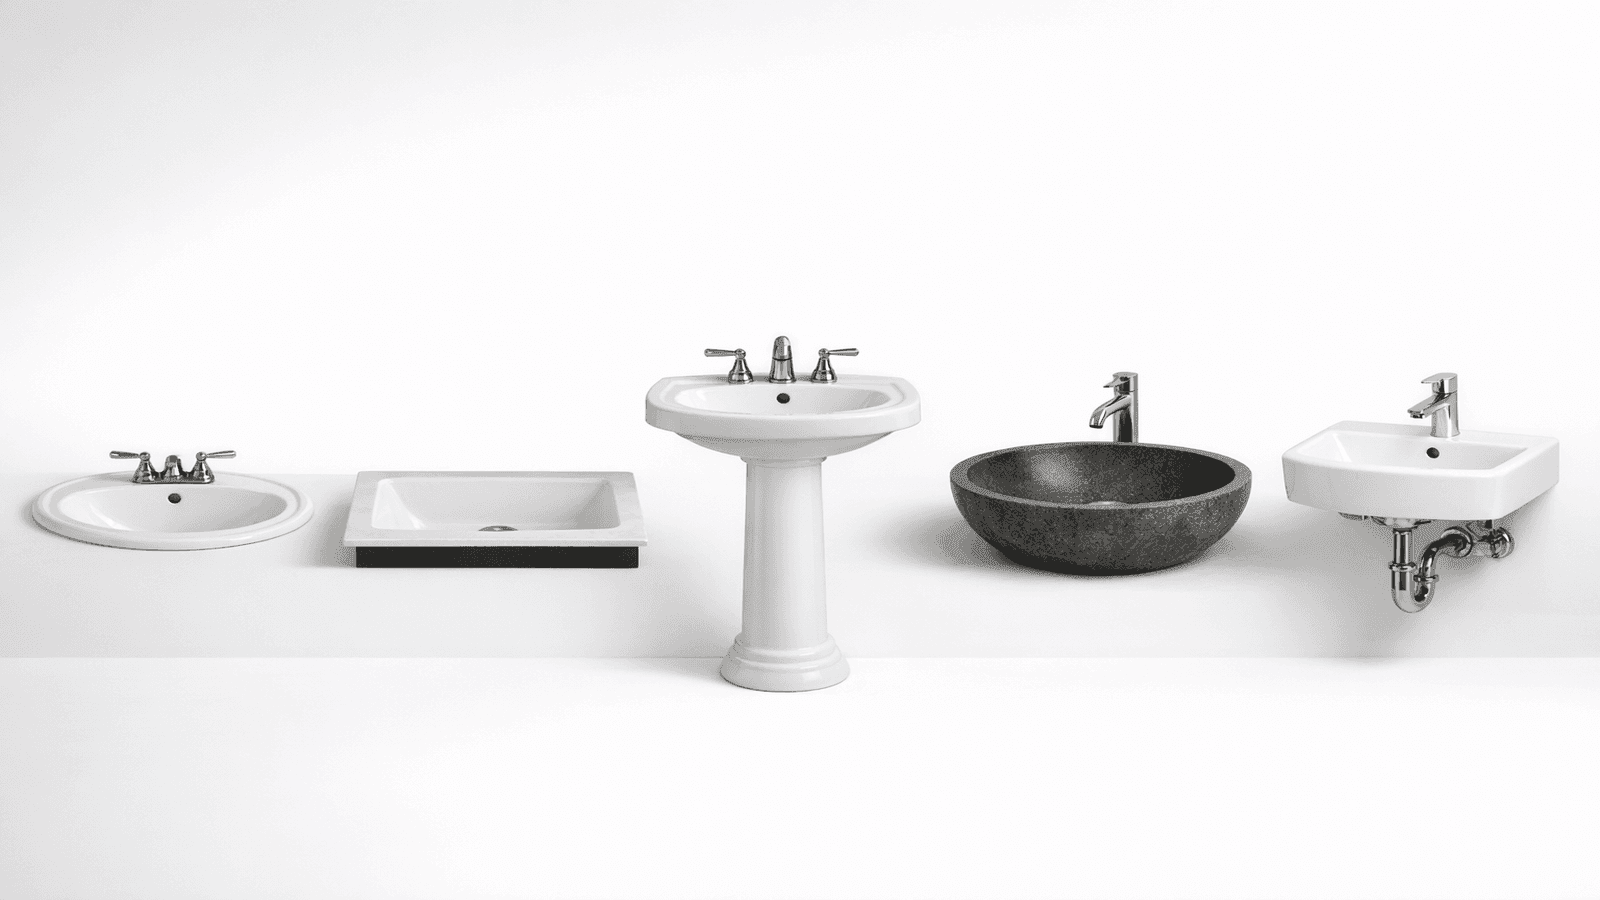
Photo: Wide comparison photo of five bathroom sink types side by side: drop-in white porcelain, undermount, pedestal, vessel bowl, and wall-mount, each labeled with sink type and typical installation cost range
Bathroom Sink Types: What Each One Requires
Drop-In (Self-Rimming) Sinks
Drop-in sinks sit in a countertop opening with a visible rim that rests on the counter surface. The rim seals with silicone caulk and clips tighten from below to hold the sink in place. This is the most DIY-accessible bathroom sink installation. The countertop opening must match the sink's template exactly; most sinks include a paper template for cutting.
Rough-in requirements:
- Drain center: aligned with existing tailpiece or at a new location
- Supply line centers: 4-inch or 8-inch spread depending on faucet configuration
- Standard drain height: 18–24 inches above finished floor
Drop-in sinks are the one bathroom fixture I tell homeowners they can realistically swap themselves. The mechanics are simple: cut the hole to template, set the clips, caulk the rim, reconnect the P-trap and supply lines. The part that trips people up is faucet hole count. A sink with three holes needs a three-hole faucet deck or a deck plate cover. Buy both at the same time and confirm the faucet spread matches the sink.
Undermount Sinks
Undermount sinks mount below the countertop surface, leaving a clean edge around the drain opening. The sink attaches to the underside of the countertop using two-part epoxy and mechanical clips. Granite, quartz, and stone countertops are appropriate substrates for undermount mounting; standard laminate countertops are not rated for undermount sink loads.
Professional undermount installation ($200–$450 labor) is strongly recommended because the countertop itself costs more to replace than the installation labor.
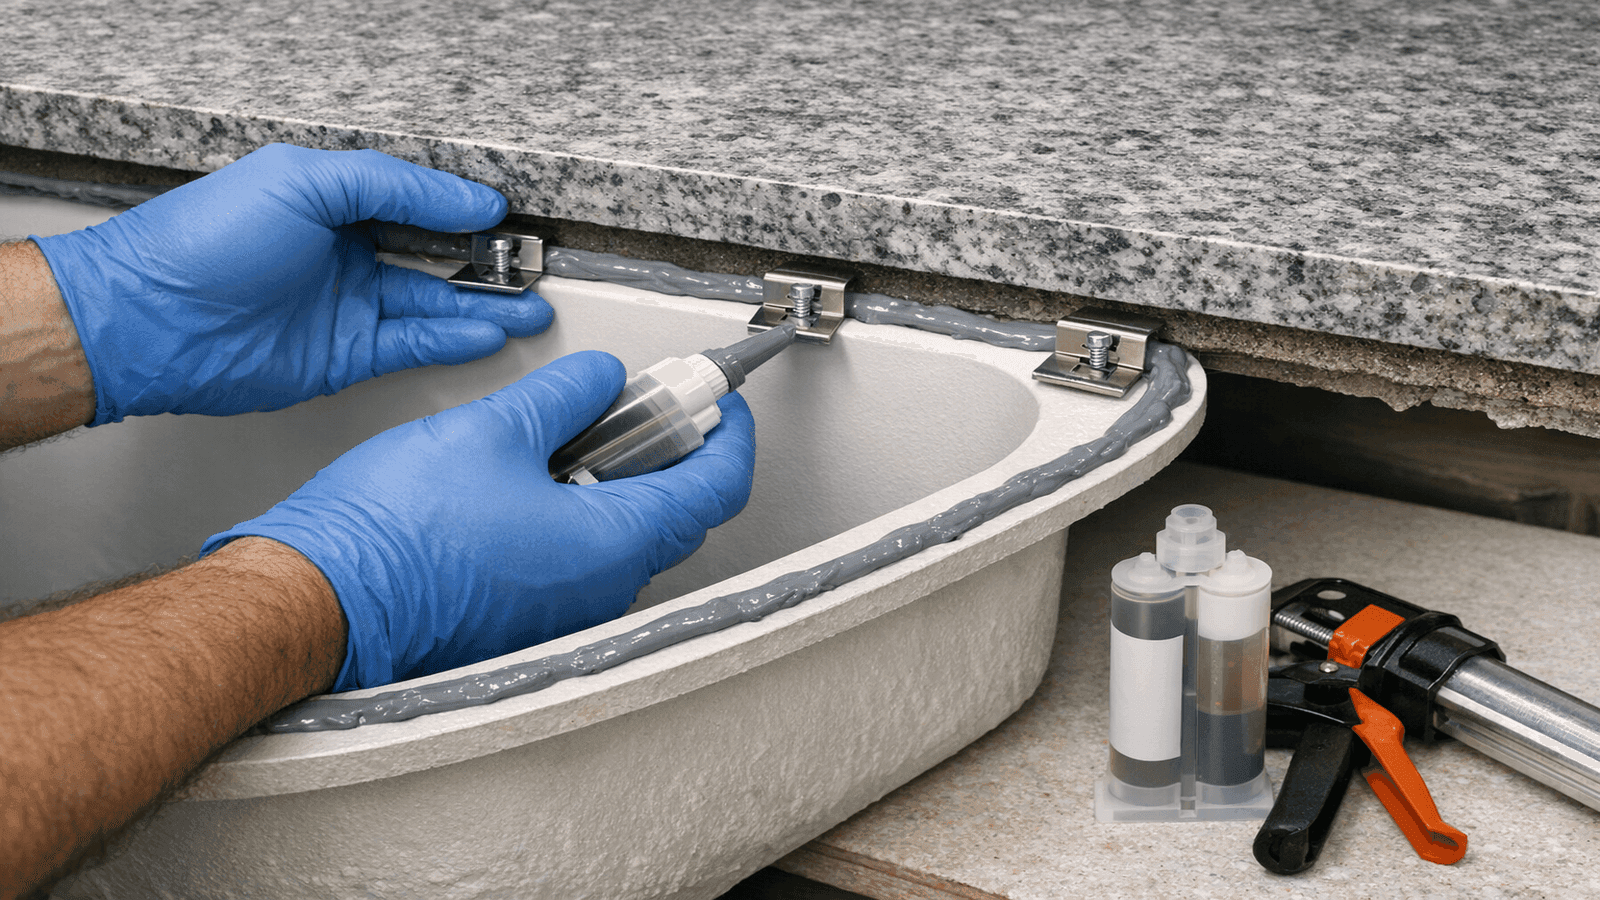
Photo: Plumber applying two-part epoxy and mechanical clips to secure undermount sink to underside of granite countertop, showing proper clip spacing and adhesive coverage
Pedestal Sinks
A pedestal sink consists of two parts: the basin, which mounts to the wall, and the decorative pedestal column, which conceals the plumbing. Despite the column, the wall carries the structural load of the basin, not the pedestal.
Rough-in requirements:
- Drain center: 19–24 inches above finished floor
- Supply lines: hot left, cold right, positioned 24 inches above floor at 4-inch spread
- Wall anchor bolts: through the basin into wall studs or blocking
If studs don't align with the anchor bolt holes, wood blocking must be installed inside the wall before the pedestal goes up. A basin anchored only into drywall will shift under load within months.
Pedestal sinks fail for one reason at least half the time I'm called back: no blocking in the wall. The homeowner or a handyman anchored the basin into drywall, and six months later the mounting bolts are pulling through. The fix means opening the wall, adding blocking, repairing the wall surface, and reinstalling. It's a $400 callback on a job that should have cost $50 for blocking materials during rough-in.
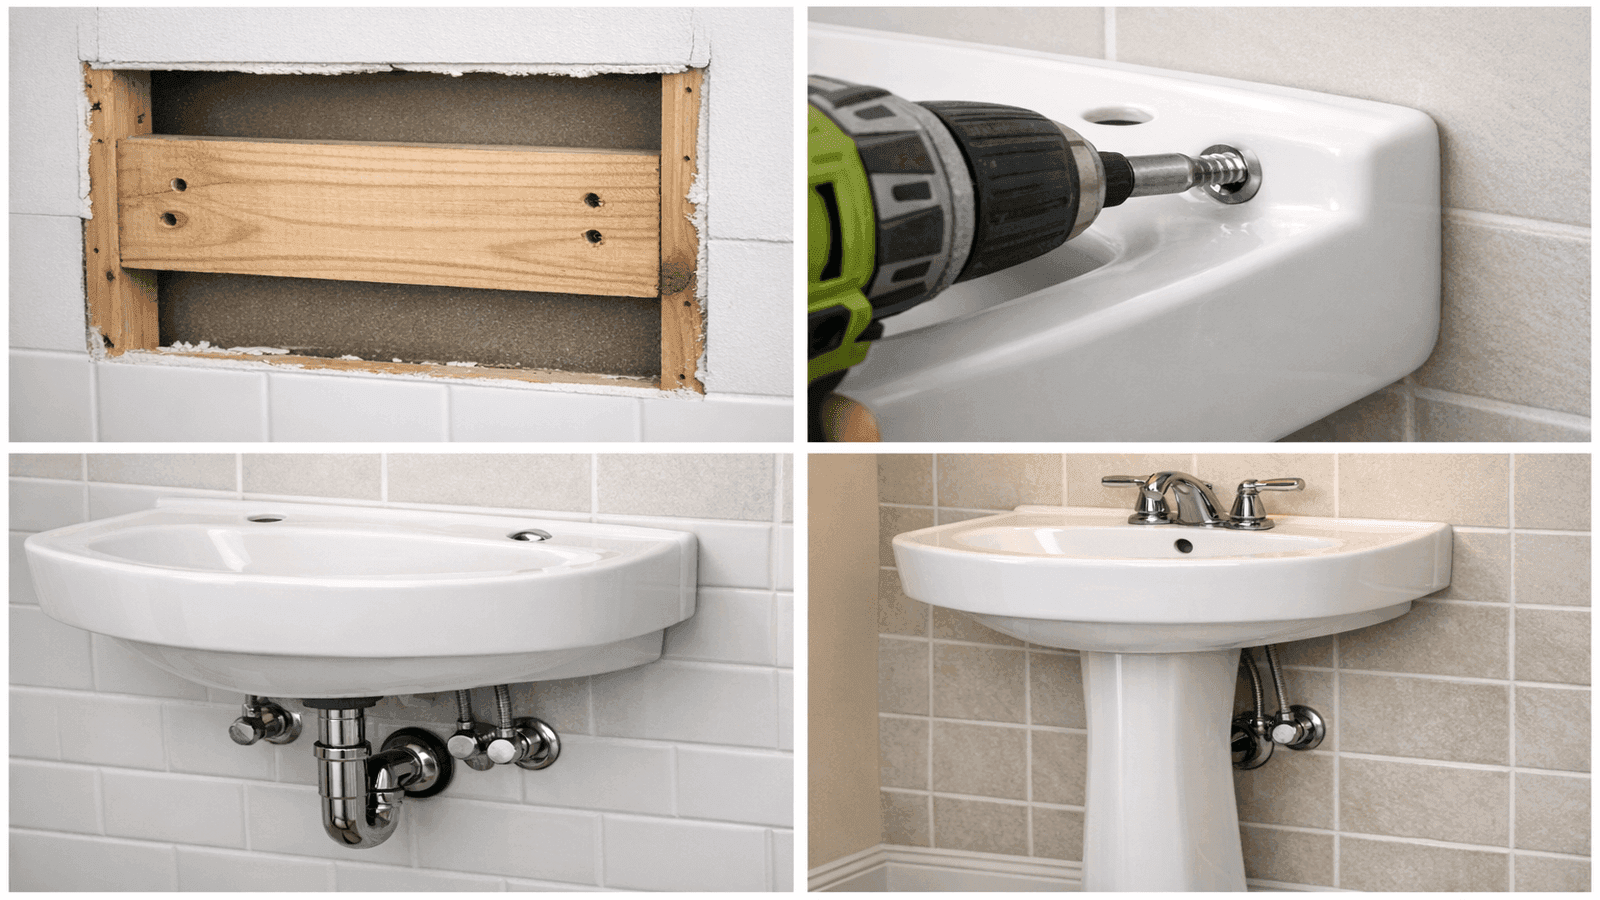
Photo: Step-by-step installation of pedestal sink showing wall anchor bolt placement, blocking in wall cavity, basin mounting to studs, and pedestal column positioned beneath the basin
Vessel Sinks
A vessel sink sits on top of the countertop surface. Because the basin rim sits 5–7 inches above the counter surface, the faucet must have a minimum 8-inch rise. A vessel drain uses a click-clack style pop-up drain (no overflow, no lift rod) rather than a standard pop-up drain assembly.
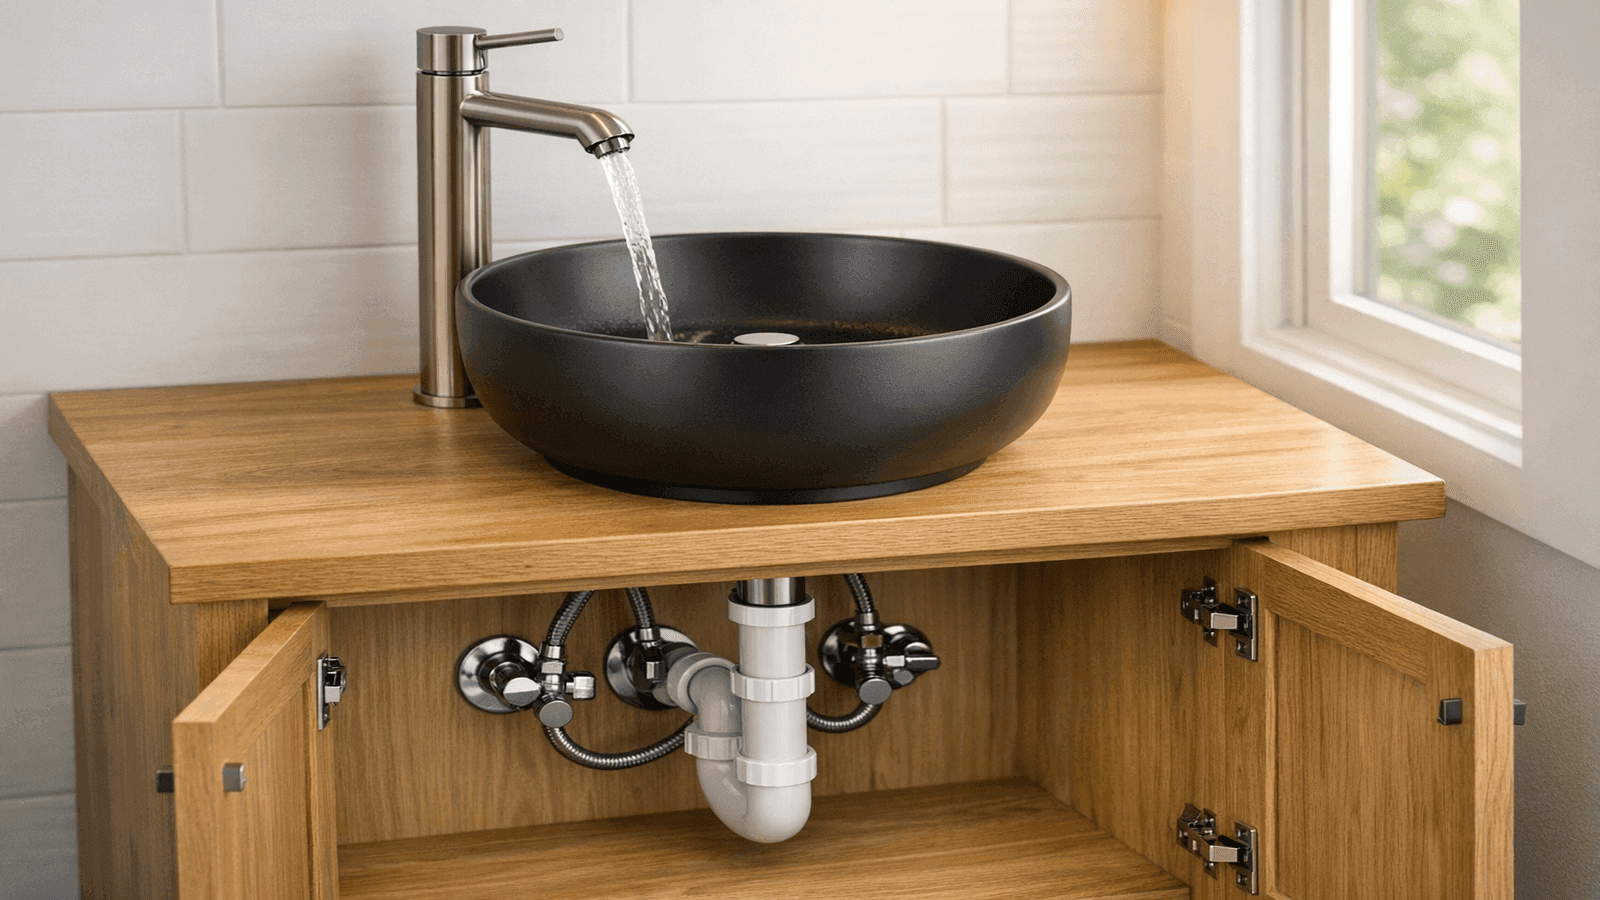
Photo: Vessel sink bowl resting on vanity countertop with tall vessel faucet installed, showing the elevated basin height and click-clack drain assembly
Wall-Mount Sinks
Wall-mount sinks attach entirely to the wall with no counter, cabinet, or pedestal support below. Wall-mount installation is the most demanding bathroom sink type.
Rough-in requirements:
- Drain rough-in: 18–24 inches above finished floor
- Supply lines: 20–22 inches above finished floor
- Wood blocking: a horizontal 2x8 or 2x10 block spanning between studs, installed before the wall surface closes
Get quotes from top-rated pros.
Wall-mount sinks are beautiful and practical for small bathrooms and ADA compliance. But I've pulled more than a few off walls that were anchored into drywall with toggle bolts by contractors who should have known better. Blocking rated for 200-plus pounds is not optional.
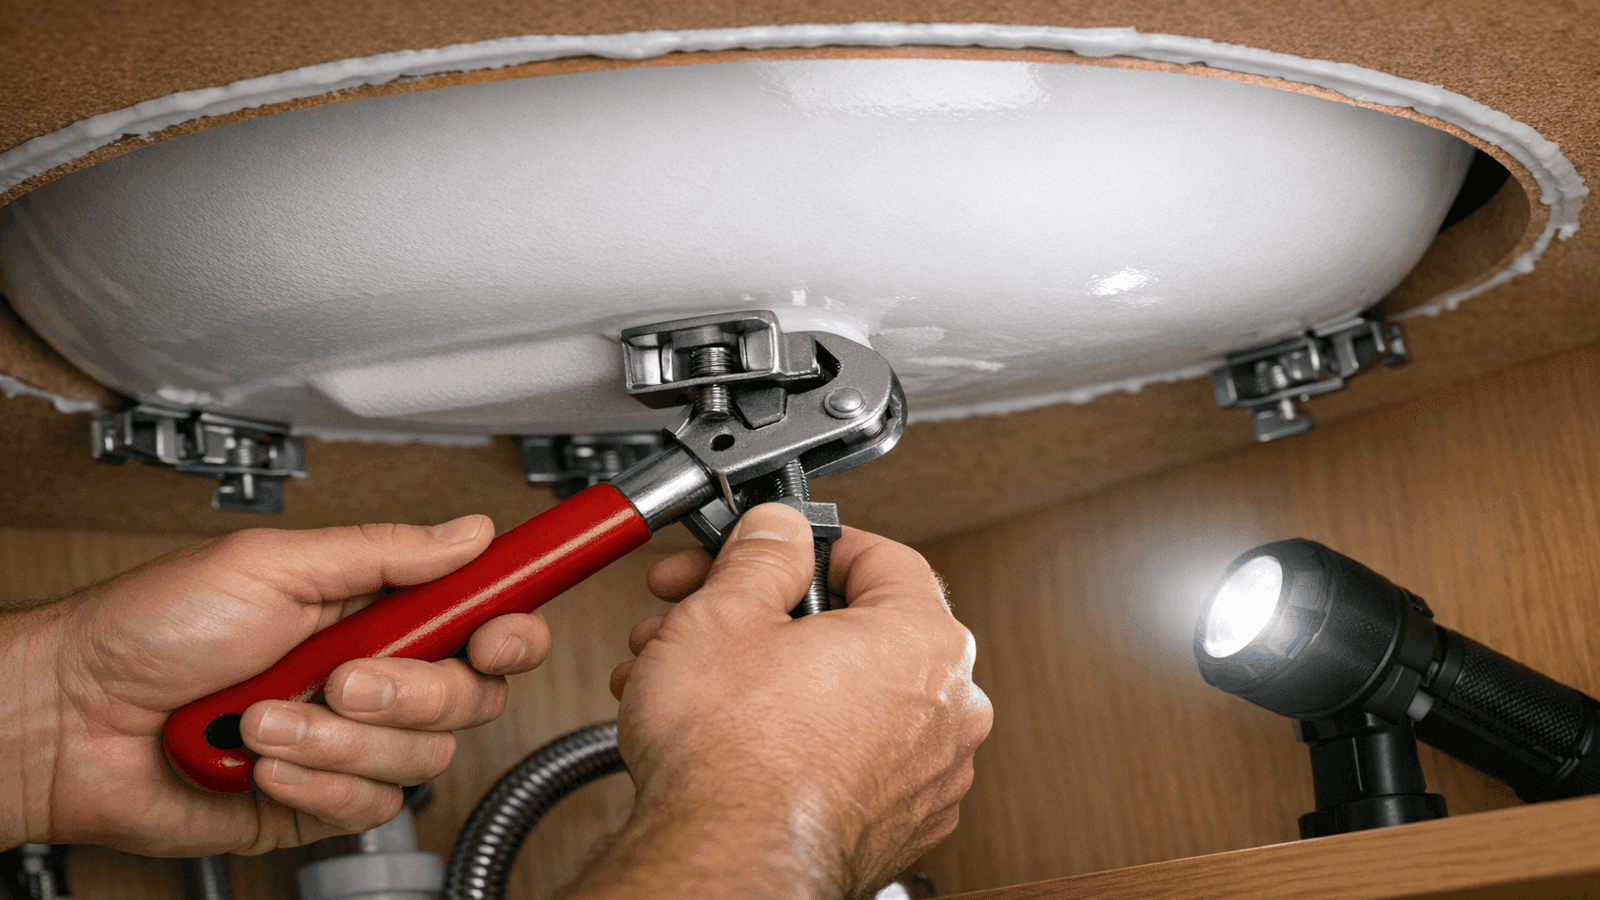
Photo: Wall-mount bathroom sink secured to tiled wall with concealed mounting hardware, showing clean floating appearance with exposed plumbing below and no vanity cabinet
Cost Breakdown by Sink Type
| Sink Type | DIY Material Cost | Professional Total | Permit Required |
| Drop-in (vanity) | $80–$250 | $200–$450 [1] | Rarely |
| Undermount | $150–$500 | $350–$700 | Rarely |
| Pedestal | $120–$400 | $300–$600 | Rarely |
| Vessel | $100–$600 | $300–$700 | Rarely |
| Wall-mount | $200–$800 | $400–$900 [2] | Adding new: Yes |
What drives cost variation:
- Labor rate: $45–$75/hour in rural markets; $120–$200/hour in metro California, New York, Pacific Northwest [2]
- Wall prep: wall-mount and pedestal sinks without existing blocking add $150–$400 in wall opening and repair
- Fixture grade: builder-grade vs. designer fixtures span $50 to $1,500+ for the sink alone
The licensed plumbers in our NearbyHunt network report that undermount installs account for roughly 60% of their work in new construction, but pedestal sinks dominate bathroom renovations in homes built before 1980.
For the full regional pricing picture, see the complete plumbing costs guide.
Real Installation Story
Sandra Mitchell in Plano, Texas, hired Michael after her pedestal sink pulled away from the wall, cracking the tile behind it. When Michael opened the wall, he found the previous installer had skipped the wall-blocking step entirely, attaching the sink directly to drywall anchors. He installed a proper 2x8 wood block between the studs, reset the sink, and repaired the tile. Total cost: $680. Sandra told us the sink has been rock-solid for two years since. The lesson: always ask your plumber if they plan to open the wall — the answer tells you whether they know what they are doing.
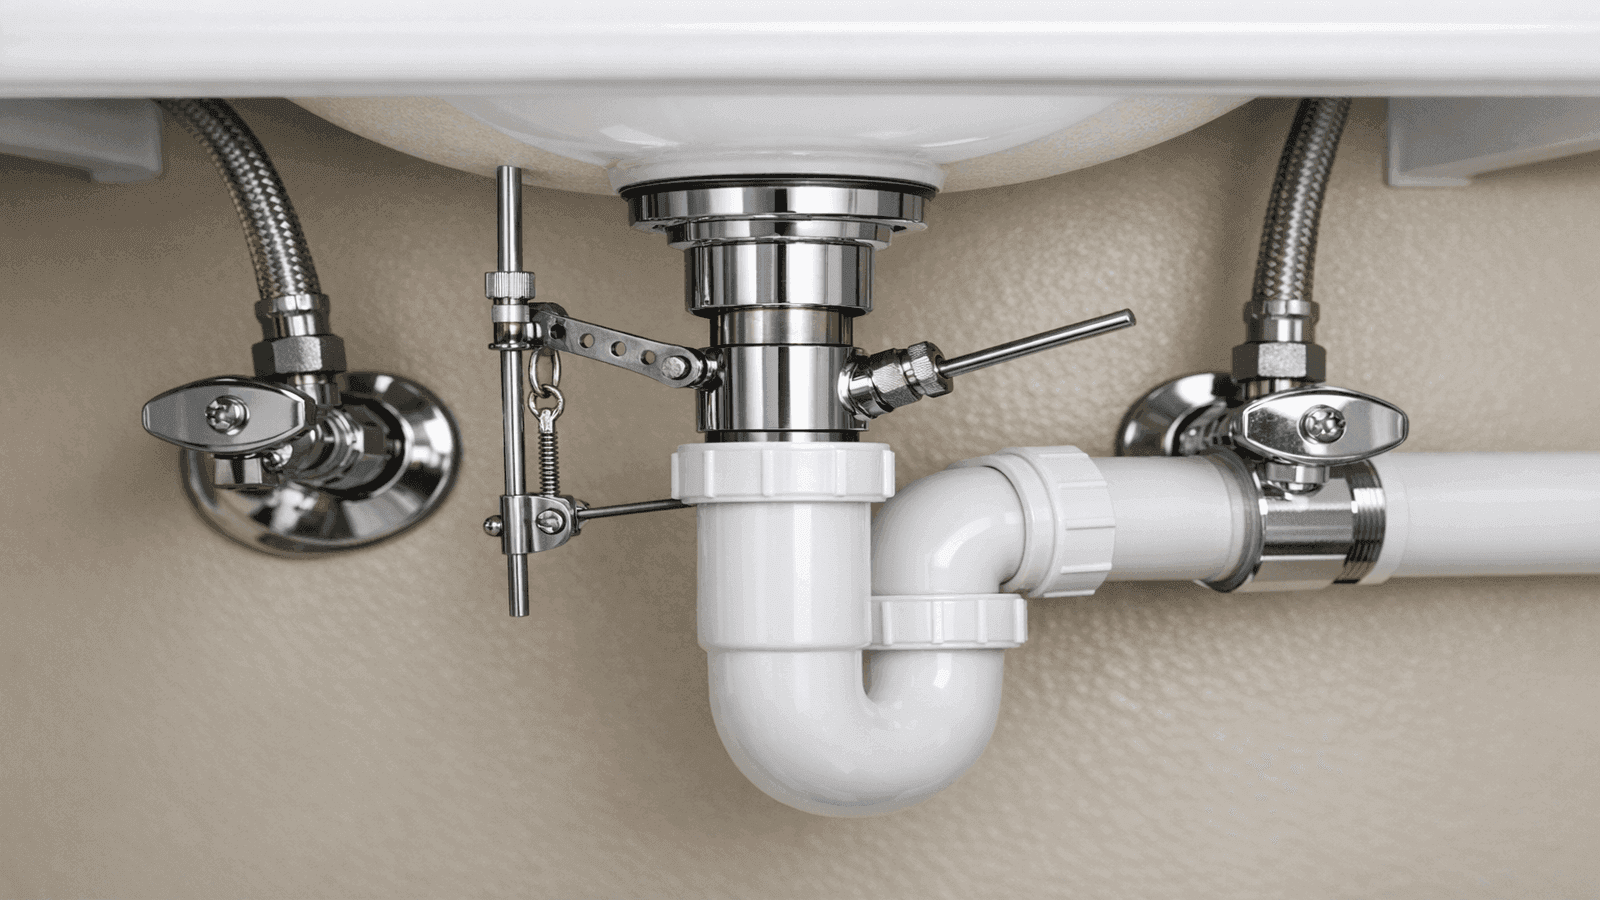
Photo: Homeowner reviewing bathroom sink installation quote with licensed plumber, cost breakdown document visible, discussing sink type options and installation scope
Pro vs. DIY Decision Guide
| Sink Type | DIY Feasible? | When to Call a Pro |
| Drop-in (same cutout) | Yes | If faucet holes must be drilled or countertop is tile |
| Undermount | Not recommended | Always for proper adhesive/clip installation |
| Pedestal (blocking in place) | Intermediate | If wall blocking is missing or drain needs relocating |
| Vessel | Yes | If vanity height must be modified |
| Wall-mount | No | Always; requires wall prep and precise rough-in |
When DIY works: The rough-in location doesn't change, the sink type is a like-for-like swap, no permit is required, and you have the correct tools.
When to call a licensed plumber: Wall-mount installation, any sink requiring wall modification, relocating the drain stub-out, or when the existing P-trap configuration is non-standard.
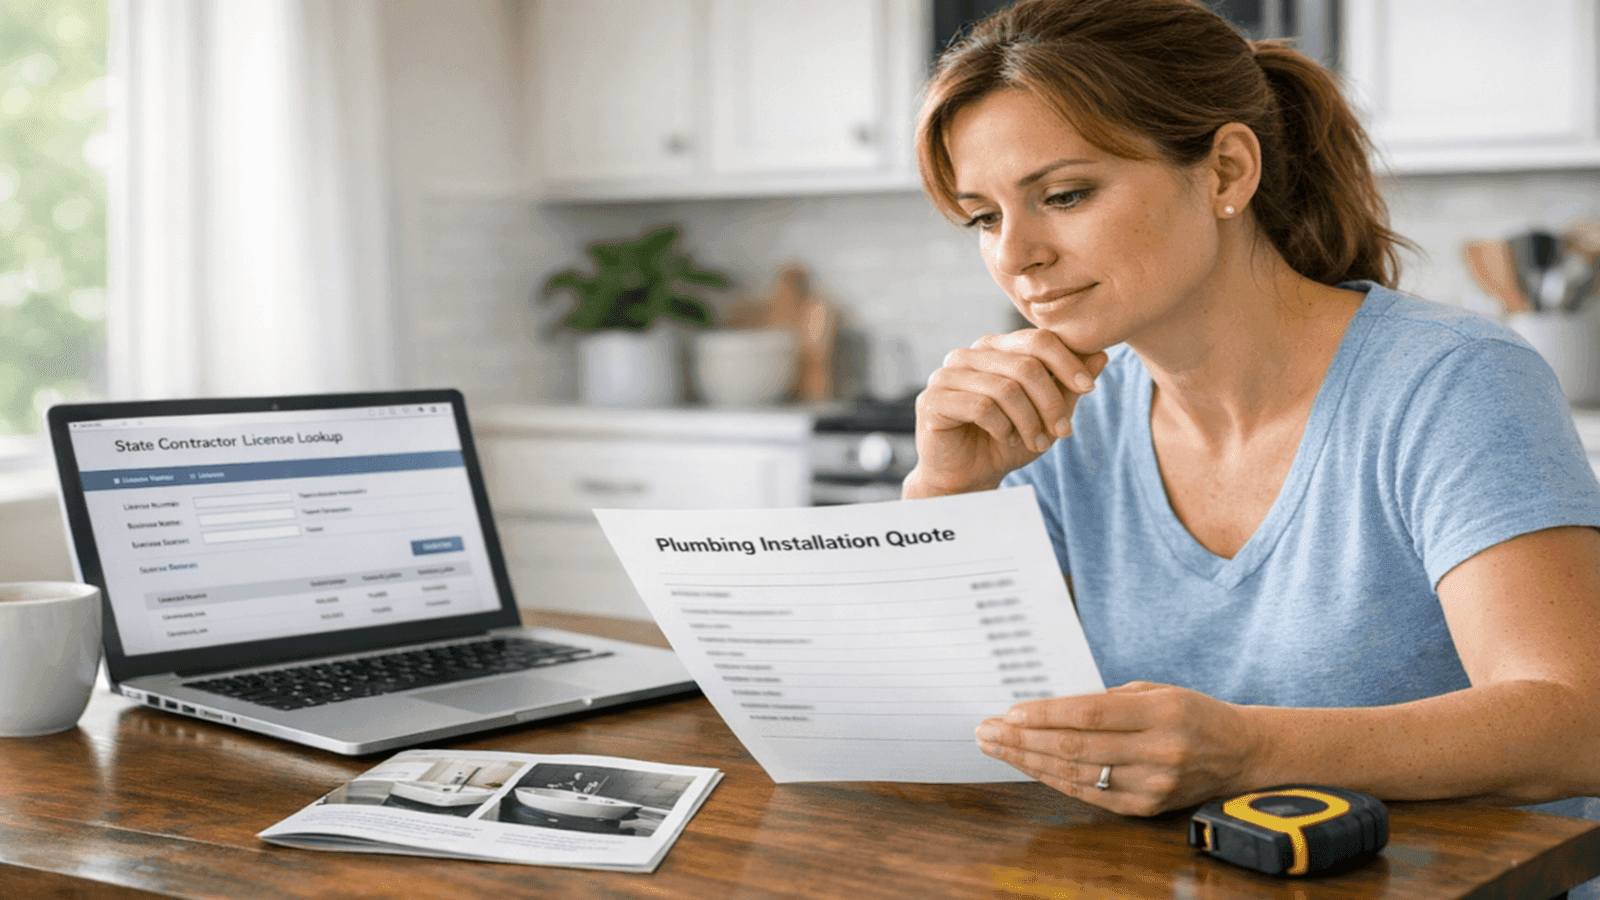
Photo: Under-sink view showing proper P-trap assembly, braided stainless supply line connections, and shutoff valves on a bathroom sink installation
Inspect under-sink supply lines annually; braided stainless lines should be replaced every 5–7 years regardless of appearance [3].
Get quotes from top-rated pros.
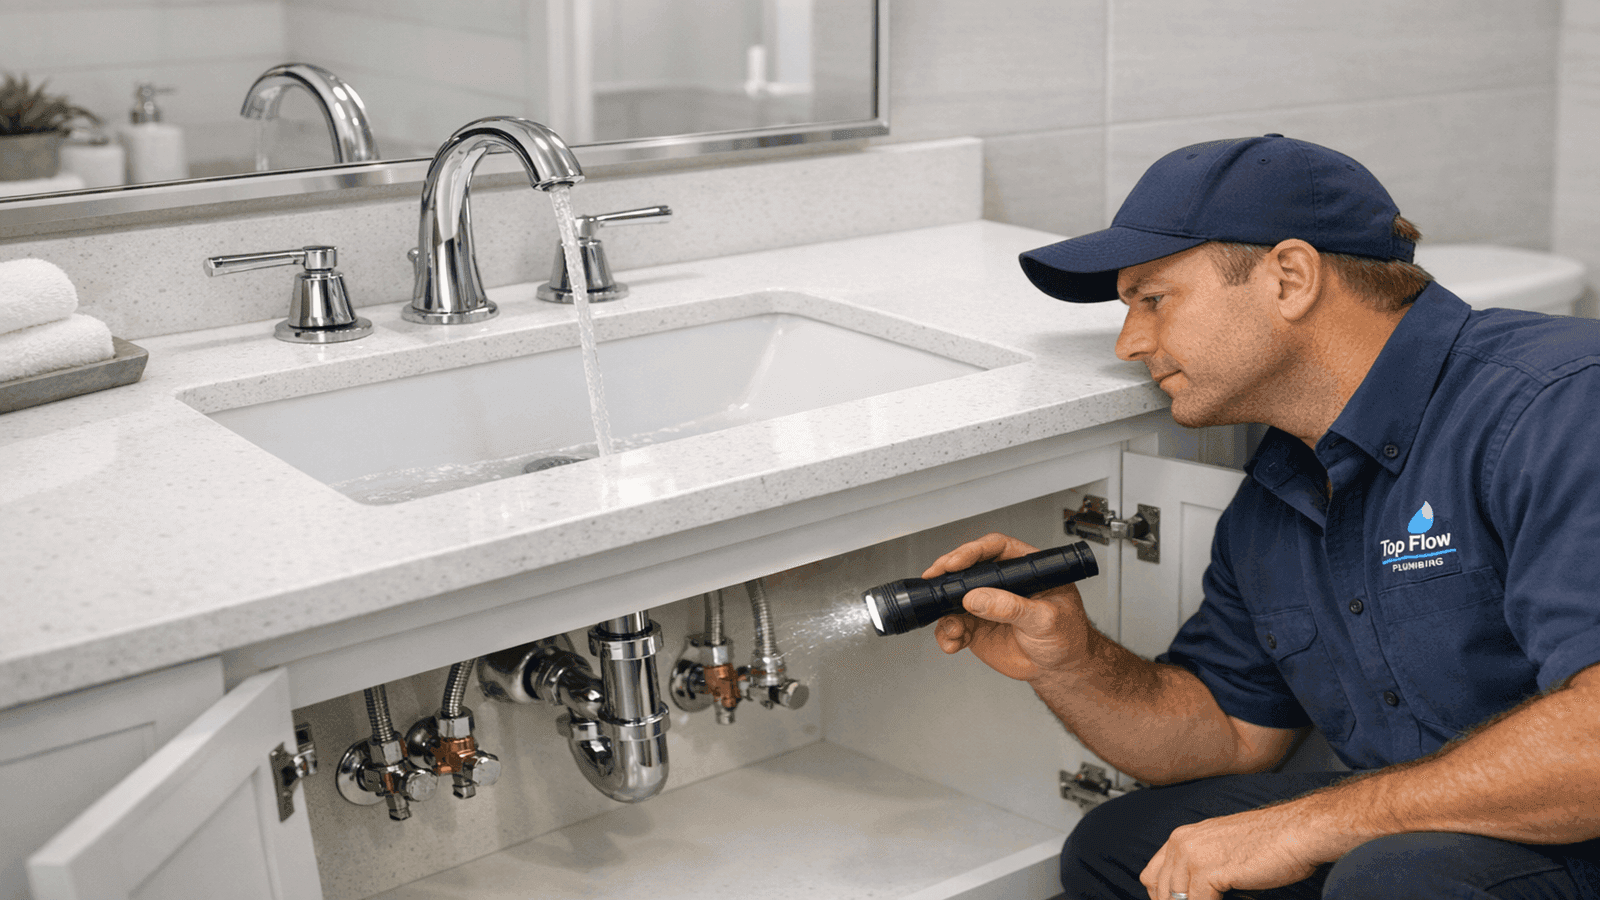
Photo: Completed bathroom sink installation showing finished vanity with drop-in sink, faucet, and supply lines fully connected, clean and ready for use
Conclusion
Bathroom sink installation covers a wide range of complexity. A drop-in swap in an existing countertop is a confident DIY project for most homeowners willing to work carefully and test thoroughly. A wall-mount installation in a finished bathroom is a job for a licensed plumber with wall-carpentry experience. Confirming the rough-in dimensions match before purchasing a fixture, and testing every connection under pressure for at least 24 hours, are the habits that separate problem-free installations from callbacks.
Disclaimer: Cost figures are national averages for 2026 and vary by region, project complexity, and contractor availability. Always obtain 2–3 written quotes from licensed plumbers before committing to any installation. Permit requirements vary by municipality; verify with your local building department before starting work.
Sources & References
- Forbes Home: Bathroom Sink Installation Cost Guide 2026
- Bob Vila: How Much Does Sink Installation Cost? 2026
- Family Handyman: Bathroom Sink Dimensions and Sizes
- PHCC: Plumbing-Heating-Cooling Contractors Association Resources
- Vevano: Bathroom Sink Dimensions Guide
- EPA WaterSense: Residential Water Efficiency Program
- Michael R. Jennings, Licensed Master Plumber, Dallas TX, License MP-47821-TX, 18+ years, 2,400+ residential projects

Michael Jennings is a licensed master plumber & water systems specialist with over 18 years of hands-on experience in residential and commercial plumbing, serving clients across California and Texas. At NearbyHunt, he shares practical advice on pipe installations, water heater maintenance, and home plumbing upgrades. Michael has helped thousands of homeowners prevent costly water damage and improve water efficiency through modern plumbing solutions.

Robert is a licensed master plumber with over 20 years of experience serving both residential and commercial clients across the Midwest. Specialising in advanced plumbing systems and sustainable water technologies, Rob brings deep technical insight and hands-on expertise to every project. As a reviewer for NearbyHunt, he ensures all plumbing content reflects the highest standards of safety, compliance, and practicality.